Taking travel photos worthy of print
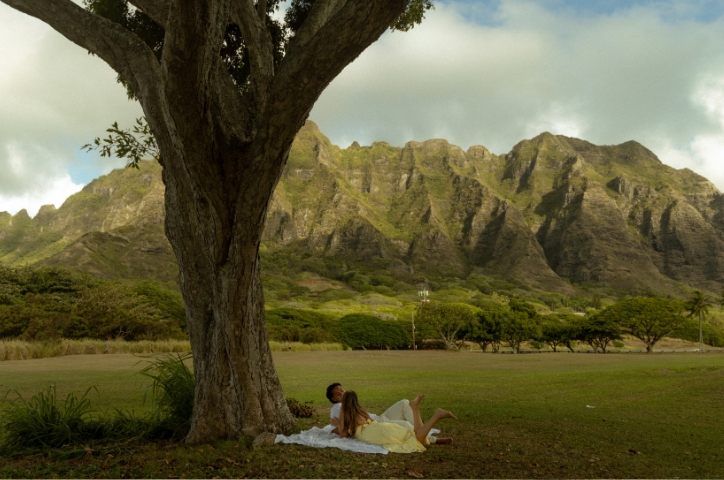
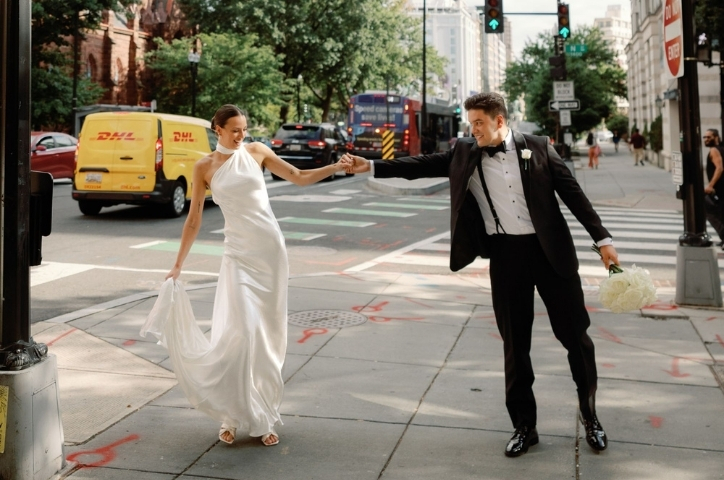
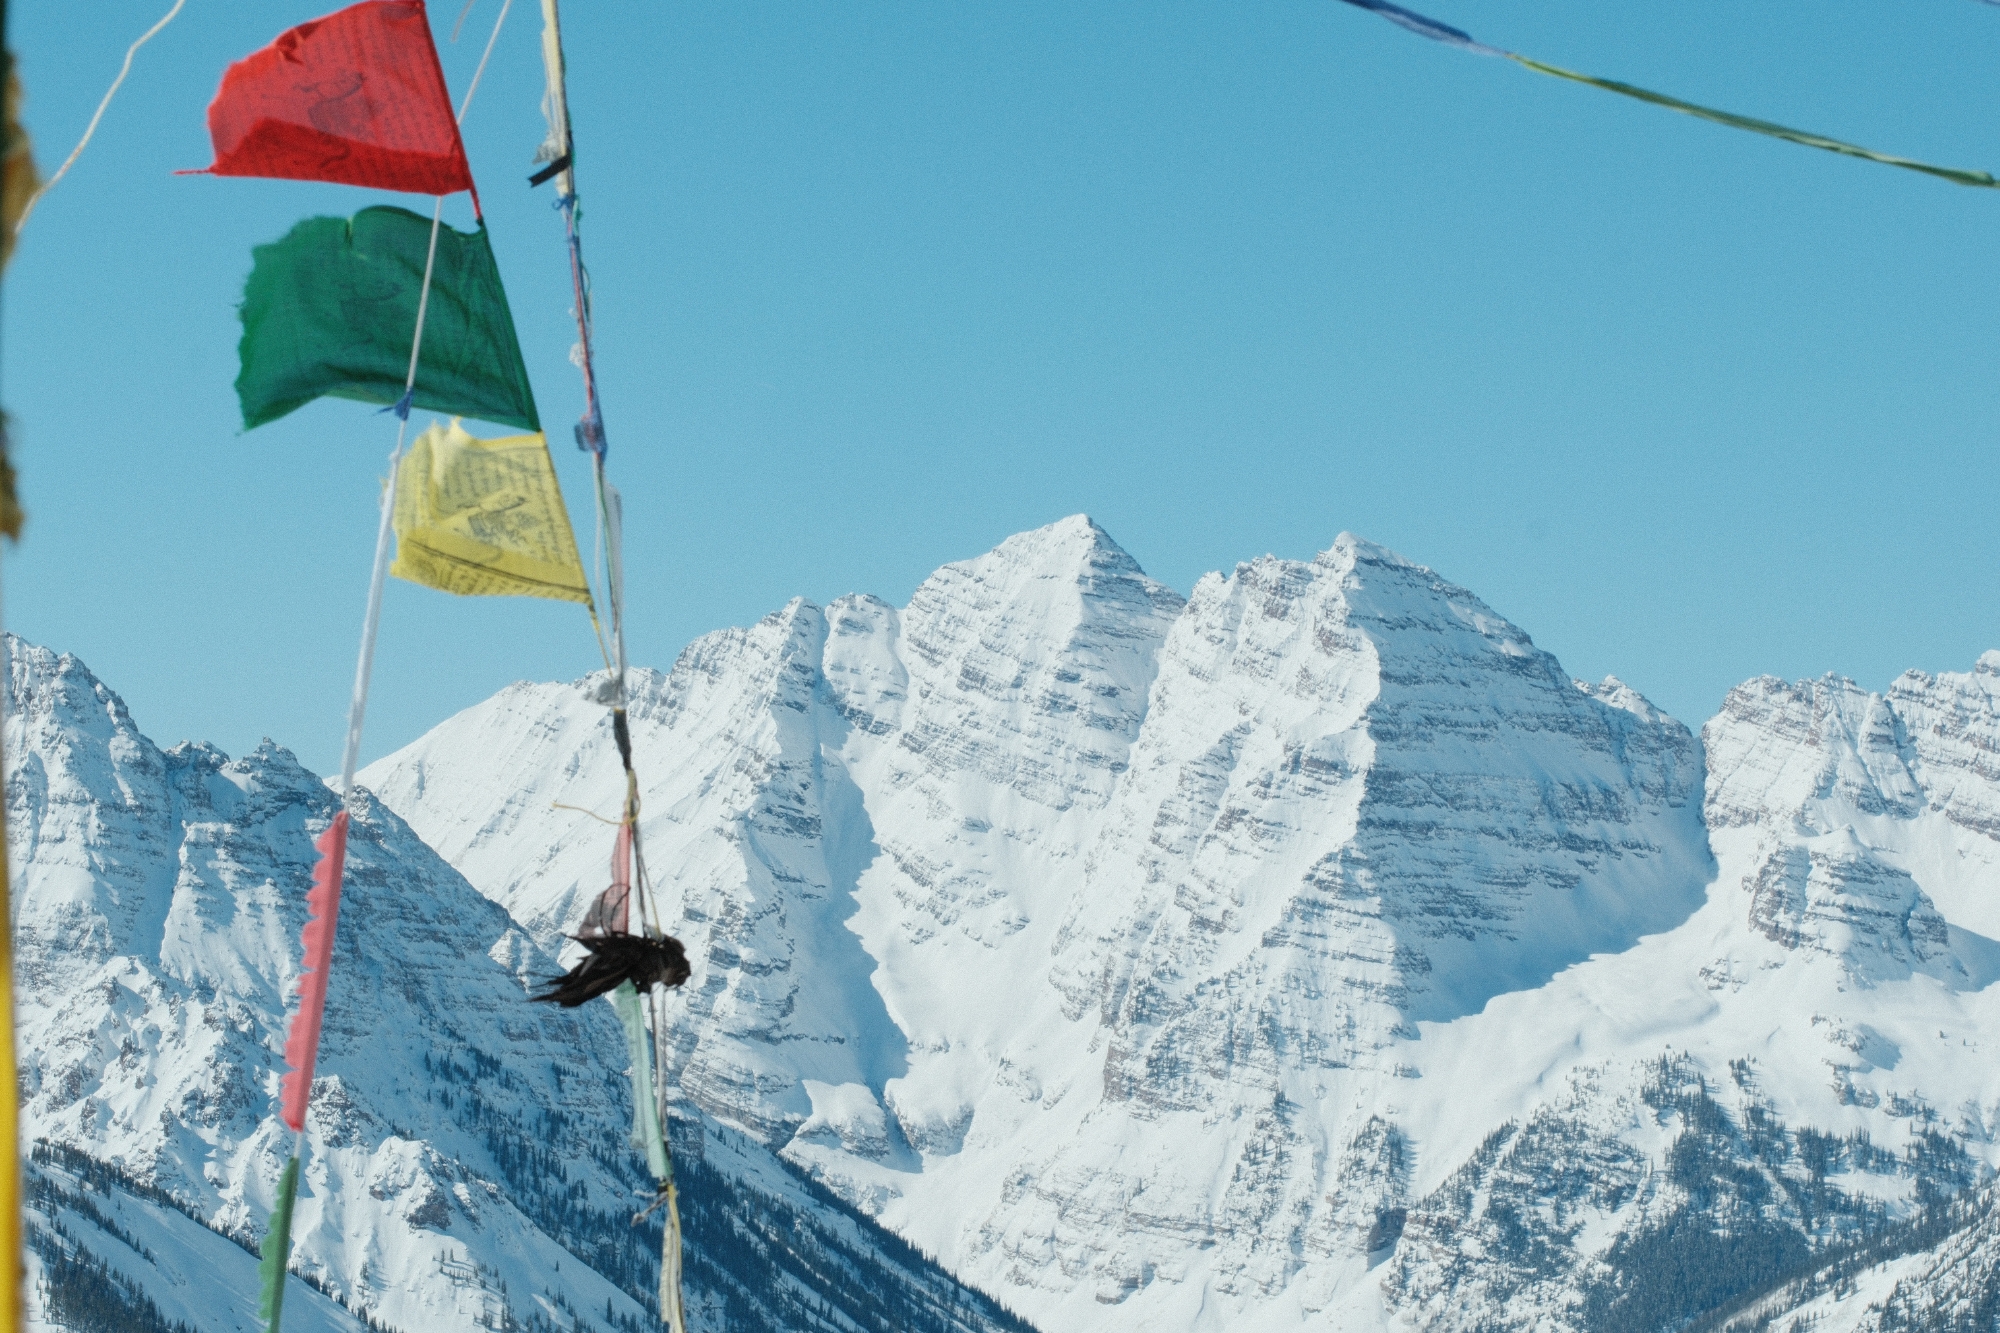
Travelling is made up of a magnitude of moments you want to relive forever. The warmth of late afternoon light in a quiet piazza, the sound of street musicians drifting through the air, the first glimpse of a city skyline from a winding road, how do you capture these memories in all their glory. With an iPhone in your pocket, you have the tools to turn these moments into photographs that tell your story with clarity and emotion.
In this guide, we explore much more than just taking nice pictures. Rather, discover how to use the features at your fingertips, notice light and detail, and frame your travels in a way that feels authentic. Whether you are capturing sweeping landscapes, intimate portraits, or the in-between moments that give a journey its soul, these tips will help you shoot iPhone travel photos worthy of being printed, shared, and treasured for years to come your travel photo book.
1. Clean lens, clear perspective
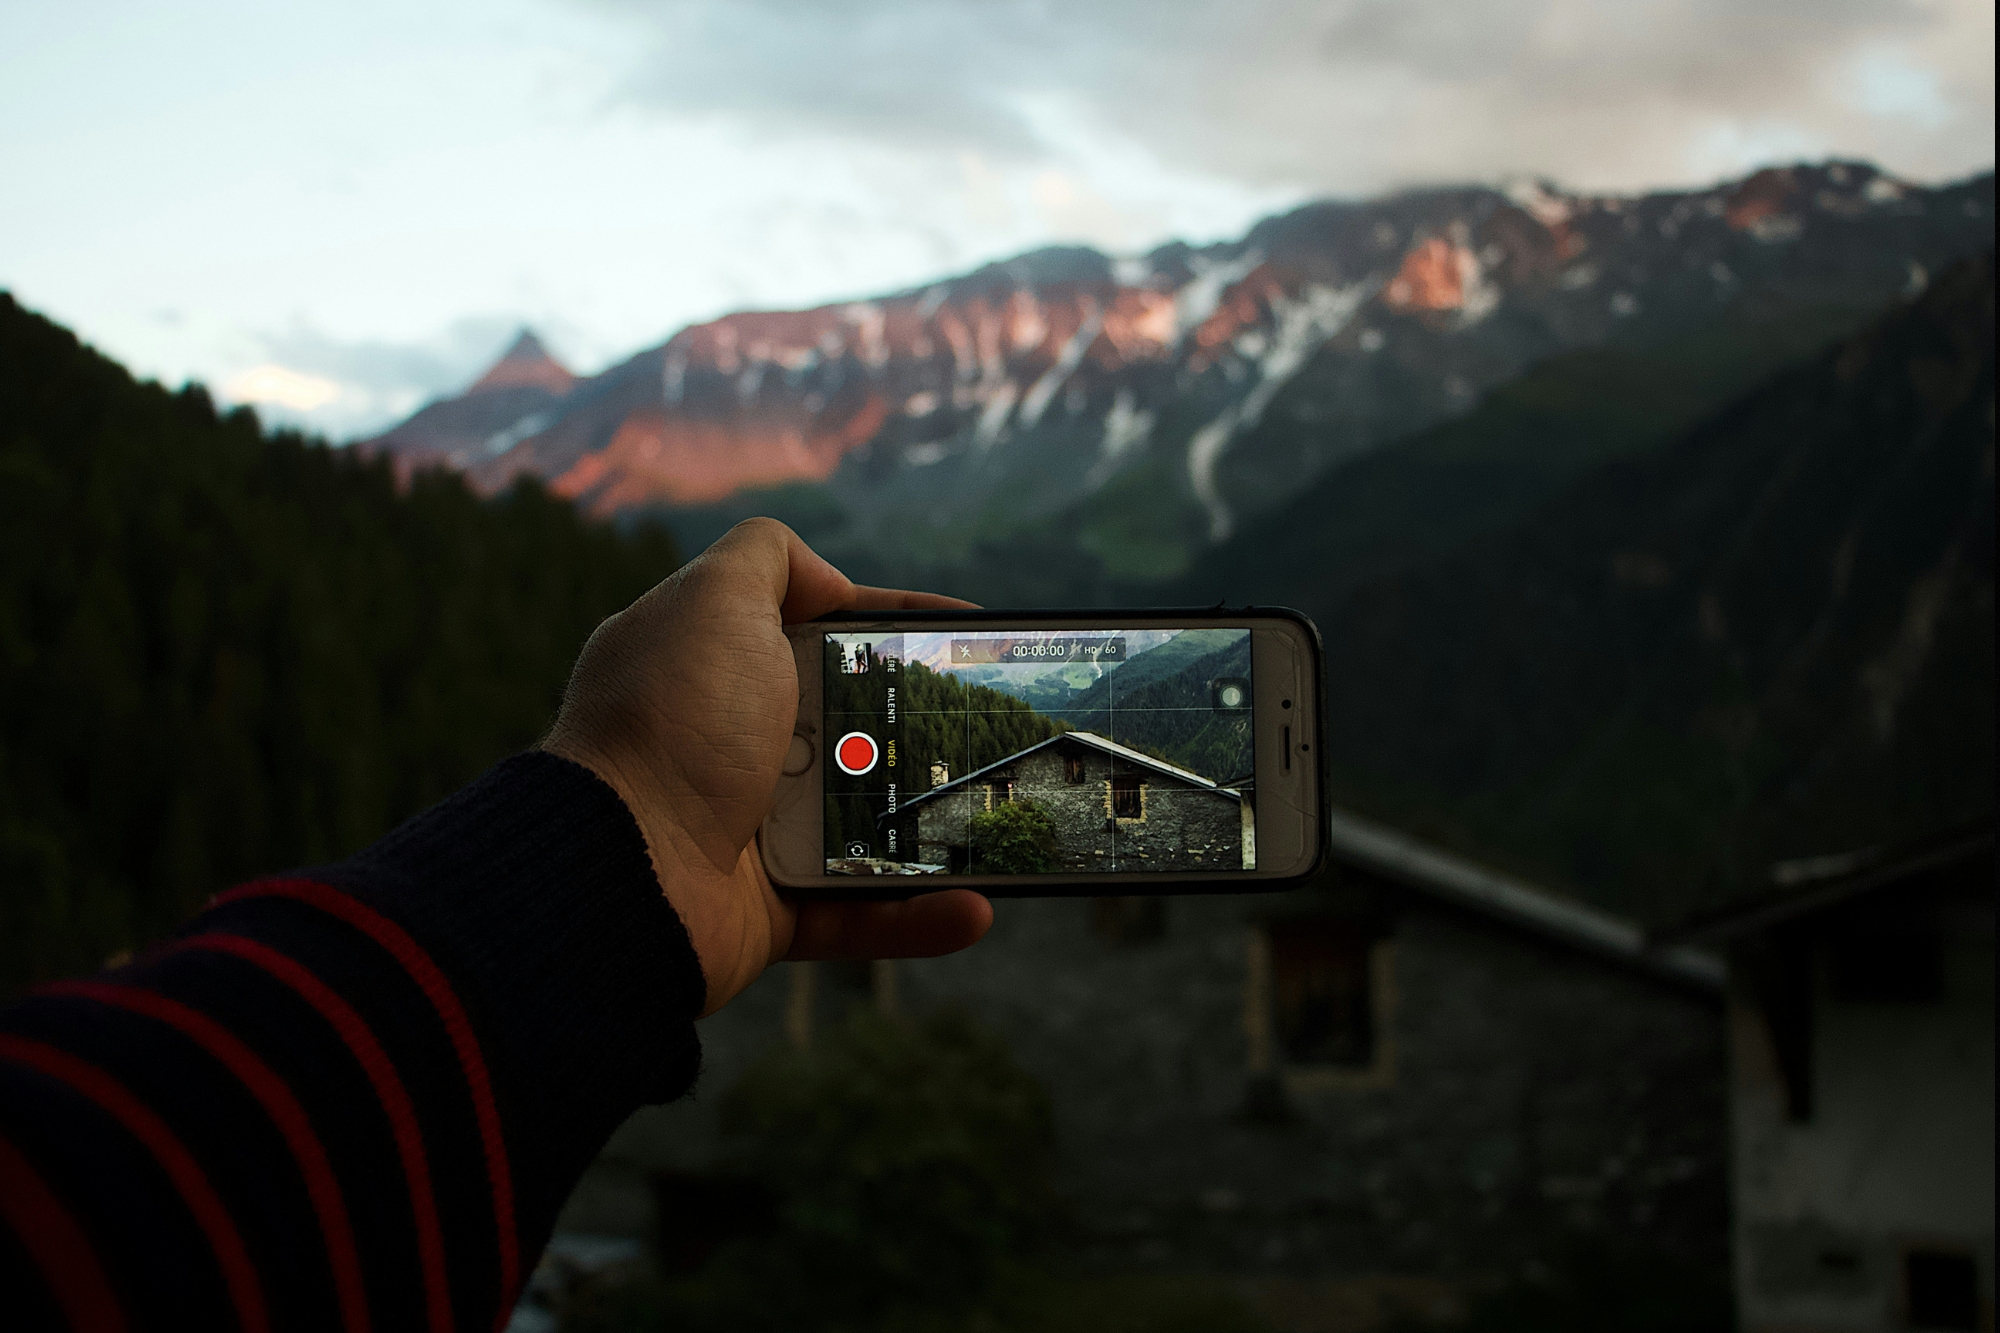
Great travel photos begin before you even press the shutter. With an iPhone, you always have a powerful camera within reach, but using it well requires presence, not perfection.
First, clean your lens. It may sound like a given, but all it takes is a smudge from your pocket or sunscreen to create haze or distortion, ruining a great photo. Making sure to always give your camera a quick wipe with a soft cloth can make the difference between a dull shot and a crisp one. Next, launch the Camera app directly from the lock screen with a left swipe. This helps you react quickly to unplanned moments, whether it's a candid exchange between locals or a rare sighting of a leopard on safari.
Once you're shooting, tap to focus on your subject and hold your finger for AE/AF Lock (Auto Exposure/Auto Focus Lock). This prevents your camera from constantly readjusting and gives you more control over exposure and sharpness.
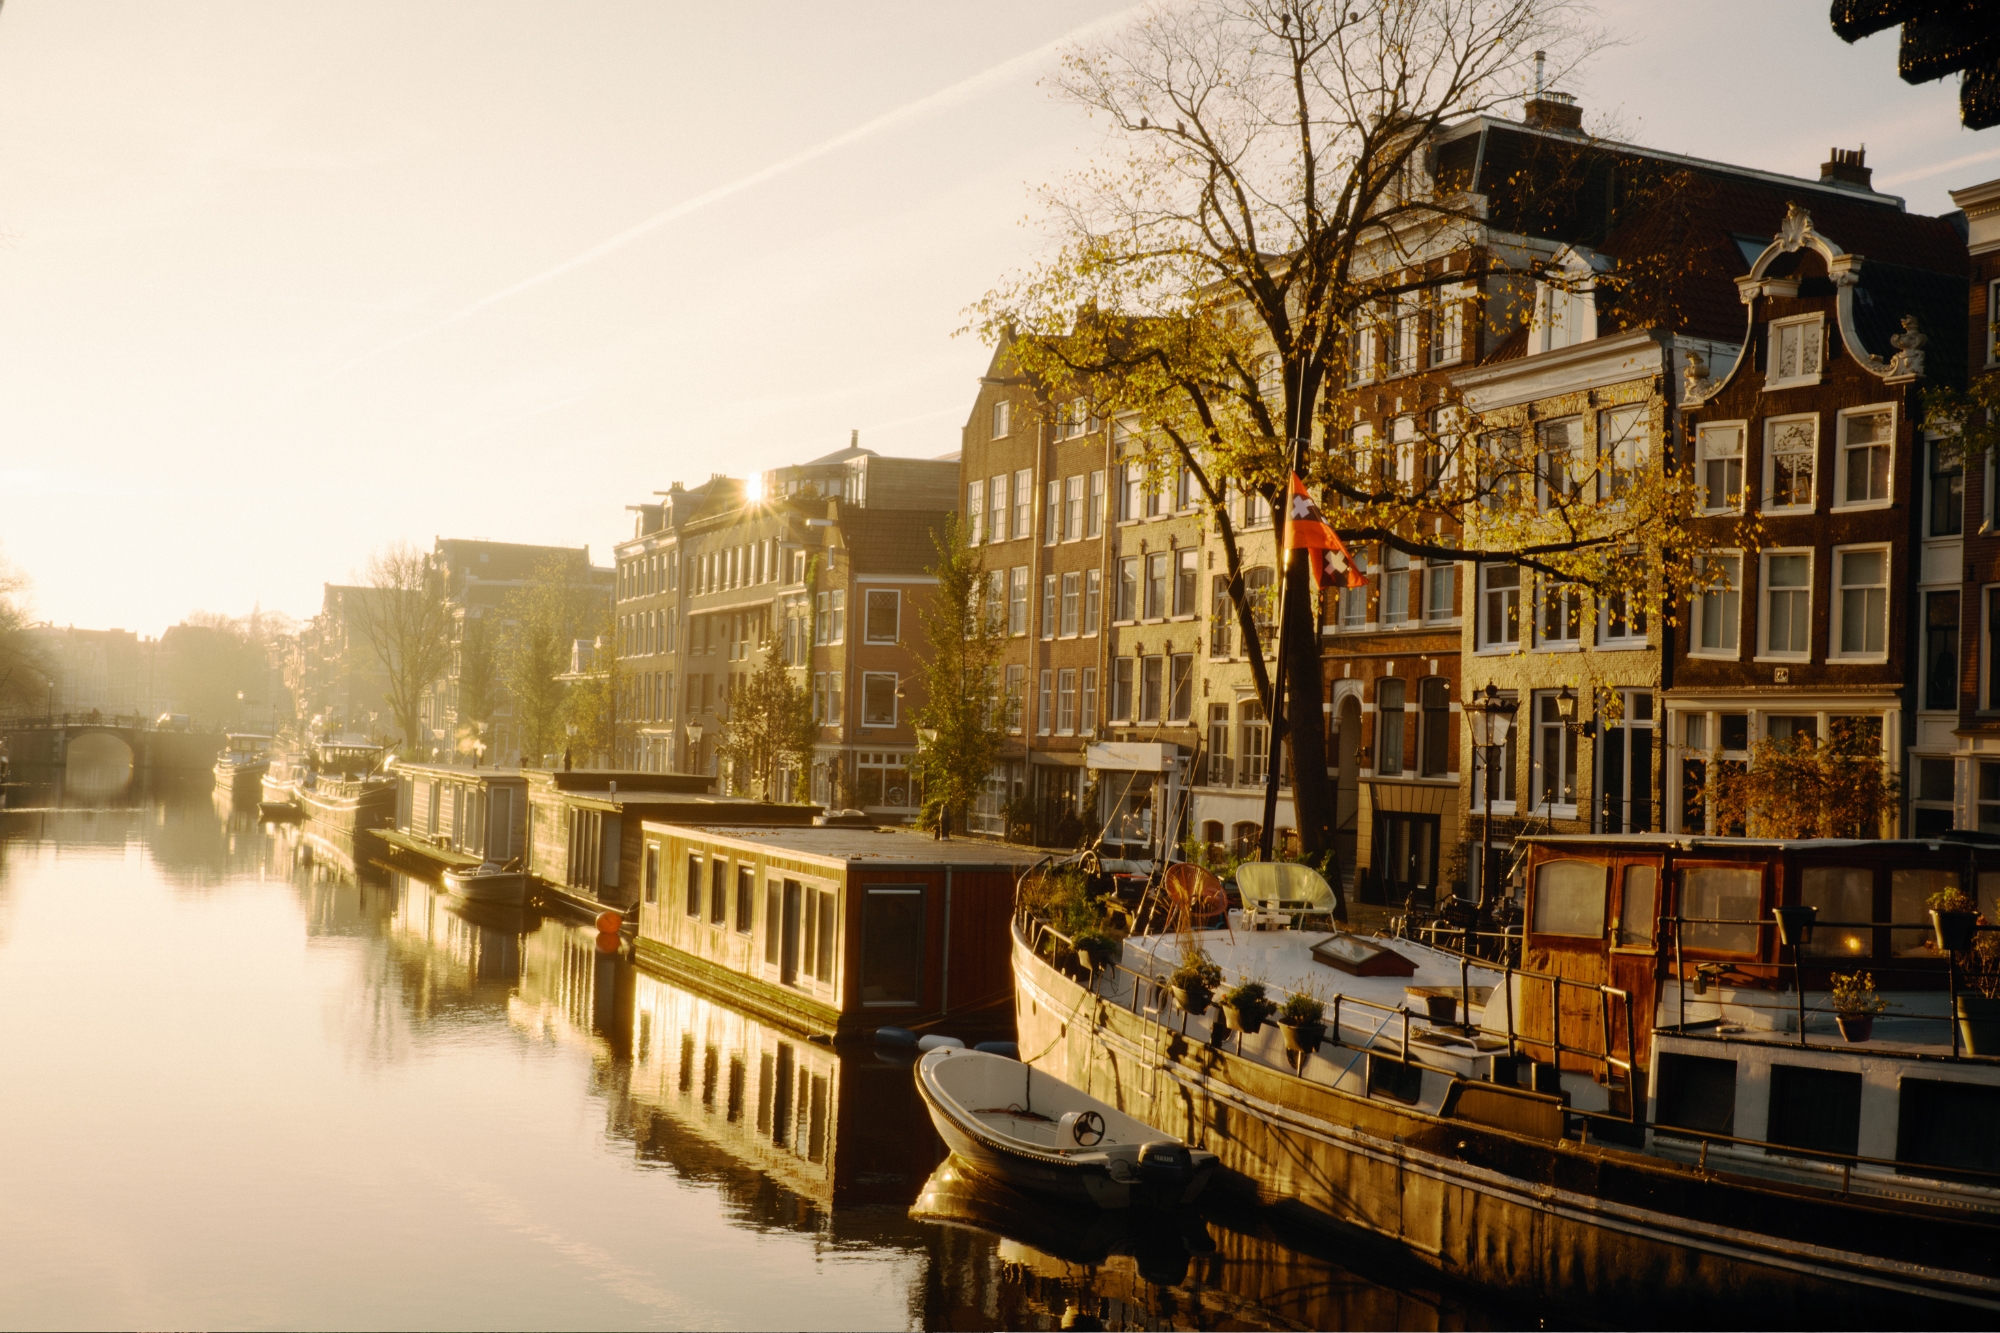
Light is one of your most powerful tools, especially when shooting with a smartphone. The iPhone’s sensor performs beautifully in soft, diffused light.
Make the most of golden hour, the soft light just after sunrise and before sunset. For rich portraits or gentle landscapes, this time is ideal. On newer models, including iPhone 13 and later, Photographic Styles can be used to make your tone and warmth custom before taking the shot. Try the “Rich Contrast” or “Warm” setting to subtlety enhance the mood of your photo, while still highlighting the natural palette.
To avoid overexposure, tap and hold your subject to lock focus and exposure. Then swipe down to reduce brightness using the sun icon slider. This manual control helps you capture richer hues and better depth, especially in bright environments.
When indoors, position subjects near windows for natural illumination. The iPhone camera handles window light well, creating balanced, natural shadows.
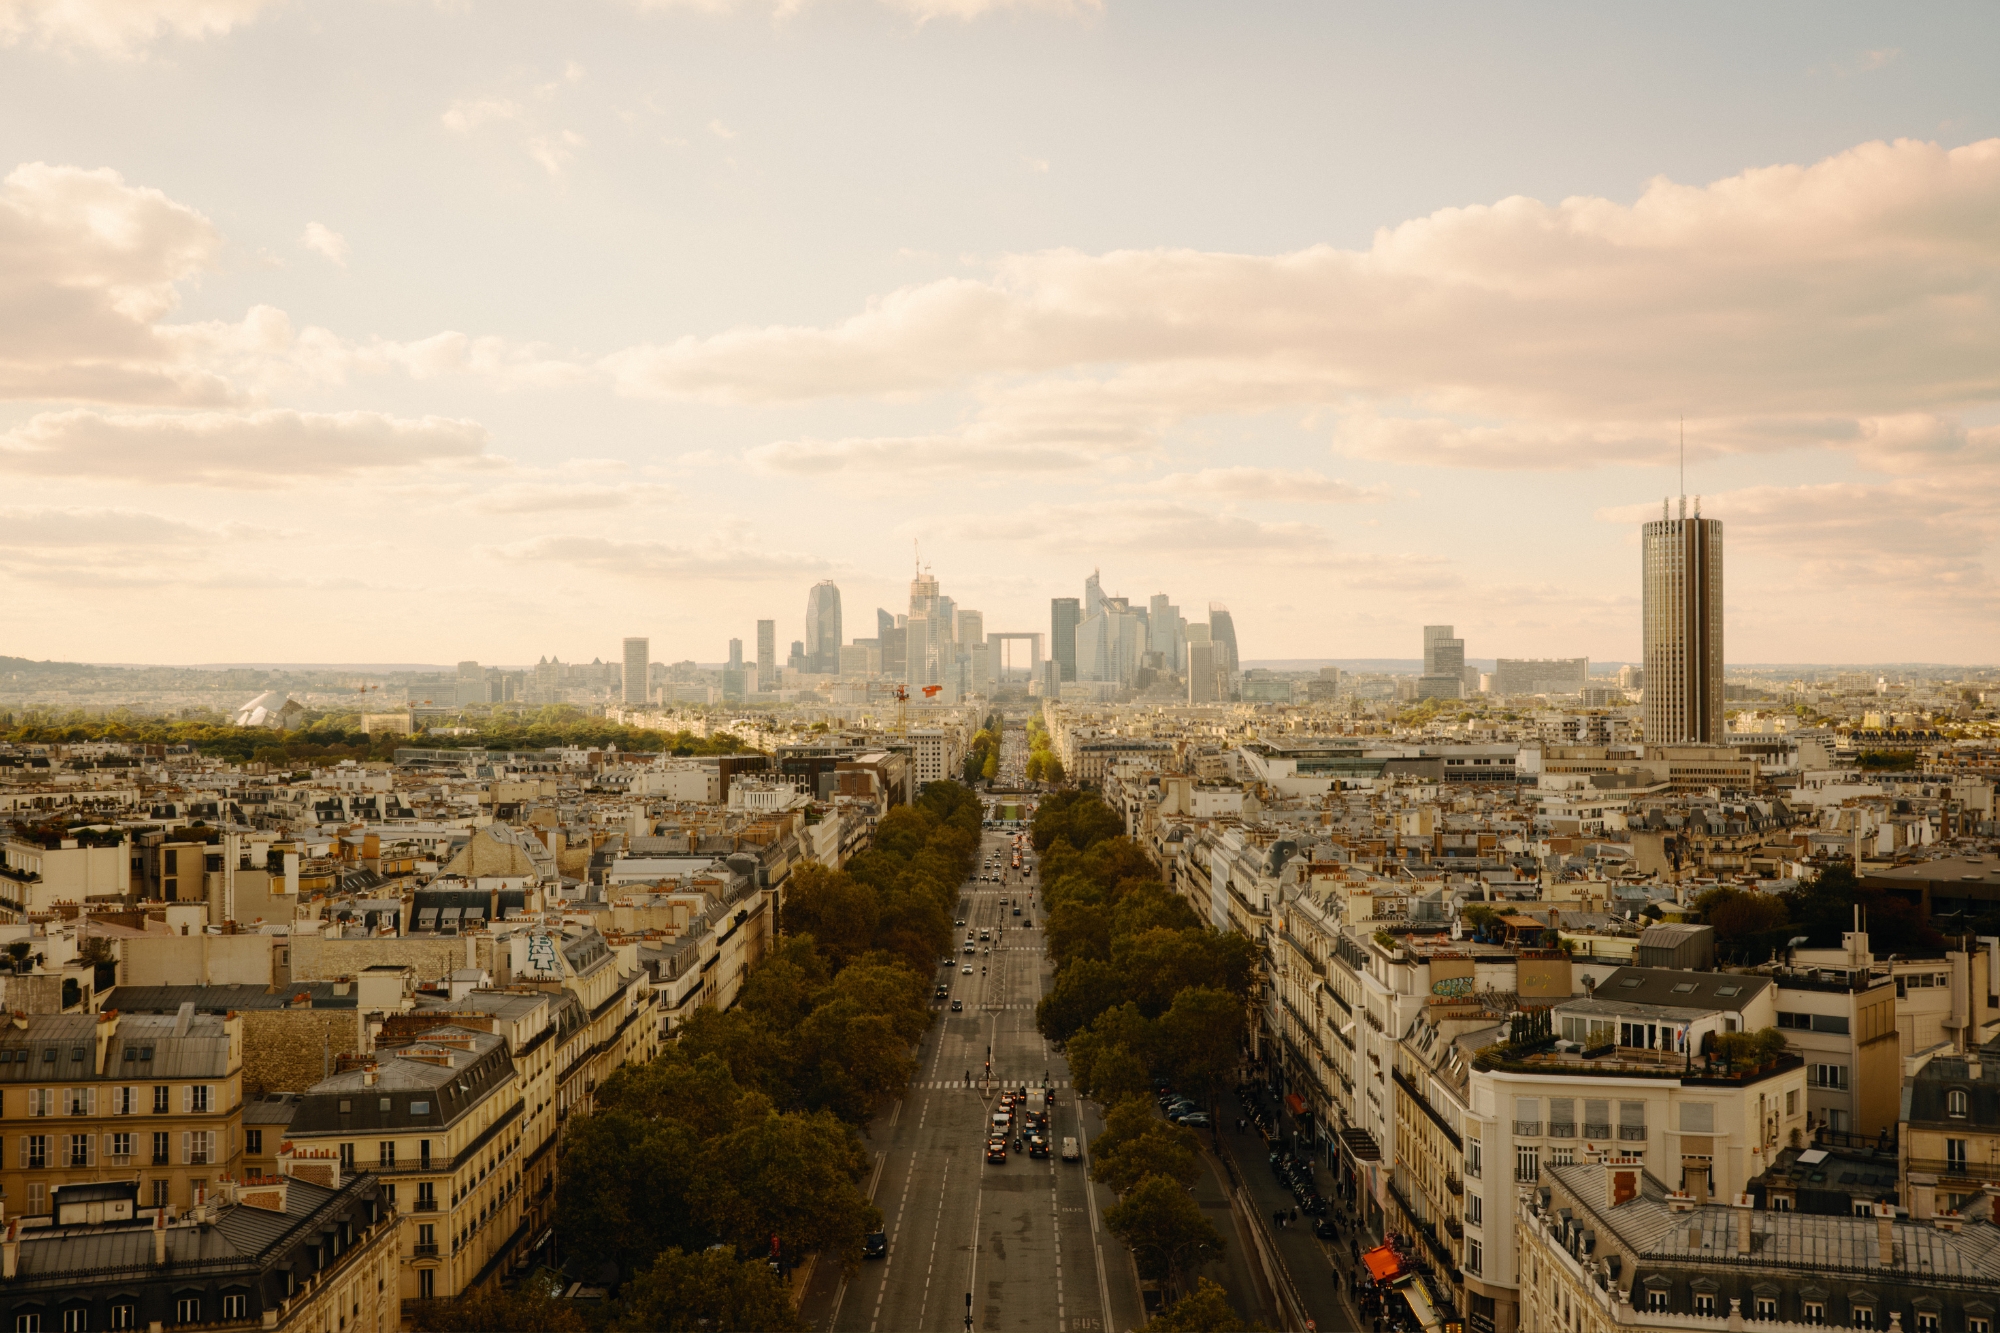
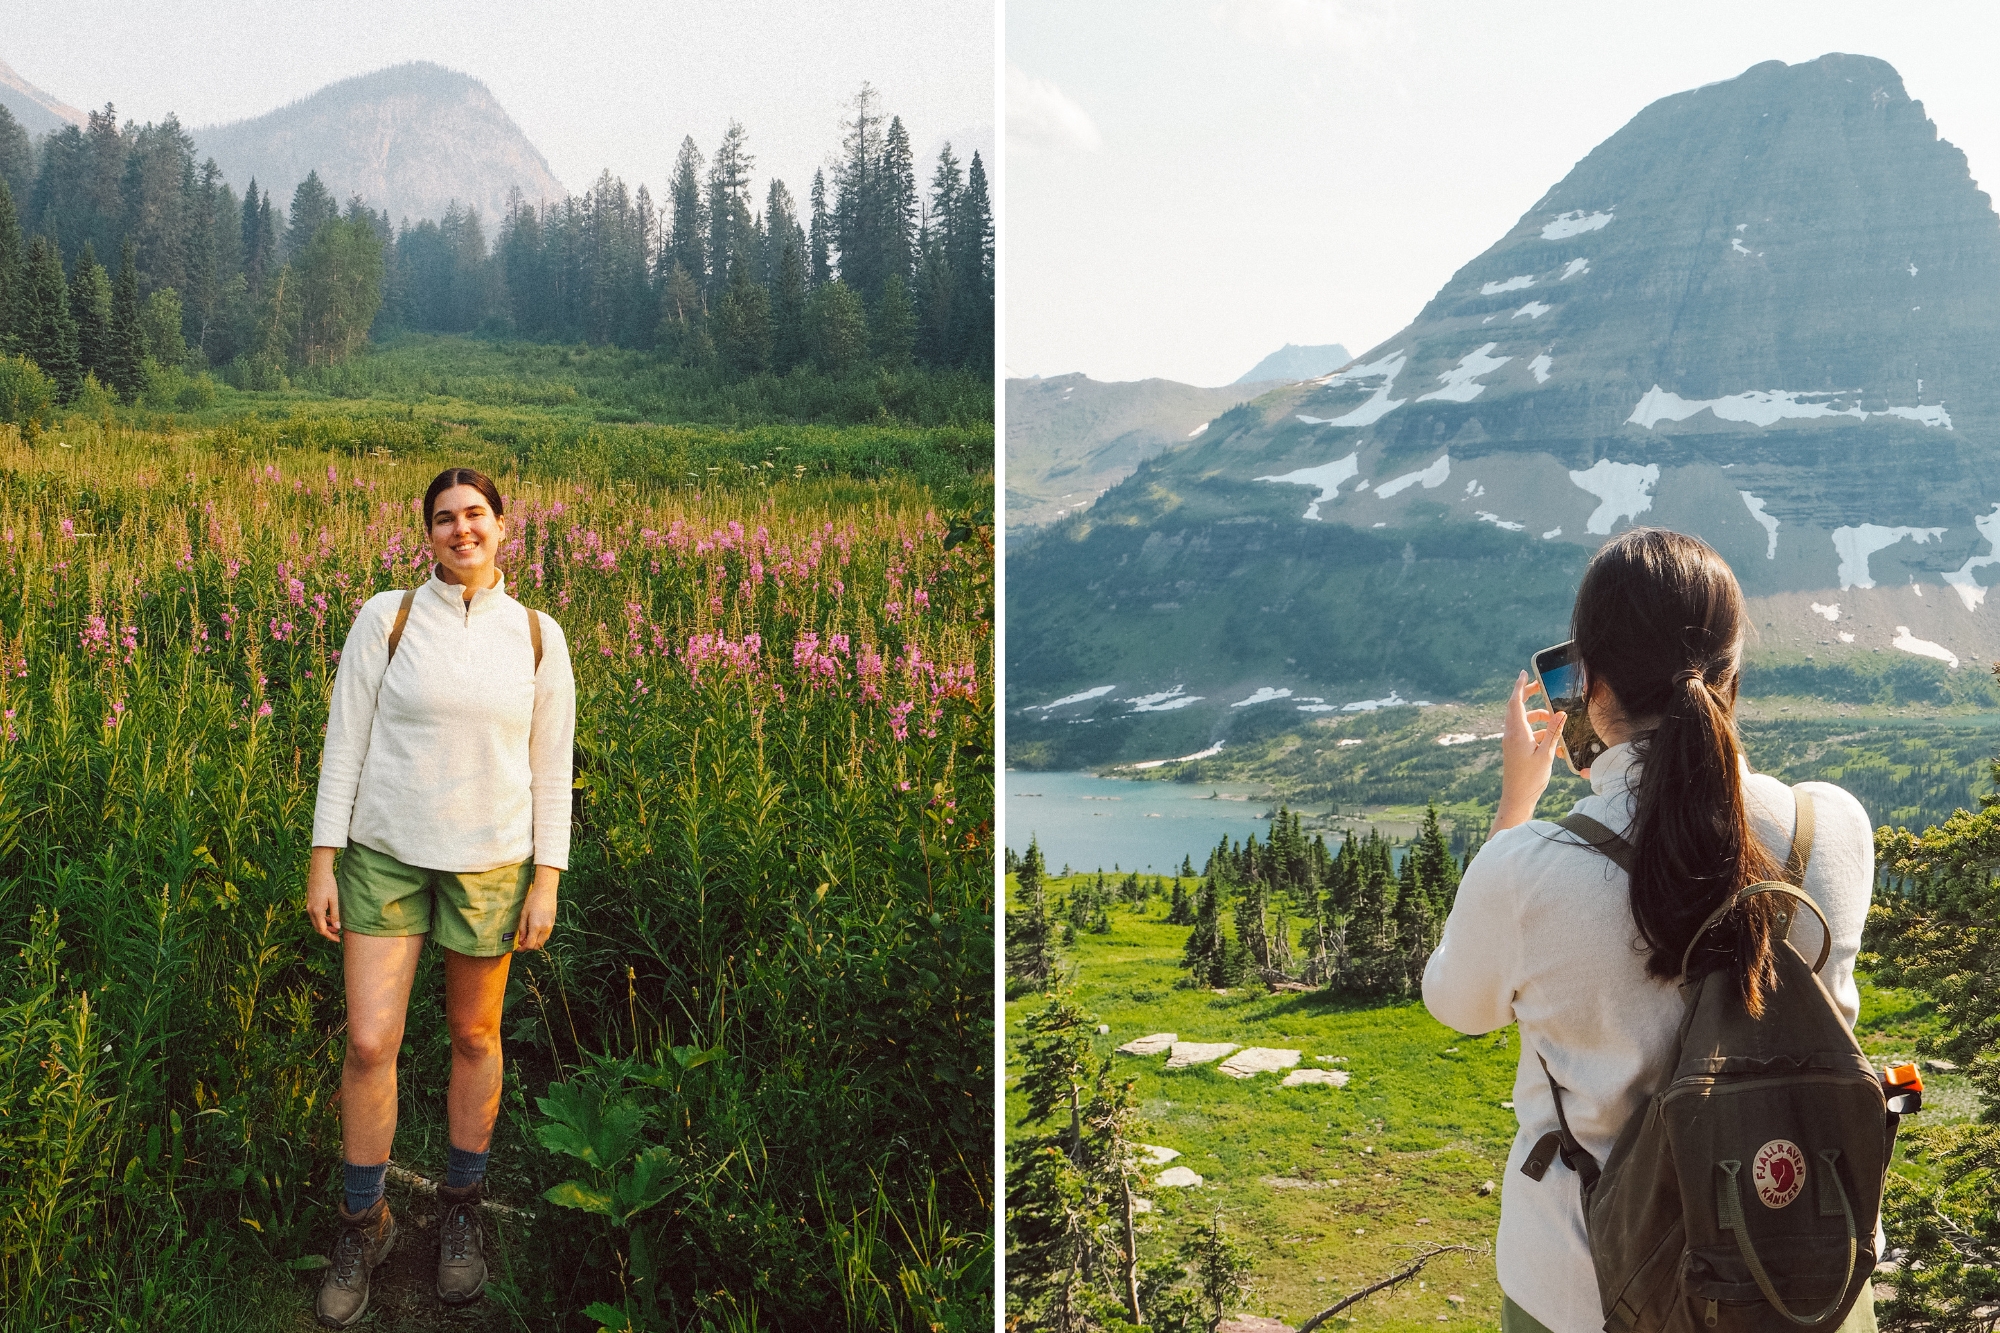
Composition is often at the core of a good photo. Fortunately, your iPhone camera offers tools to help you find balance and rhythm in your images.
First, enable the camera grid in Settings > Camera > Grid. This overlays a rule-of-thirds guide to help you frame subjects off-center for more dynamic storytelling. For example, aligning the horizon line with the bottom or top third often makes for more striking travel landscapes. Consider using low angles to emphasise scale or shoot from above to simplify busy scenes. When photographing those particularly busy scenes, such as busy Parisian street life or Thai night markets, try Portrait mode to blur the background gently and draw attention to your subject.
For moments that require more control, consider switching to the 2x zoom (or 3x on iPhone Pro models) to compress the background and highlight fine details. Explore symmetry, reflections, and leading lines, for example, architecture and city scenes especially benefit from centered framing and balance, whereas wildlife or nature can shine from asymmetry.
4. iPhone features for every scene
Your iPhone camera has an extensive range of features you can utilize to elevate your travel photos. Here find our tips for how to make the most of your iPhone’s native tools, for all travel scenarios.
Live Photos: Ideal for moments with movement. Live Photos record 1.5 seconds before and after you tap the shutter and are perfect for capturing a high-stakes sports game, candid interactions or wind-blown hair.
Portrait Mode: Use this for personal portraits, food, or small still life shots. It adds a shallow depth of field effect, and newer models allow you to adjust the blur level after shooting.
Night Mode: On iPhone 11 and later, Night Mode automatically activates in low light. Hold the phone steady and let the countdown complete. It’s perfect for star sprinkled skies, lantern-lit streets, or city skylines.
Ultra-Wide Lens: On supported models, the 0.5x lens gives a dramatic perspective for tight interiors, towering landscapes, or immersive architecture.
ProRAW: If you’re using iPhone 12 Pro or later and want more editing flexibility, enable Apple ProRAW in settings. This retains more image data and dynamic range, great for post-travel editing.
Making use of these tools allow you to shoot quality images not only with ease, but without investing into professional photography equipment.
5. Subtle edits for stronger stories
Editing helps refine your photos, but subtlety is key. Begin with the iPhone’s built-in editor. Open the image, tap “Edit,” and adjust exposure, contrast, brilliance, and shadows.
If you want more control, apps like Lightroom Mobile and VSCO allow for custom presets and batch editing. These tools are useful if you're creating a visual narrative for a photo book and want consistency across multiple images. Use restraint with filters. Opt for gentle tonal shifts rather than dramatic overlays. Aim for edits that enhance mood, not distract from it.
Some moments are best left untouched. A slightly overexposed café table in the afternoon sun might hold more truth than a perfectly edited version. Let emotion guide your edits just as much as your eye.
Capture a sequence, say the journey to a viewpoint, recording each moment from the pause at the top, to the trek back to base. Look for layers, whether that be a street scene with people moving through the frame, a pair of shoes left by the hotel door or a breakfast table half-finished.
Use Burst mode, accessed by holding and dragging the shutter to the left, to catch fleeting expressions or motion. It is especially helpful when photographing movement or fleeting moments.
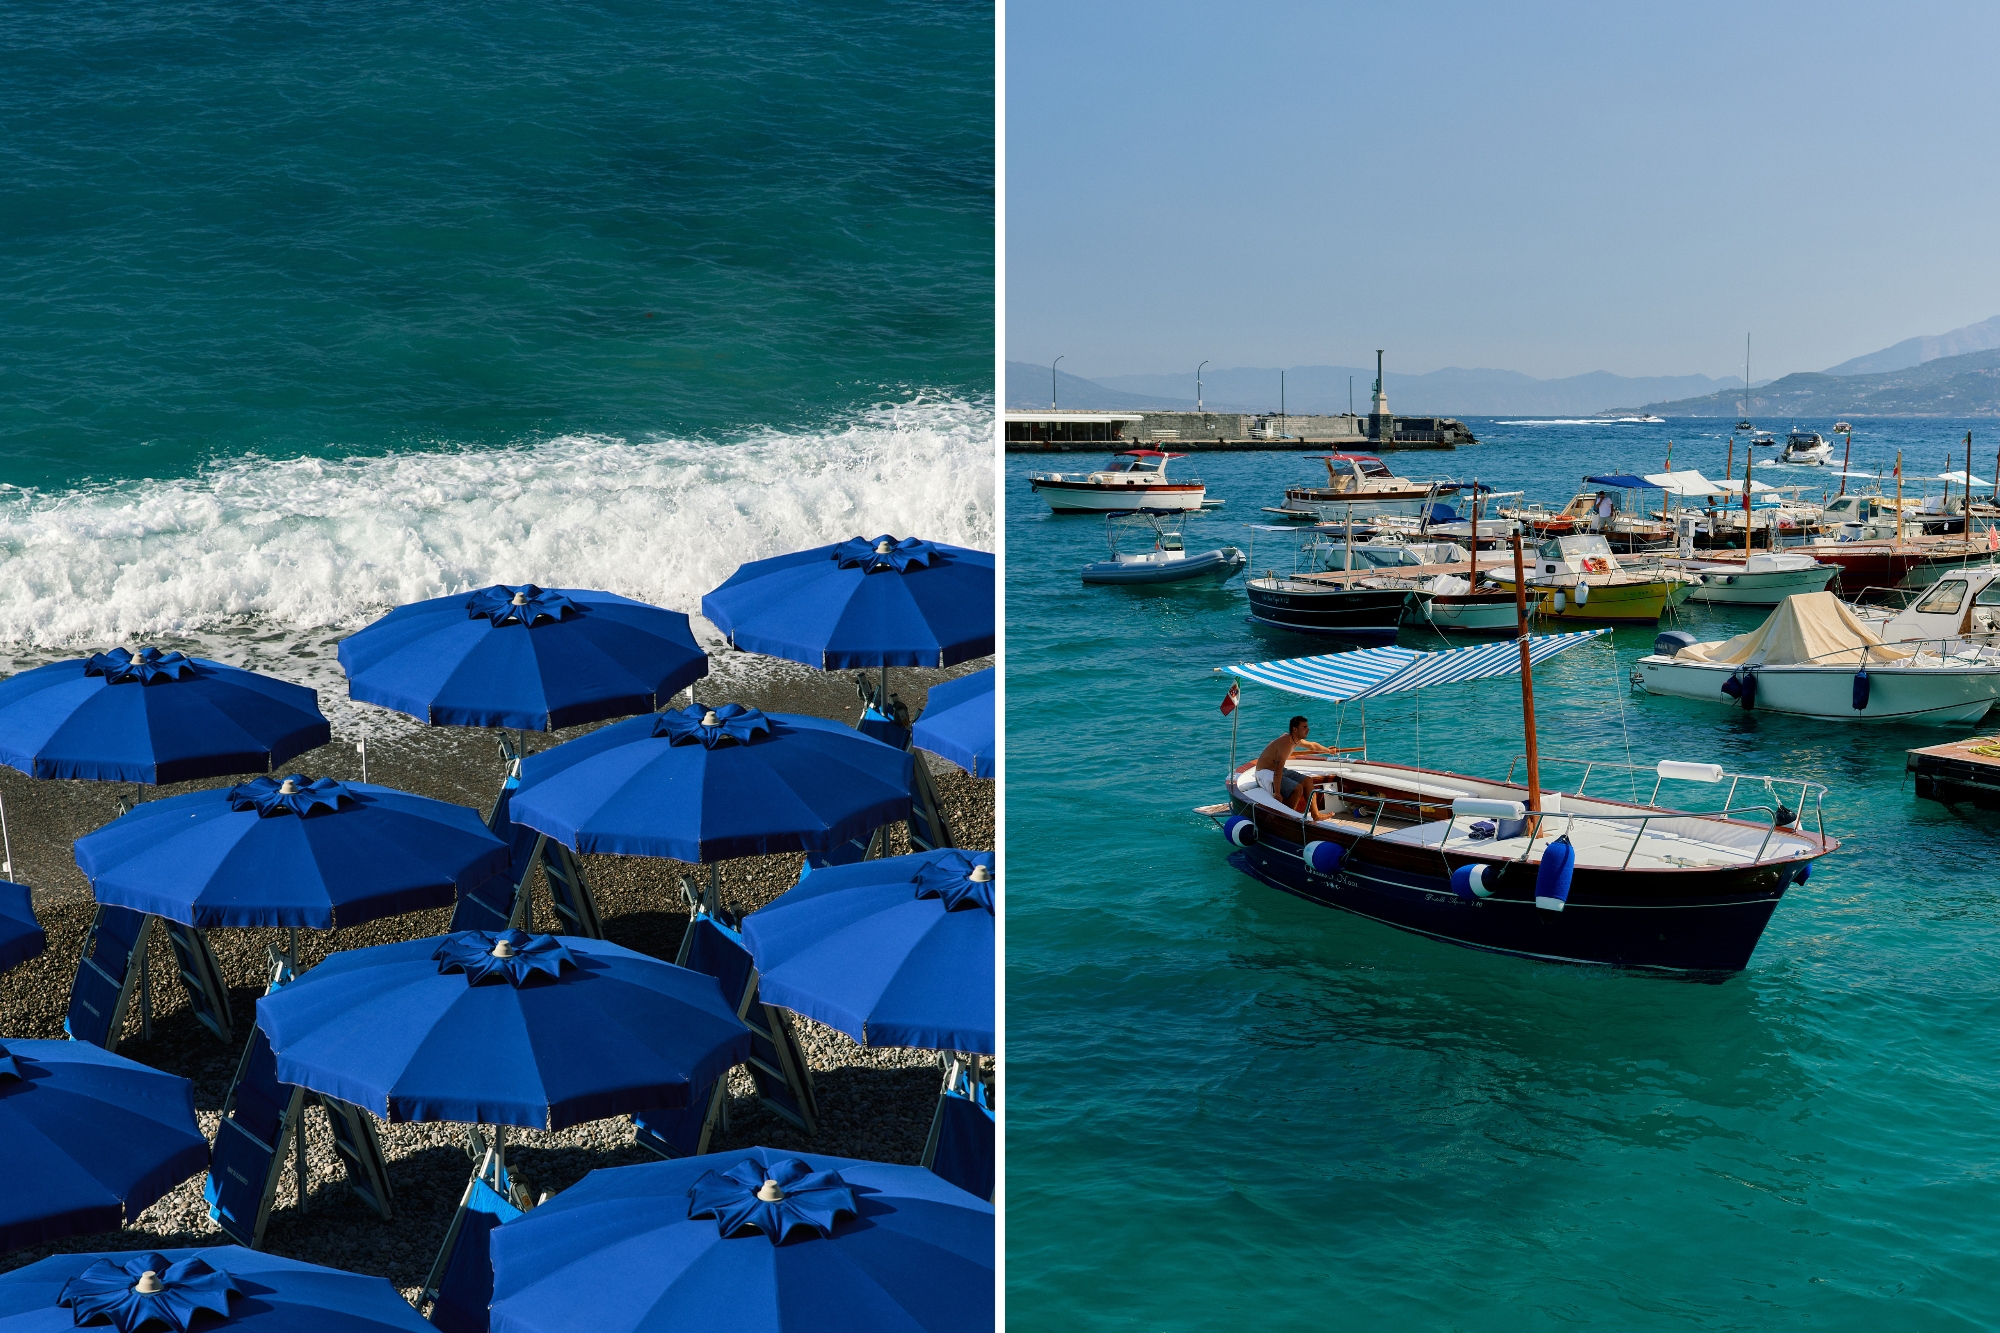
Alternate between wide shots to establish place and close-ups to capture emotion or detail. This variation helps create a story that flows, much like a well-edited short film.
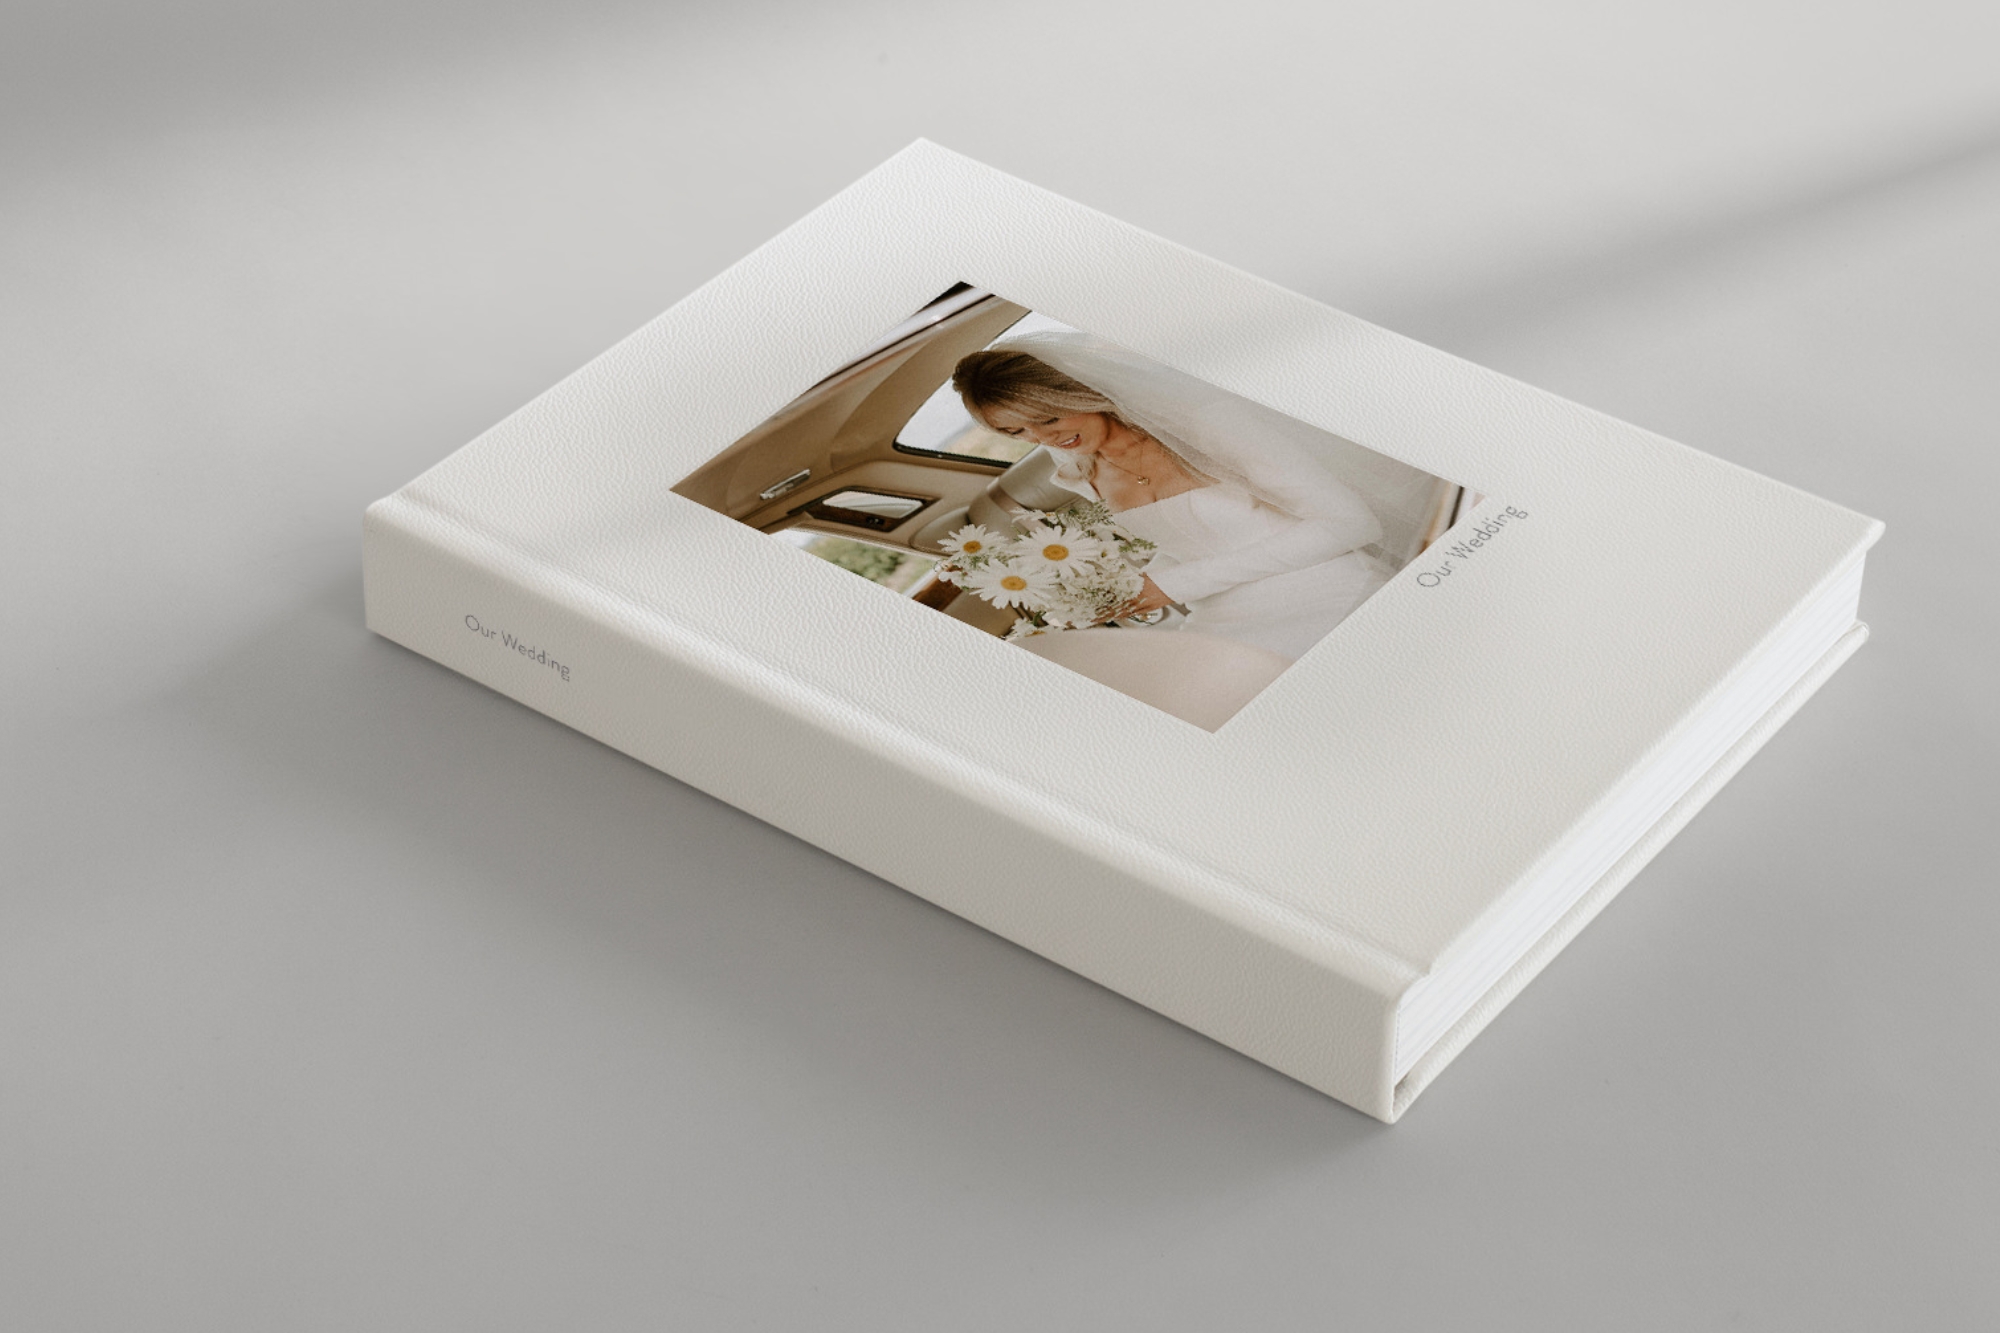
7. From iPhone to print
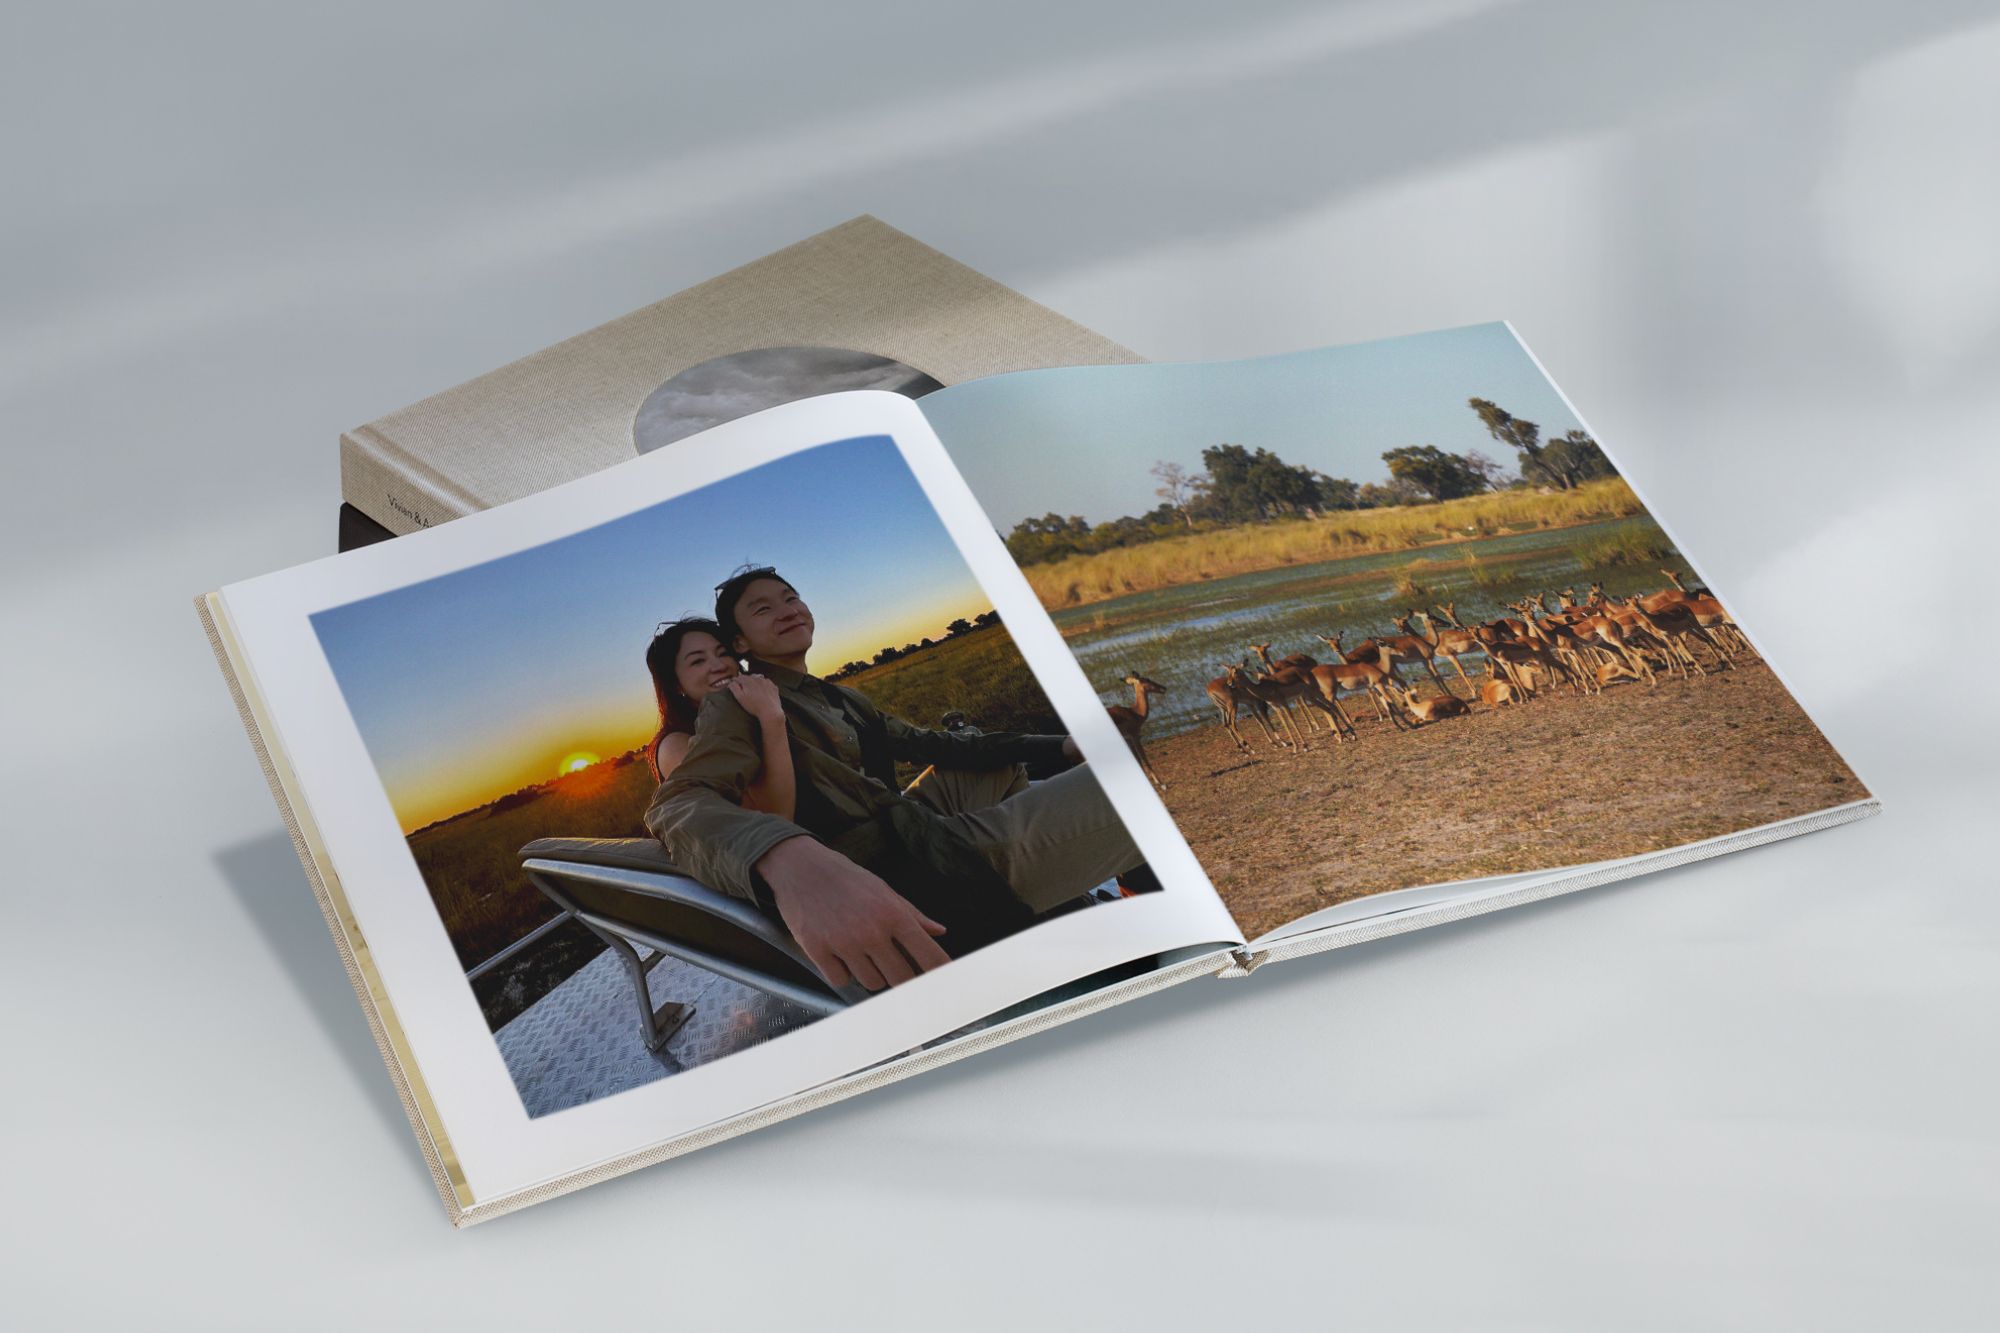
Once your trip is over, forget the post-holiday blues and let yourself relive the epic experiences through a thoughtfully curated and perfectly printed travel photo book.
Start by marking your most loved memories and resist the urge to save everything, remember, the beauty of a printed collection lies in the selection. On iPhone, this is as easy as taping the heart icon in Photos to add to your ‘Favorites’ album. This helps quickly spotlight the images that moved you most.
From there, curate a sequence, thinking of the story you want to tell. Consider including a variety of compositions e.g., panoramic scenes, portraits, textural details, and in-between moments.
Try choosing images that not only complement each other in palette, tone, and emotion, but reflect the soul of your travels. For printed photo books, especially, consistency creates visual harmony.
In the MILK Design Studio, you can lay out your images using elegant templates, add subtle captions, and select premium cover fabrics like linen or leather to truly bring your adventures to life. Thoughtful design elevates your story beyond the printed pages and transforms it into a timeless heirloom. A travel photo book allows you to slow down, to turn a page and to feel the story again.
Your travels are a chapter in your life story and the photos you take are the pages. By using your iPhone with to its full capability, choosing the right light, experimenting with composition, and editing with care, you can create images that feel as vivid years from now as they do today.
The adventure should not end in your camera roll. Bringing your memories into print turns them into something lasting, something you can hold, revisit, and share with loved ones. A thoughtfully designed MILK travel photo book transforms your images into a timeless keepsake, preserving the narrative of each moment into one perfect memoir.
The best souvenirs are the ones that remind you, in an instant, of the adventure you lived. Don’t let these memories get lost and start creating your own travel photo book today.