A display-worthy format for every little masterpiece
Wondering what to do with all the artwork your children bring home from kindergarten or school? Once taking pride of place on the fridge, all of a sudden you find there’s too much art and not enough space.
Instead of feeling the guilt that comes with the thought of throwing out your little one’s precious masterpieces, why not give them a new lease on life in the form of a beautiful photo book?
A nostalgic keepsake for generations to enjoy (and a priceless heirloom should they grow up to become a renowned creative!), discover our six easy steps below to help turn your child’s artwork into a beautifully designed, display-worthy photo book.
6 steps to transform your children's artwork into a beautiful photo book
1. Get organized
2. Get digital copies of everything
3. Select your size and format
4. Upload your files into the MILK Design Studio
5. Start designing
6. Add a creative touch

1. Get organized
It’s time to start the task of tackling that mountain-high pile of drawings, paintings, sculptures and more. We’d recommend sitting down with your child and work with them to choose their top pieces of artwork that they’d like to showcase permanently in a photo book format. You could keep things simple and include a bit of everything in no particular order, or you could consider arranging the art by theme. Perhaps your child has a knack for portraits of people, flowers or simply takes an abstract approach. Maybe you’d like to divide things by medium; paint, crayons, pencils or chalk. Or you could opt for displaying the art across a book in a chronological order to show how their style and skill has developed over time.
If you find yourself reading this article before your little one starts bringing home a collection of artworks – well done! Consider this your sign to get organized early and start keeping a regular record of all your favorite masterpieces now by using a traditional scanner or taking a photo from your phone.
2. Get digital copies of each masterpiece
Once you’ve got all your child’s artwork organized it’s time to get digitized copies of everything for easy uploading later. You can either use a traditional scanner, a photo scanning app, or take a photo from your phone or camera. Photos are a great option for any 3D art creations.
MILK Tip: If you’re using your phone or camera, be sure to place the artwork against a plain background and shoot in natural light where possible. You can crop the background out later or keep it in for aesthetic purposes.
3. Select your size and format
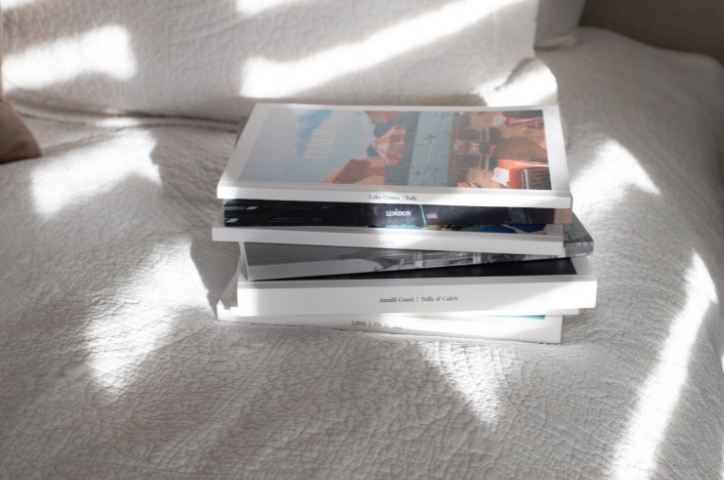
Now it’s time to choose the format and size of your photo book. For children’s artwork we recommend our Softcover Photo Books or Premium Photo Books.
Our Softcover Photo Books are a great affordable option that’s both lightweight and durable. Medium in size with the option to have up to 200 paper pages, it’s the perfect collectible format if you envision creating regular keepsakes to display your children’s artwork.
Our Premium Photo Books are available in both medium and large formats. Carefully crafted with a fabric hardcover for increased durability, section-sewn binding for long-lasting strength, and archival quality papers that won’t decompose or discolor with age, this range will really bring their creative works to life.

4. Upload your files into the MILK Design Studio
After choosing your size and format, you’re ready to start uploading all the digitized copies of your child’s artwork. You can upload the files directly from your computer, Google Photos, Google Drive, Dropbox, or Facebook. You can also log into your account on mobile and upload photos direct from your phone. If you had already created folders to organize the images beforehand they should all be in order once you’ve imported them. If not, we recommend ordering everything now to make it easier to create.
MILK Tip: We recommend uploading your images as high resolution JPEG files at 300 dpi or higher for the best print results. To check the DPI of an image, on Windows right click the image file and select Properties then Details. On a Mac, open the image in Preview and select Tools then Adjust Size.
5. Start designing
It’s time to get creative and start designing your child’s art photo book. Our Designer Templates lend themselves perfectly to the beautiful display of their creativity and imagination. Intentionally designed with plenty of white space, they will really highlight the art, not clutter it.
You can design each page one at a time or if you’re a time poor parent and want things done quickly, there is an autofill option. This gives you ability to select the number of images you want per spread (we’d suggest one image per spread), then our smart autofill engine will automatically select the best templates to suit the size and orientation of each image, populating each page of your photo book for you. From there you can make any final tweaks to each spread or use our free transform tool to crop out any of the unwanted borders that might have occurred when scanning or photographing the art.

6. Add a creative touch
Finally add an extra touch by way of text boxes to make your photo book truly unique. Title the artwork, make note of when and where it was created, or bring your child’s imagination back to life by including a description – in their own words – of each piece. This small but meaningful insight into their creative mind at a specific moment in time will be something to truly treasure.
There you have it. Six easy steps to turn your child’s artwork into a timeless photo book. While the traditional development milestones to record are the first steps and the first days at school, it's the little things like your celebrating your child's art that can become a beloved treasure in your memory collection. Start creating yours today.