Easy, elegant & meaningful: how to bring your travel memories to life
Every trip leaves you with hundreds of photos, and almost all of them end up buried in your camera roll, scrolled past once and never seen again. A printed travel photo book changes that. It takes the best of where you've been, what you saw and the people you shared it with, and turns it into something you can hold, revisit and pass on.
This guide walks you through how to create a travel photo book from start to finish: choosing the right format for your trip, curating hundreds of photos down to the ones that matter, designing pages that tell a story, and getting beautiful results in print. Whether it's a sun-soaked honeymoon, a European summer, a backpacking adventure or a family road trip, here's everything you need to turn your travel memories into a keepsake worth keeping. None of it requires design experience or expensive software, just your photos, a little time and a willingness to be selective.
Why a printed travel book beats your camera roll
There's something a screen can't do, and that's let a memory sit in your hands. Printing your photos pulls them out of an endless digital scroll and gives them weight, order and a place on the shelf where they'll actually be seen. A phone holds thousands of images, which sounds like an advantage until you realise it means you almost never look at any of them. A book holds eighty, and you'll look at all of them, again and again.
A travel photo book does more than store images. It becomes a tangible space to reflect on where you've been and who you were in that moment, something to flip through with the people you travelled with, or gift to someone who was part of the story. There's a kind of reflection that only happens when you slow down and turn a page, and it's very different from swiping through a gallery. Digital files also get lost, corrupted, locked behind old logins or forgotten on a drive in a drawer. A printed photo book or photo album makes sure the memories don't, and a well-made one will outlast the phone the photos were taken on by decades.
Our guide to a stunning travel photo book
1. Choose the right format for your trip
2. Curate ruthlessly, from 800 photos to 80
3. Know which shots make a travel book sing
4. Design your book with intention
5. Layout ideas worth stealing
6. Bring it to life with words
7. Tailor it to your kind of trip
8. The final checks before you print
1. Choose the right format for your trip

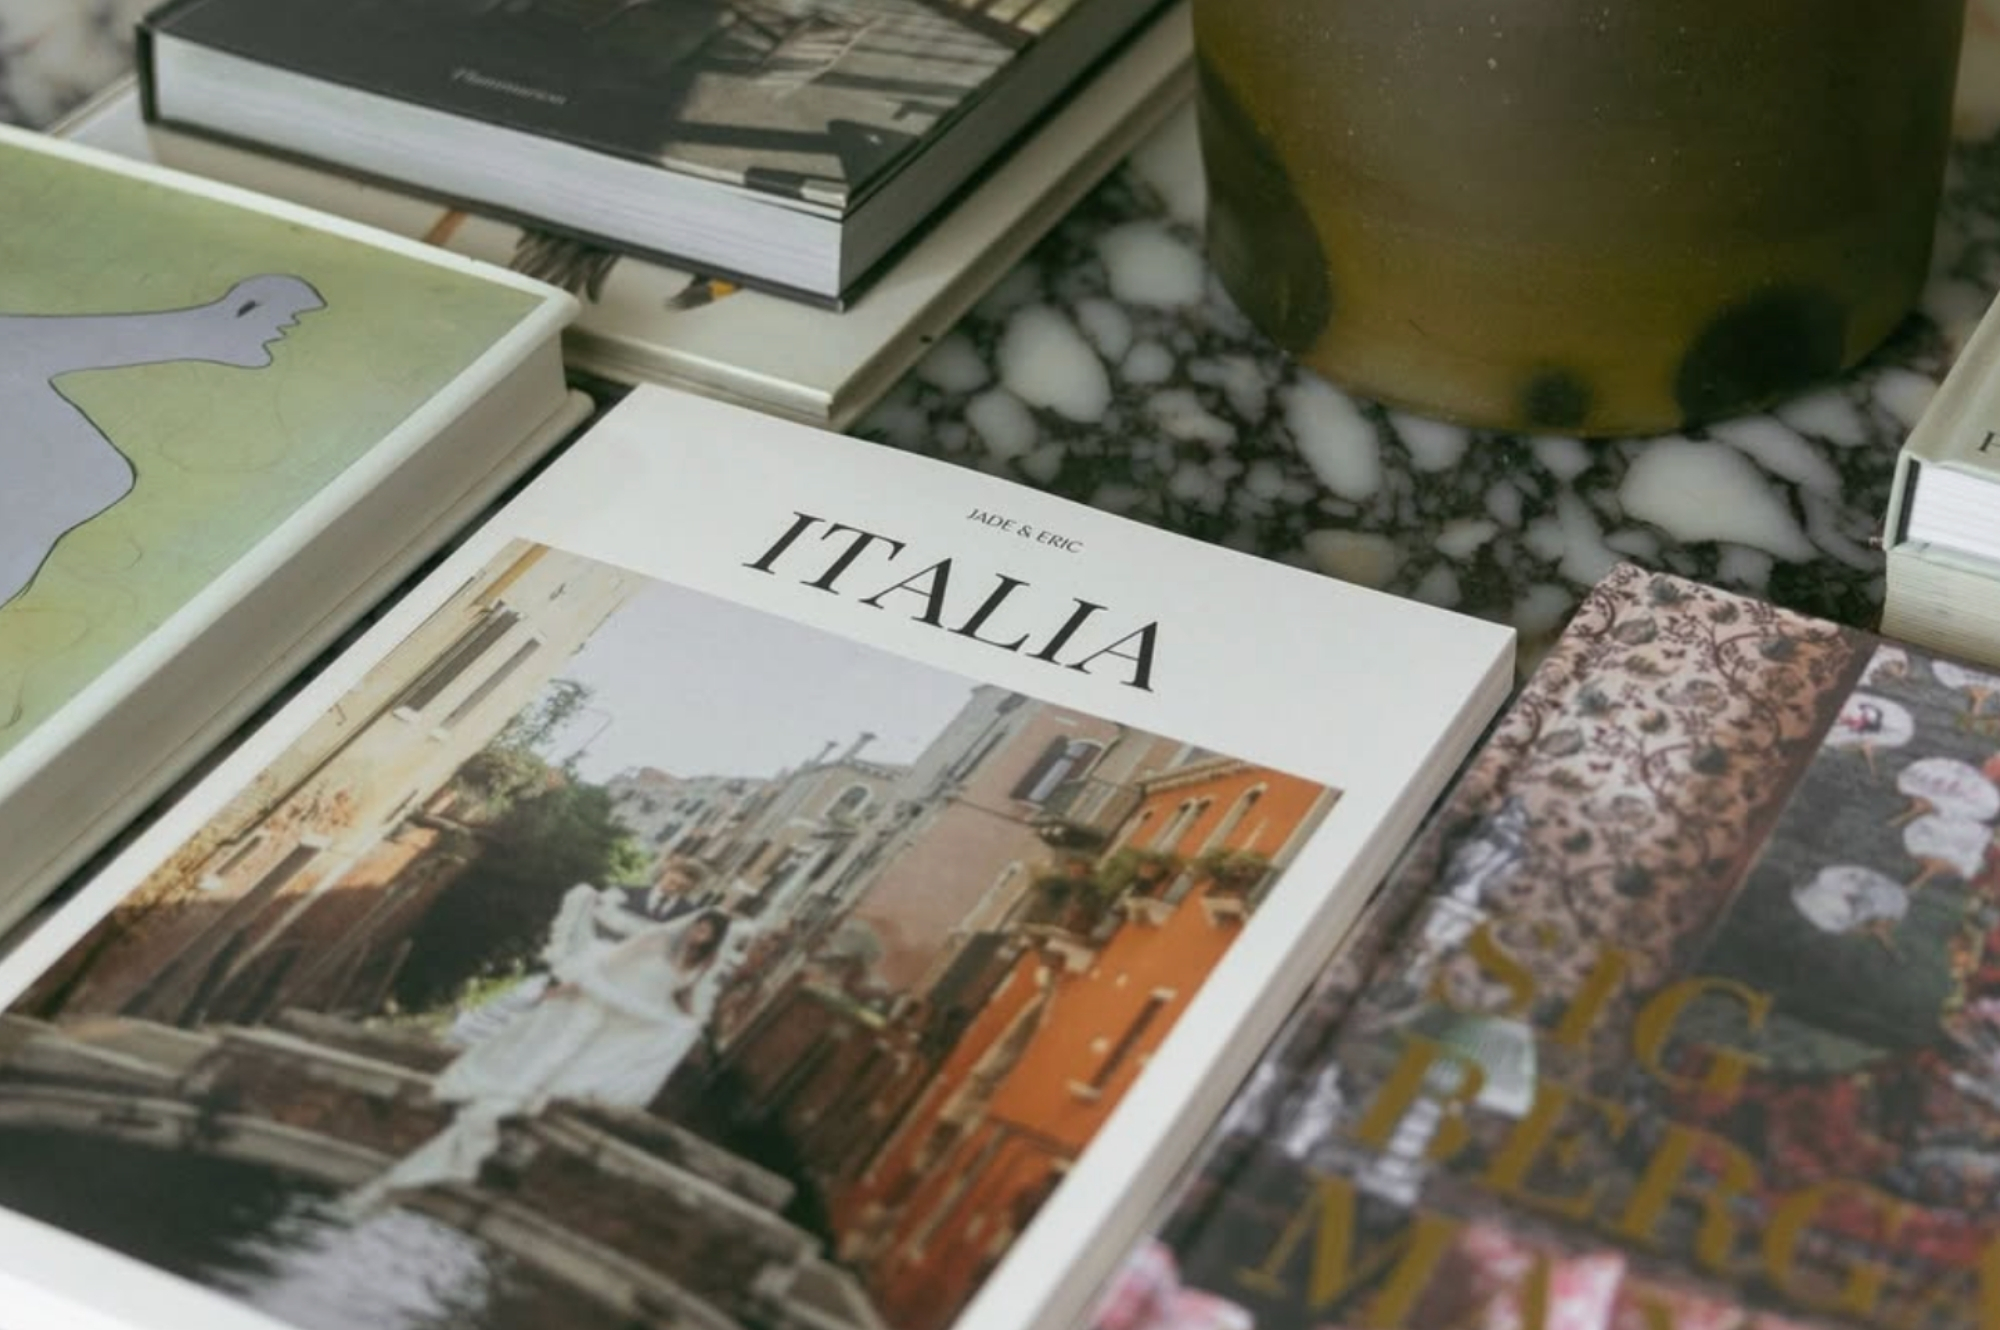
The format you choose sets the tone for the whole book, so start by thinking about the scale of your trip and how you want to relive it. A weekend away and a year of travelling are very different stories, and they suit very different books. MILK Books offers a range of travel formats, each designed to elevate your photography in a slightly different way.
Our Moleskine Photo Books are inspired by the journals of artists and explorers, with a sleek black hardcover, matte ivory paper and an inner pocket for tickets and mementos. They're ideal if you like to build a series, with one book per destination, year or milestone trip, and the clean, understated design puts your words and images front and centre. Travel Magazines take a more modern, editorial approach, with vibrant six-colour printing and feature-spread layouts that suit design lovers and longer journeys, like a three-month backpacking trip you want to break into instalments. Softcover Photo Books are lightweight, portable and beautifully simple, which makes them perfect for weekend escapes, annual highlights and travel roundups you want to create and share easily without much fuss.
For something more substantial, our Premium Photo Books strike the balance between timeless design and everyday ease, with archival-quality printing and linen or cloth covers that work for everything from a Euro summer to a family road trip. And for your most unforgettable trips, our Premium Photo Albums offer lay-flat, flush-mount pages on archival paper, bound in luxurious materials like leather, buckram and linen, and built to last for generations. They're the format to reach for on a honeymoon, sabbatical or once-in-a-lifetime escape, where the book itself becomes part of the keepsake.
When you're weighing it up, it helps to ask a few honest questions about your trip and your style. Is this a one-off journey or part of a growing collection? Will the book live on a coffee table, sit on a bookshelf, or be gifted to someone special? Do you prefer a minimalist layout or something more editorial and bold? A quick rule of thumb is that a whirlwind weekend in Paris suits a Classic or Softcover book, while a once-in-a-lifetime journey deserves a Premium Album. And if you're not sure your whole trip will fit in one book, that's usually a good sign you've got the makings of a mini-series rather than a single volume.
2. Curate ruthlessly, from 800 photos to 80

Start with the story you want to tell. Before you upload a single image, ask yourself what the heart of this trip really was, whether that's discovery, connection, adventure or rest, and let that answer guide what stays and what goes. A road trip about freedom and a honeymoon about intimacy will pull different photos to the surface even from the same camera. From there, curate with intention. Choose emotion over completeness, keeping the photos that make you feel something or capture a telling detail even if they're not technically perfect, because a slightly blurry candid often beats a sharp but lifeless landmark shot. Give every place a moment rather than a folder, since a handful of strong images from a location beats twenty near-identical ones, and your reader will thank you for the restraint.
Pick an order with purpose, as chronological and by-location are the two most natural structures, and both help the book read like a journey rather than a gallery. Chronological order recreates the arc of the trip from anticipation to farewell, while grouping by location suits trips that hopped between very distinct places. Then mix your shots, because wide landscapes, intimate portraits and candid in-between moments together give the book rhythm and depth, where a run of similar images flattens it out. A practical way to work through this is to make a first pass where you only flag the photos that genuinely move you, then a second pass where you cut anything repetitive, and a final pass where you check every important moment of the trip is represented at least once. Aim to cut hard early, because going from 800 shots to a shortlist of around 80 makes every later step easier, and gives each photo the space it needs to shine.

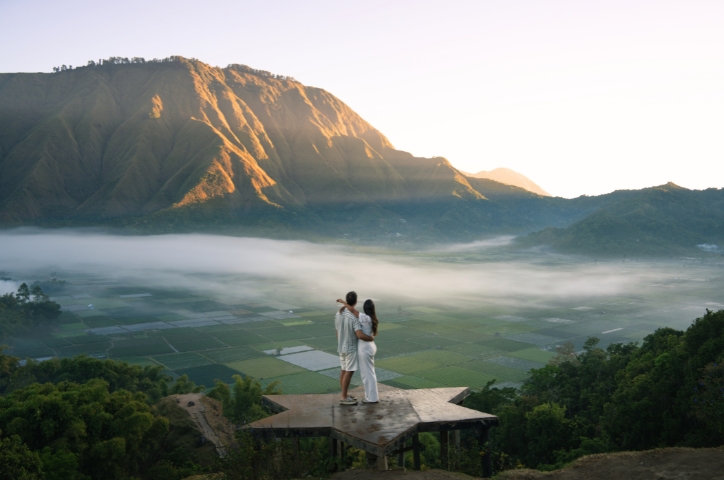
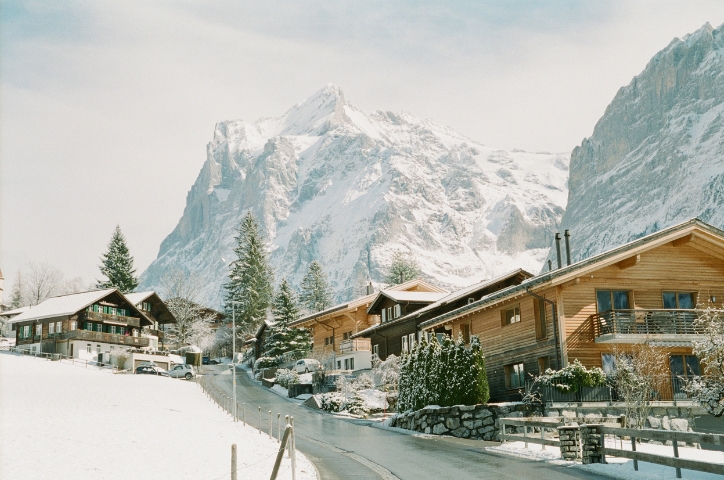
Whether you're selecting from photos you've already taken or you're still on the road, certain kinds of images consistently make travel books come alive. Quiet, in-between moments like packing day, morning coffee as the sun rises, or the open road ahead set the mood and give the big moments their context, and they're the shots most people forget to take. The journey before you even reach your destination, and the slow wind-down at the end, are part of the story too. Shots of people and play tend to be the strongest of all, so look for candid images of the people you're with laughing, swimming and exploring, because the best ones usually happen when no one's looking at the camera. A spontaneous splash in the pool or a sunset conversation with sandy feet says more than a posed group shot ever will.
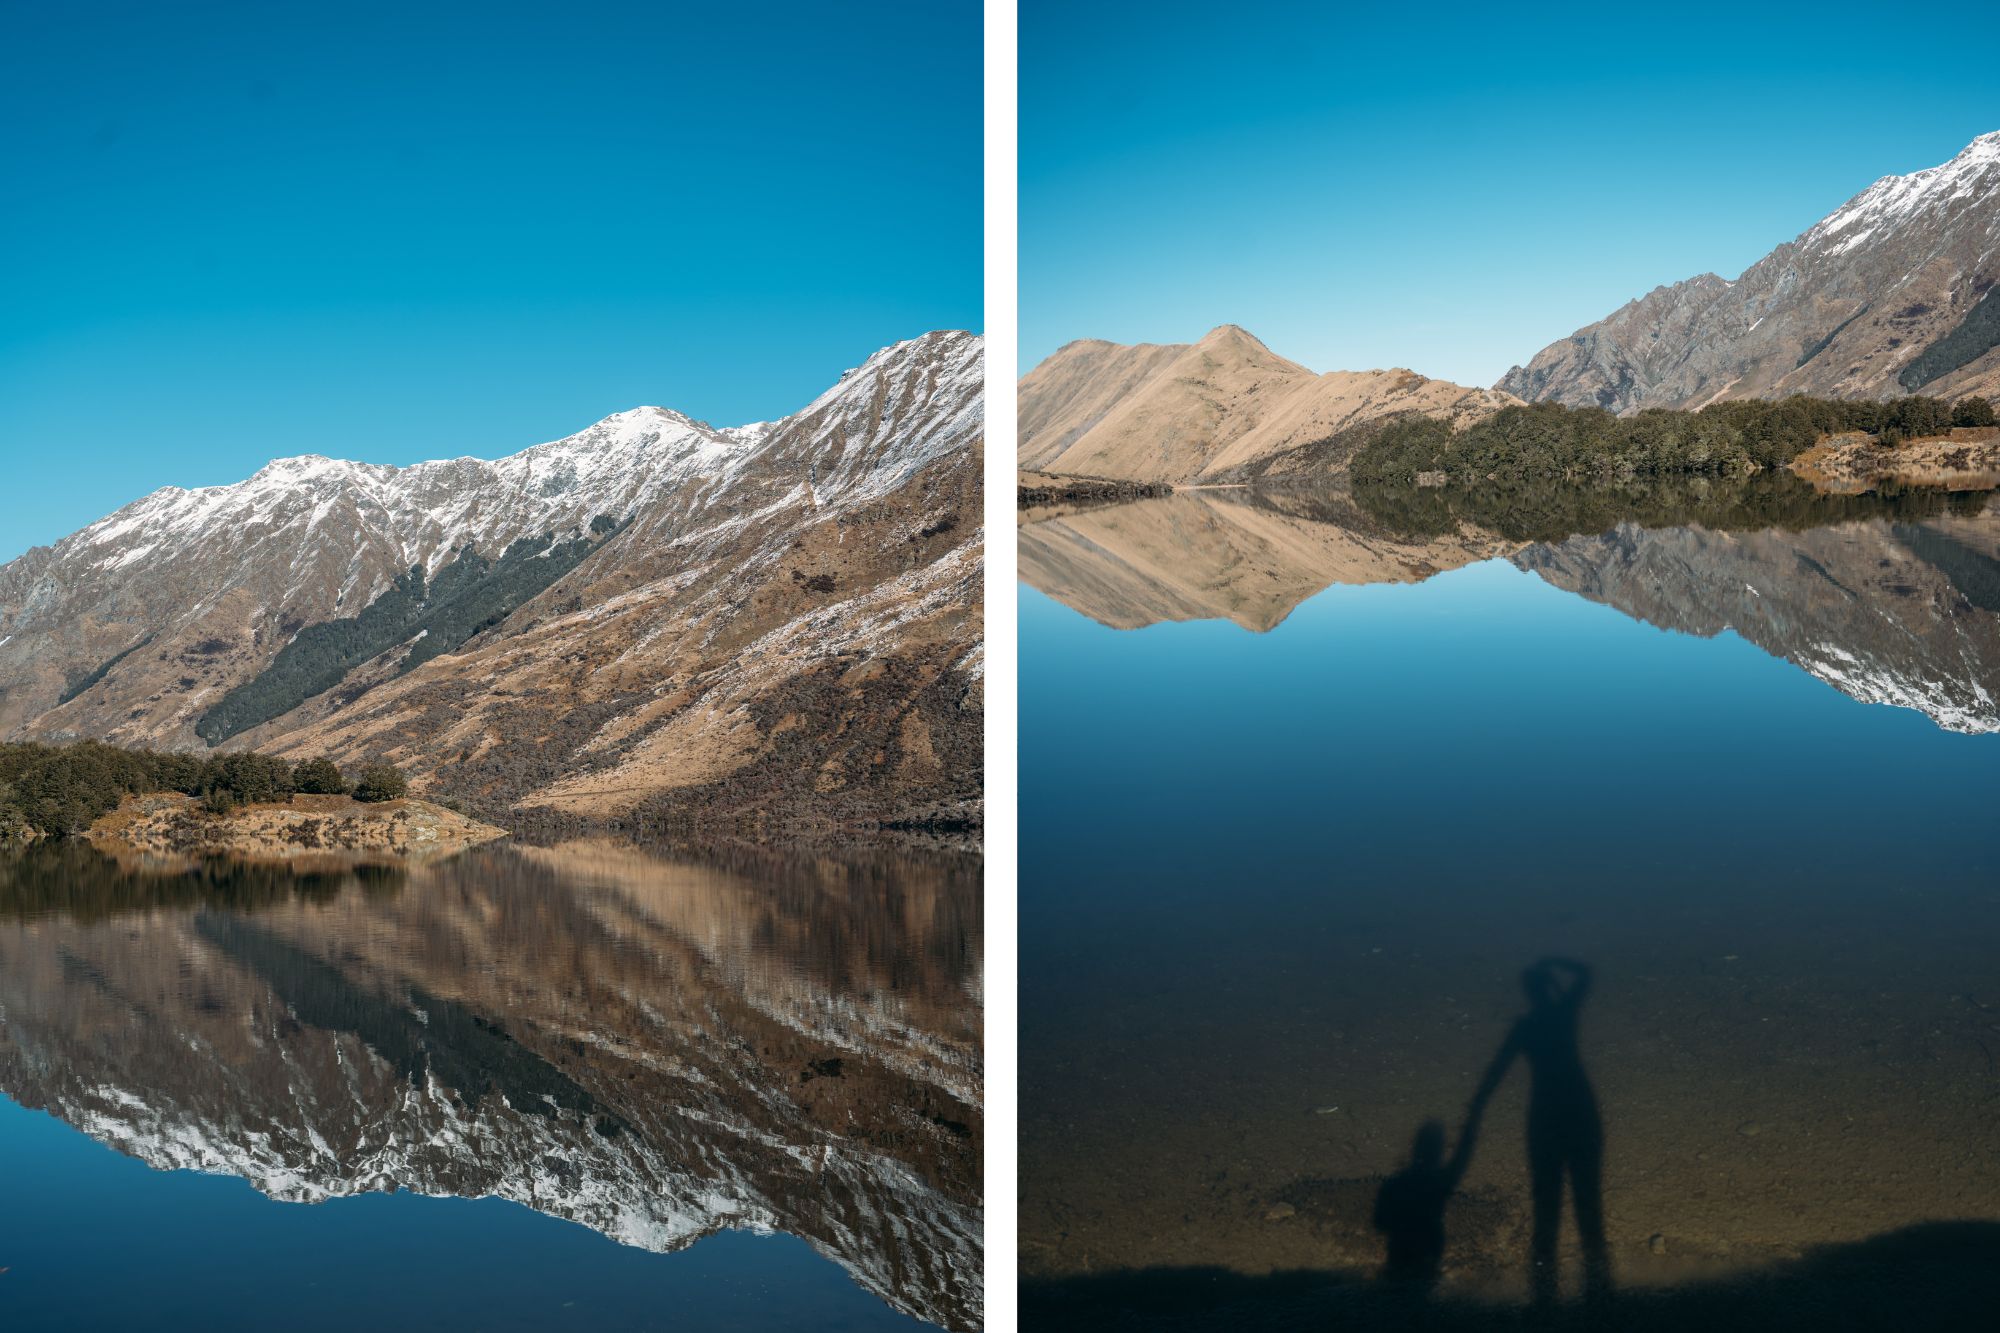
Food and the senses carry a place beautifully too, whether it's gelato in Rome, a roadside barbecue or a picnic spread on a blanket, because food photos hold the culture and togetherness of a trip in a single frame. Half-eaten pastries and steaming seafood tell a story that a menu never could. Nature and water add texture and a sense of scale, from the turquoise of the sea to sunlight filtering through trees to the journey itself on a road trip, with its winding roads and roadside stands. And sunrises and sunsets, the natural finale to any day, bring emotional weight and a sense of closure, which makes them a beautiful way to round off a book.
If you're shooting with a book in mind, lean into golden hour, the hour after sunrise and before sunset, when the warm, low light flatters almost everything and turns even simple scenes into something cinematic. It's the easiest way to lift the overall quality of your images without any extra skill.
4. Design your book with intention
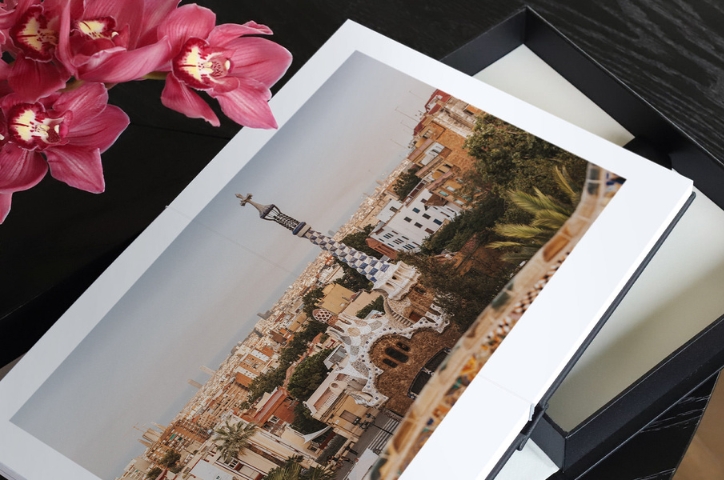
Once your photos are chosen, design is where the book comes to life, and a few principles carry a long way. Make the cover count, because it's the first thing anyone sees, so choose an image that captures the spirit of the whole trip, whether that's a sweeping view, an iconic landmark or a favourite candid moment. Adding the destination and year gives it a polished, professional finish, and our Design Studio offers custom linen or leather cover options so you can set the tone before anyone turns a single page.
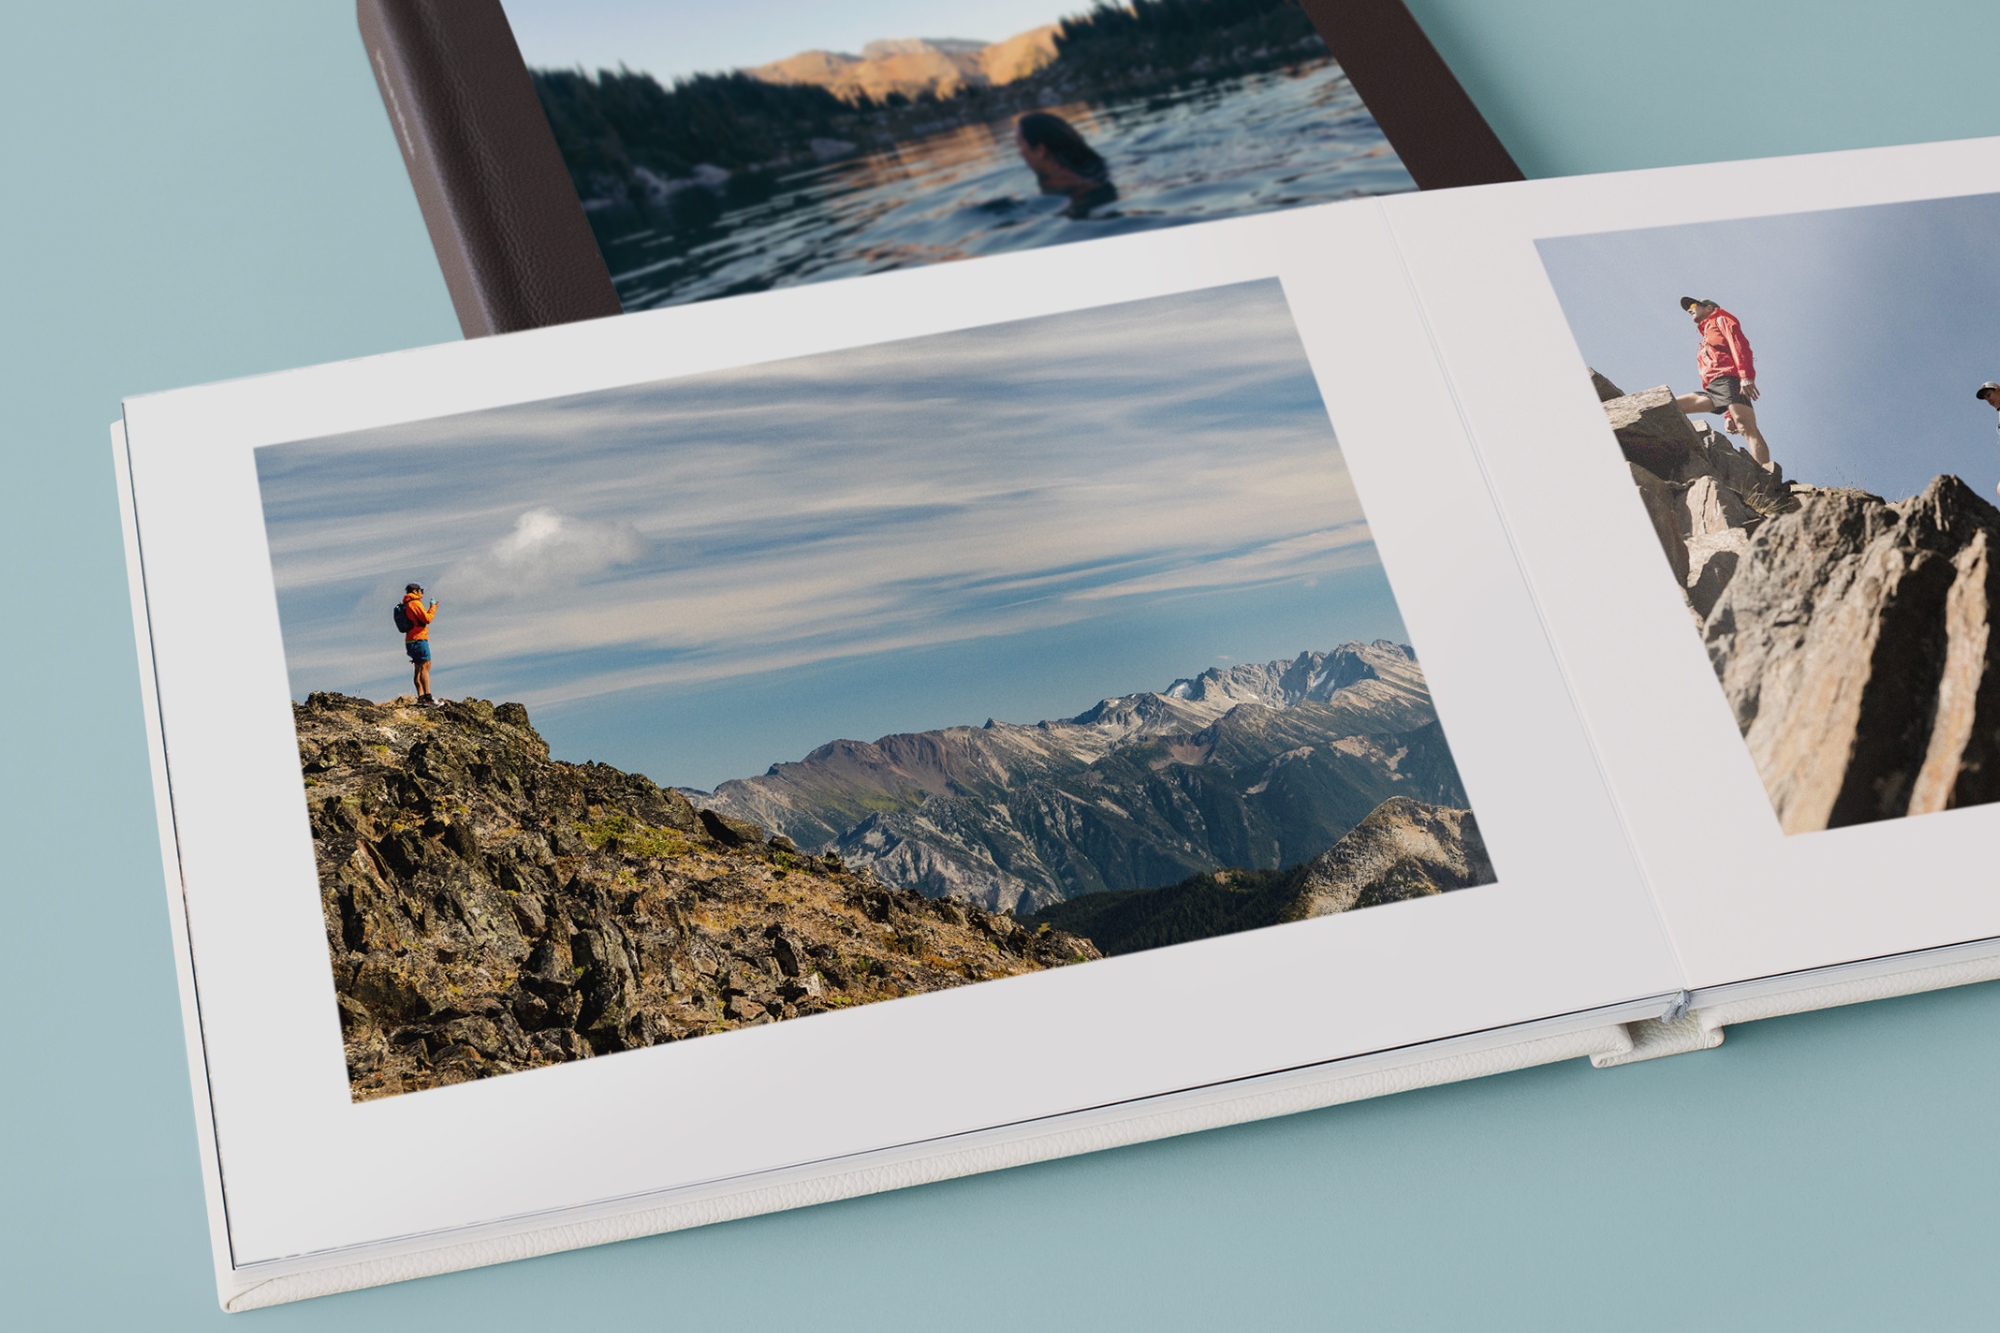
Open strong, since your first spread sets the mood for everything that follows. Lead with one or two powerful images, like a moment of arrival or a portrait that captures the emotion of the trip, rather than easing in slowly. From there, alternate the rhythm by letting standout shots breathe across full-page spreads and using grids or clusters for smaller supporting photos, taking care that those smaller images don't get lost or overwhelmed in a crowded layout. This back-and-forth between big and small, single and grouped, is what gives a book pace and keeps the eye engaged from cover to cover.
Above all, give the eye room to rest. White space adds elegance and stops the book feeling busy, so resist the urge to fill every inch, because a little restraint makes the photos that matter stand out. Keep the overall look consistent too, with a matching feel from the cover through to the final page, so the physical book and the memories inside it feel like one cohesive piece rather than a series of unrelated spreads.
5. Layout ideas worth stealing

Beyond the basics, a few tried-and-tested spread ideas add personality and structure to a travel album. A "top 5 moments" spread works like a greatest-hits page, giving each standout experience its own spotlight with a mix of full-bleed images and smaller detail shots, and it's a great way to set up the narrative early and ease your reader into the journey. A "day in the life" format walks the reader through a single day, from morning coffee to a museum visit to dinner by candlelight, which brings realism and rhythm to the book and often captures the everyday details that turn out to be the most memorable.
Photo sequences, three to five images showing motion or progression like climbing a hill, entering a temple or crossing a busy intersection, create energy and put the reader right there in the moment with you. They're also a lovely way to show before-and-after moments, like getting caught in the rain or the shift from day to night. Theme or colour pages, where you group images by tone or subject such as the blues of the sea, warm terracotta streets or the vivid hues of a market, add a refined, artistic touch and make the whole book feel intentional and cohesive. Don't feel you have to commit to one style throughout, either, because letting the album evolve page by page based on the story you want to tell often produces the most personal result.
For more inspiration, our top travel photo book layout ideas and beautiful travel photo book examples are worth a look before you start designing.
6. Bring it to life with words

Text turns a collection of images into a story, and you don't need much for it to work. Captions that note a location, a date or what was happening in the moment do a lot of quiet heavy lifting, anchoring each photo to a real memory rather than leaving it to float on the page. Quotes and local sayings capture the feeling of a place in a few words, and a short written reflection, opening or closing the book with a paragraph or two about what the trip meant, adds a deeply personal touch that photos alone can't reach.
Keep your captions natural, reflective and true to the experience rather than over-written or generic. The little anecdotes, inside jokes and half-remembered details are often what make a book feel unmistakably yours, and they're exactly the things you'll be glad you wrote down when you look back years later. Our Design Studio gives you full control over where and how your text appears, so you can keep things clean and intentional rather than cluttered, letting the words support the images instead of competing with them.

Different trips call for slightly different approaches. On road trips, document the journey itself, including the winding roads, roadside stops, gas-station snacks and the scenery that unfolds as you drive, because the in-between moments are often half the story and the part you'll most enjoy reliving. For backpacking and other long trips, consider a series or a Travel Magazine format so a months-long journey doesn't get crammed into one overstuffed book, and so each leg of the trip gets the space it deserves.
City breaks suit a "day in the life" structure and theme-by-colour spreads, which handle the density and detail of a city beautifully and bring order to what can otherwise feel like a hundred unrelated street shots. Honeymoons are the moment for a Premium Album in leather or linen, since a once-in-a-lifetime trip deserves an heirloom format you'll still be proud to show people in twenty years. And for family holidays, mix posed and candid shots, give everyone a moment on the page, and lean into the everyday scenes and small chaotic moments the whole family will love seeing again later. Whatever the trip, let the format and the pacing reflect the kind of journey it actually was.
8. The final checks before you print

A few minutes of review before you hit print make all the difference, and they're worth not rushing. Proofread carefully, double-checking spelling, place names and any written details, because small errors distract from the photos and are frustrating to spot once the book has arrived. Check your image quality as well, using the image quality tool to make sure every photo is at the right resolution for print, so nothing comes out soft or pixelated on the page. This matters most for the large, full-page images you've chosen to feature, where any softness shows.
Review the cover and title too, since they're the first impression of the whole trip and should genuinely represent the journey rather than just being the prettiest photo you had. And finally, decide whether this is one book or a series, because not every adventure fits in a single volume, and a big trip might be the start of an ongoing collection. A weekend away might spark a mini-series, while a journey across continents could call for ongoing instalments. Let your travel books grow with you over time.
Start creating your travel photo book
Your travel story is uniquely yours, and it deserves more than a spot in your phone's gallery. From flexible layouts and stylish templates to premium papers and beautiful cover materials, every element is designed with beauty and longevity in mind, so the finished book feels as considered as the journey behind it. With handcrafted quality and formats to suit every kind of trip, our photo books and photo albums make it simple to turn your photos into a keepsake you'll relive, revisit and share for years to come.
Explore our travel photo books and albums and start designing today, because the best stories are meant to be held, not scrolled.