Create online or with our Mac App Extension
Create online in the MILK Design Studio
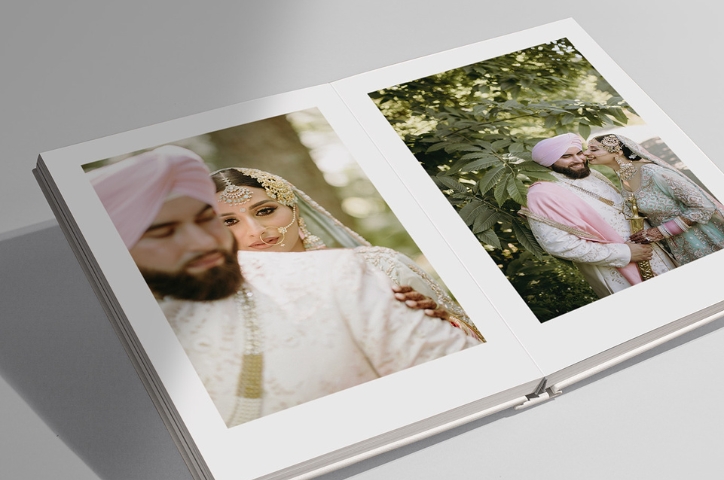
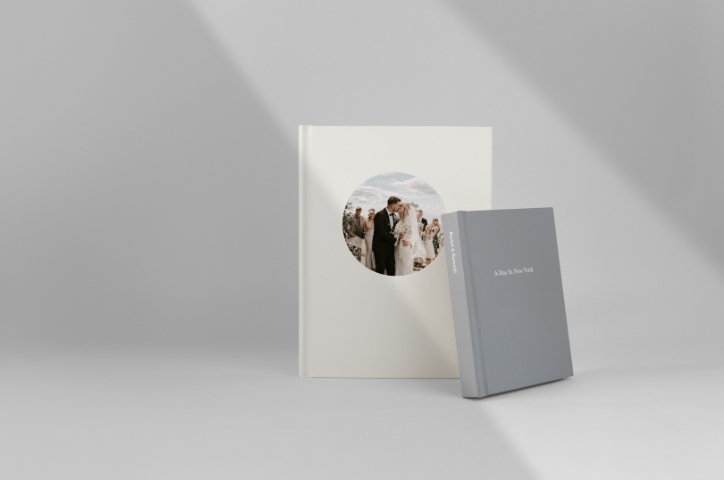
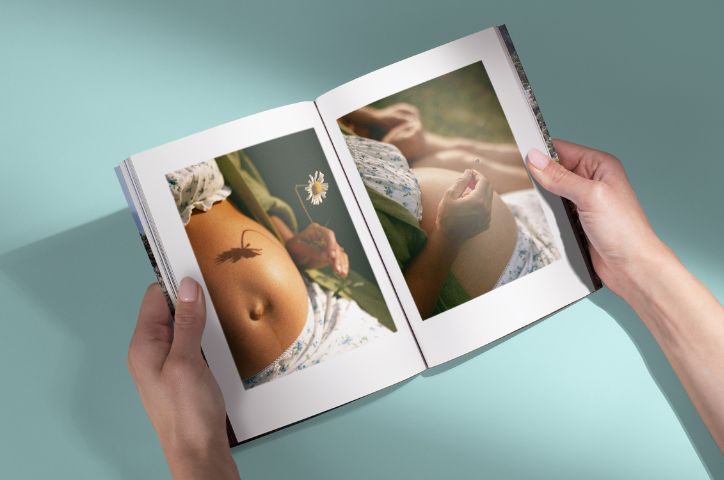
Create an elegant MILK Photo Book or Album quickly and with ease using our innovative Design Studio. Our drag and drop function, background image uploading, and timeless Designer Templates make creating simple and fun. Everything has been laid out and composed with a logical and simple user experience in mind. Making a photo book has never been this simple and fun. To learn more about the features of our Design Studio, we have a series of videos to help make photo book creation easier than it has ever been (be sure to turn on your sound).
Step 1: Import your images
There are multiple ways you can import images into your project. You can drag and drop your photos or you can browse your computer files through the ‘Select images’ button.
You can also access images used in your existing MILK projects, by clicking the ‘Library’ tab along the left-hand sidebar.
Images can also be directly imported from your Facebook or Google account. To do so, click the Facebook or Google icon on the left-hand sidebar.
Step 2: Sort your images
When all your images are imported, we recommend you arrange them in the order you want them to appear in your photo book or album, which will make the creation process a lot easier.
You can sort your images in multiple ways, which you can find on the top right bar under the ‘Sort by’ box:
- Date taken: This is the most common way to sort your images, and it is perfect if your project is following a natural, chronological order, such a travel book, or maybe a project for your baby’s first year.
- File name: This is perfect for those who number or alphabetize their file names before importing them into their Photo Library.
- Custom sort your images: this can be done by manually dragging and dropping them in your preferred order.
- By size (file size)
- By used (this is a useful filter once you have started creating)
Step 3: Select your creation mode
Once you’re happy with the order of your images, click continue. Note: you can always change the order once you're in the Design Studio.
We recommend selecting Drag & Drop mode for the most straightforward way to making your book. Note: you can switch between modes while you’re creating.
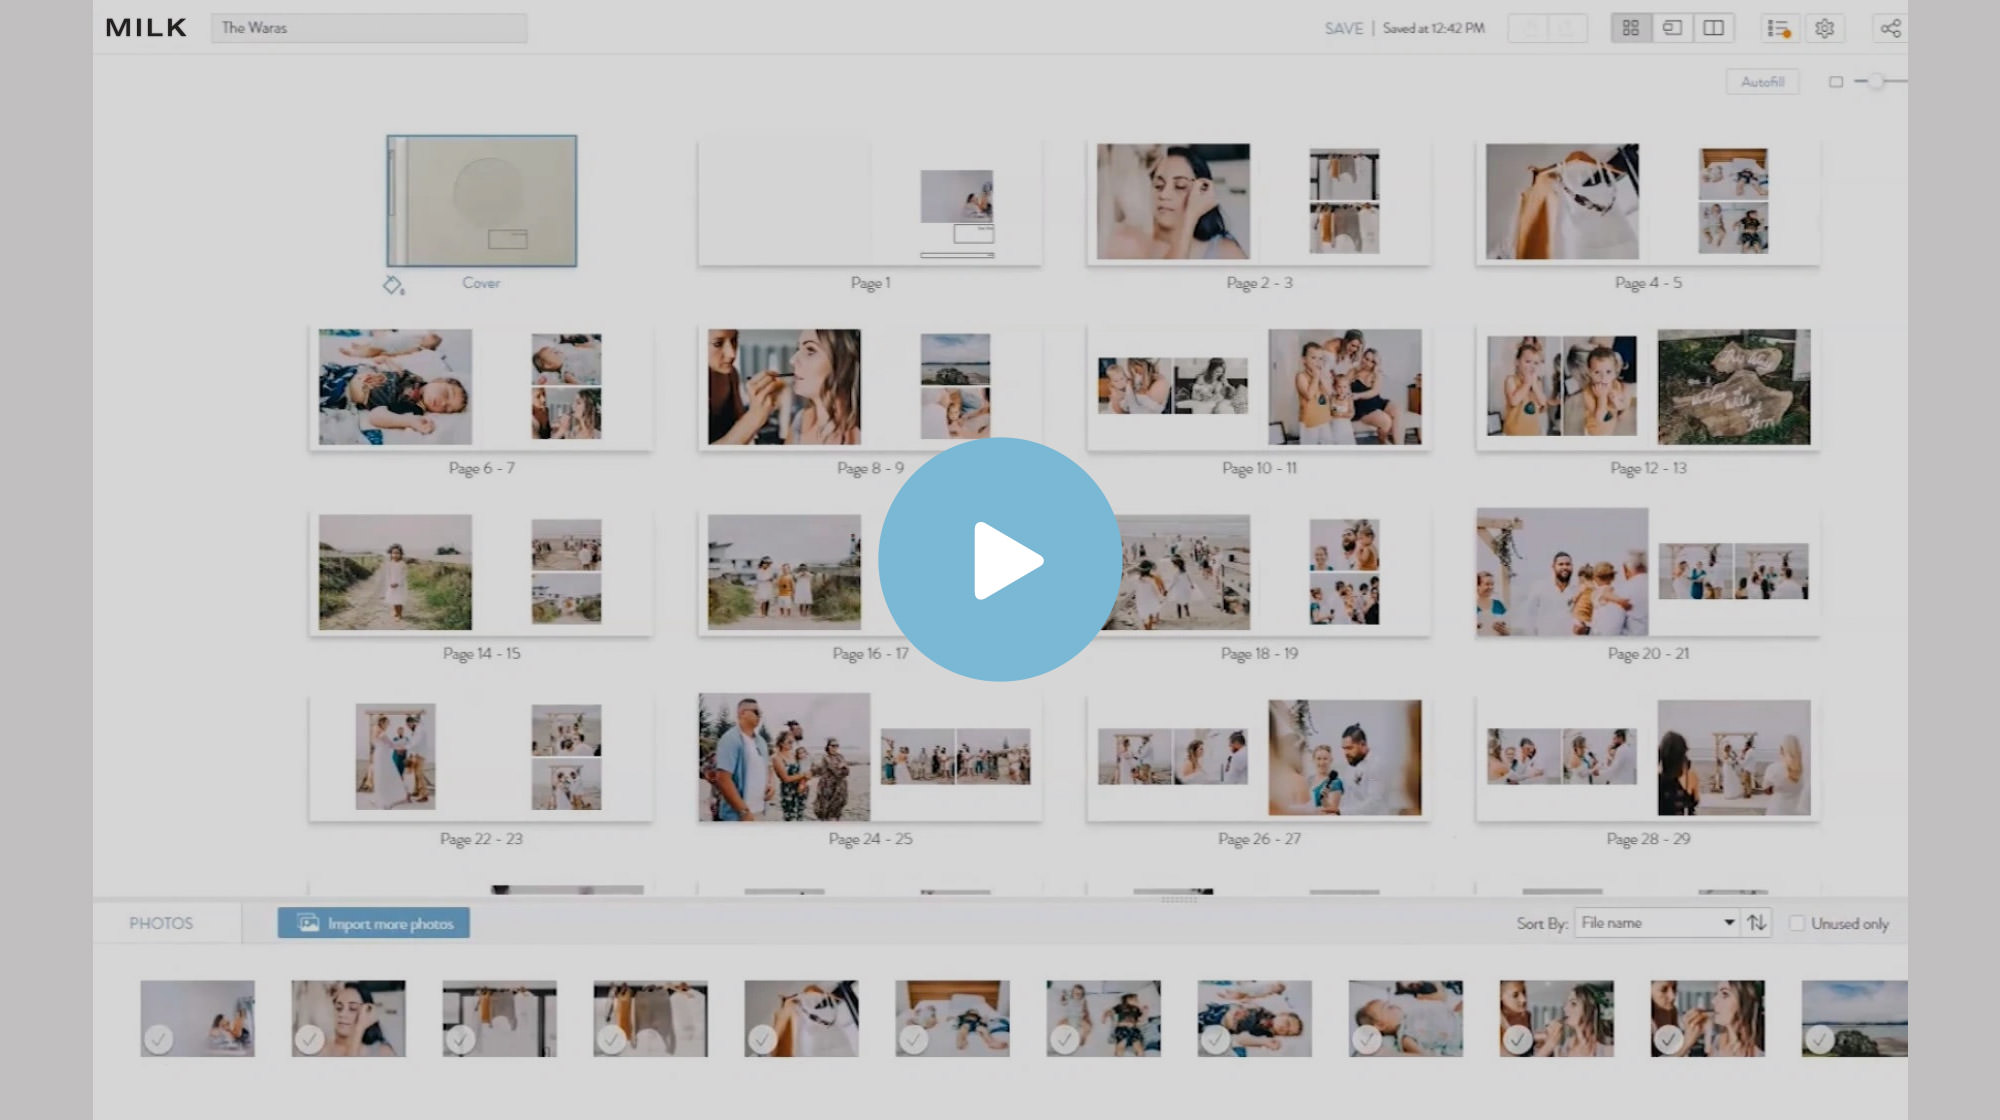
Step 4: Autofill your project
Select the number of images you want per spread. Choose your image ratio and click ‘Autofill’. This will automatically fill the pages of your photo book with your images.
Step 5: Customize your spreads
Once your project has been autofilled, you’ll be able to see your book in Grid View, which gives you an overview of your project. To change the spread design, first select the spread you'd like to change then you can either click through the layout panel on the right of your screen or use your up and down arrow keys.
To rearrange spreads, simply select the spread you’d like to move, click on the multi-arrow icon, and drag & drop the spread into its new position.
When you want to refine the finer details of book, you can change from Grid View to Spread View, on the top menu bar. We recommend you use view to add text, adjust the placement of your images, and finalizing your layout designs.
Step 6: Preview and checkout
Once you have finished, be sure to view your project in preview mode. Check the overall design, as well as for typos and image placement.
For a more detailed look at the features of our Design Studio, we recommend watching our Design Studio Tip Videos. In this series, we cover everything you need to know about creating in our innovative Design Studio.
Create with our Mac App Extension
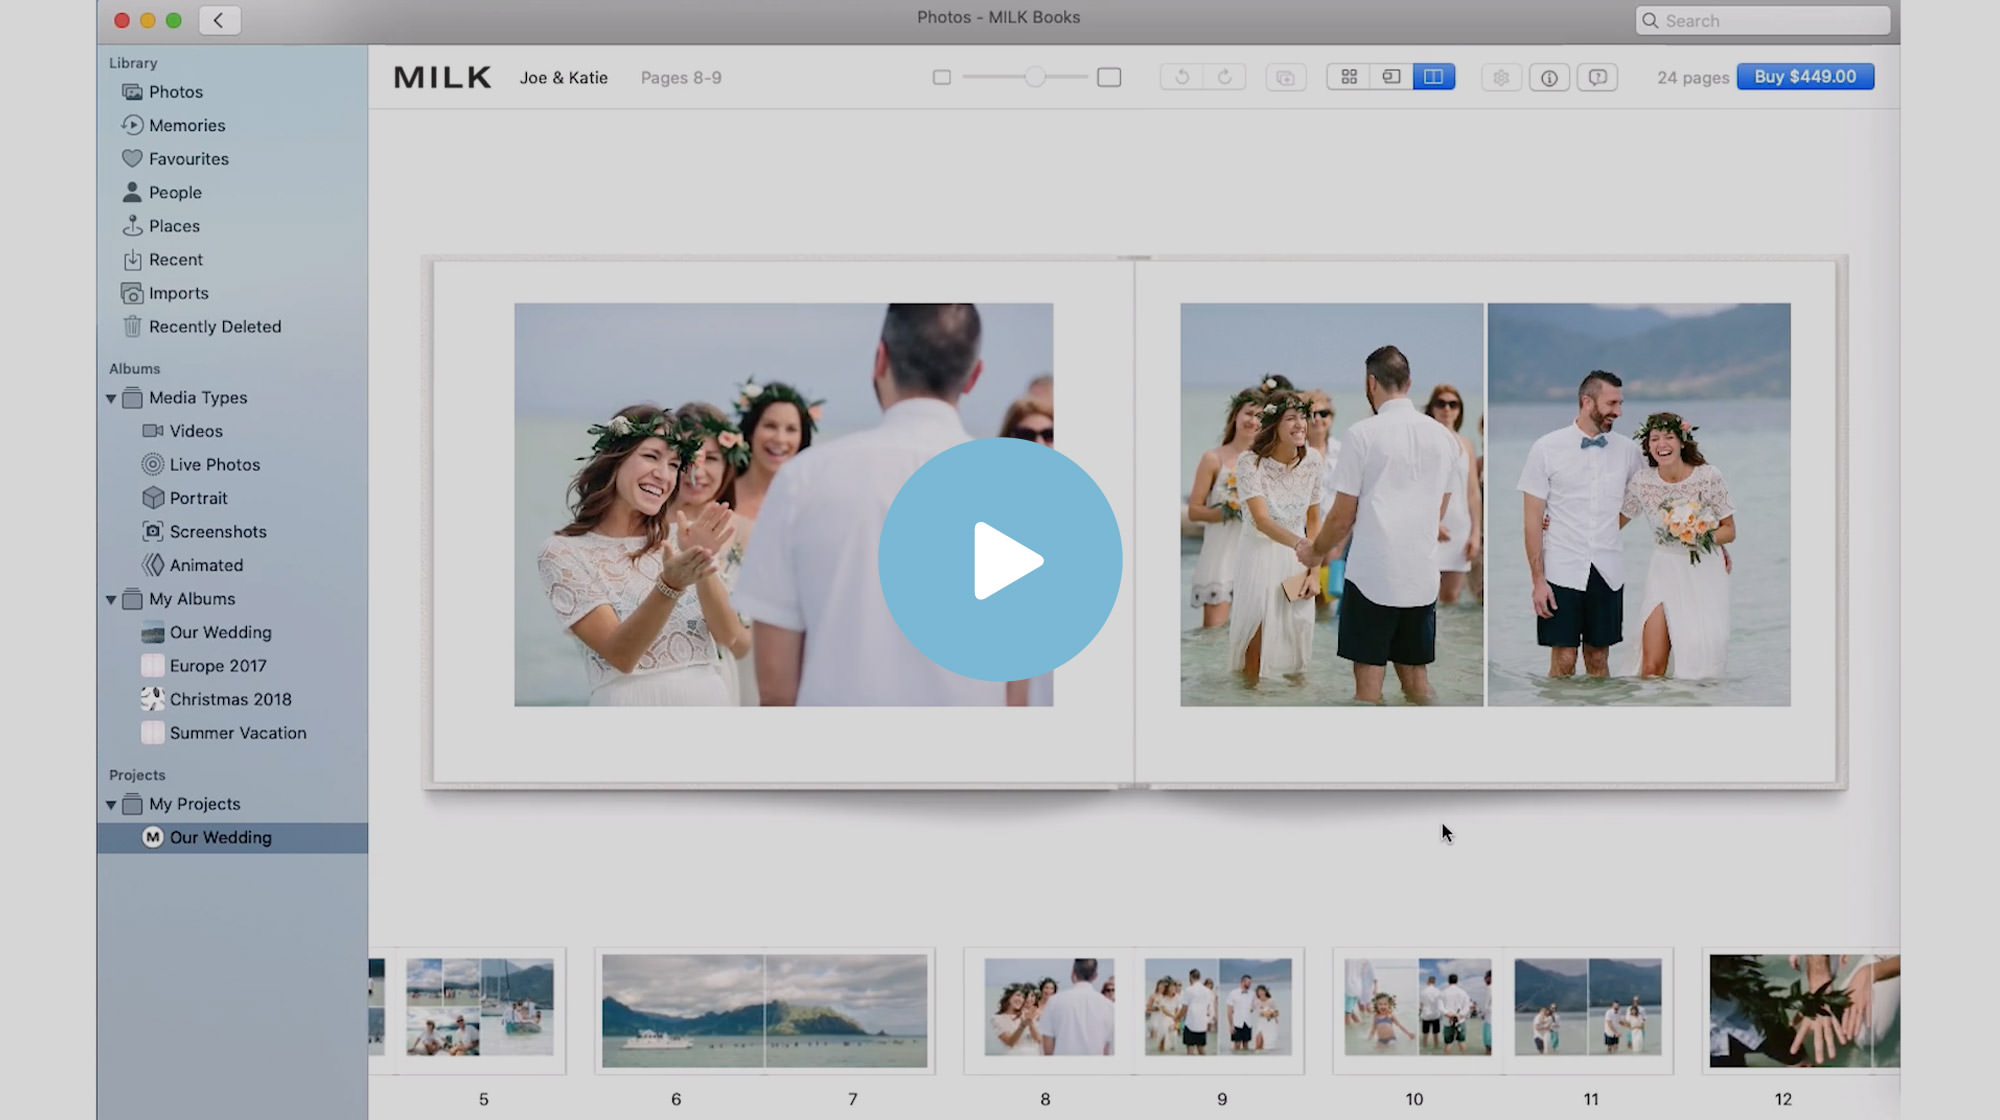
You can now create the MILK range of Photo Books and Albums in our App Extension for macOS. Native integration with Apple Photos means you can start creating immediately from your existing albums and edit your images using Apple's design tools. Watch the video above to see just how easy it is to get started.
Step 1: Creating your project
To get started, simply right click one of your Apple albums and select Create > Book > MILK Books. Choose your format and orientation and click Create. This will import all images from your album straight into your project.
You will then have the option to customize your project and choose your fabric, paper, cover design, optional Presentation Box and Jacket add-ons, and page count. You can alter these choices at any time throughout the design process.
Keep the ‘Autofill’ button checked to automatically insert your images into your project.
Step 2: Using view modes
There are 3 different modes you can view your book in: Grid View, Spread View, and Preview Mode.
- Grid View is the default view of your book. This allows you to see an overview of your entire project. The layout menu is to the right and your Project Library runs along the bottom of your screen. By clicking and dragging your mouse on their borders, you can expand or minimize these windows' sizes.
- Spread View allows you to start looking at the more detailed parts of your book. We recommend using Spread View to add text, customize your layouts and rearrange your images. In Spread View, you can flip through the pages by pressing your arrow keys or swiping left and right on your trackpad or mouse.
Step 3: Adjust spread layouts
To change the layout of your spread, simply select your desired image count and scroll through the Design Templates in the layout menu on the right. You can drag and drop images to rearrange them within your spreads. Drag and drop spreads to rearrange them within your project.
Step 4: Adding images
To add more images to your project, select the images from your library and drag them into your project.
To add images to spreads, drag the image from your Project Library into a placeholder, or onto a white space within the spread. To add a new spread, click the 'add pages' button or click the 'add new spread' icon between spreads.
To edit an image, select the image and click the pencil to access the editing tools.
Step 5: Previewing your project and final changes
You can preview your project at any stage throughout the design process. You can do this in preview mode. ‘Preview’ lets you see your progress and check your creation before pressing Buy.
Step 6: Checking out and promotions
If you see that a promotion is on and you’re not quite ready to buy, you can pre-purchase. This locks in the promotional discount and gives you six months to create your book. And when your masterpiece is ready to print, click 'Buy'.
If you'd like to learn more about our extension for Apple Photos, visit our MILK for Mac page.