Everything you need to know before designing your wedding album
If you're looking to create a wedding album, you're in the right place. If you want one but can’t quite be bothered designing it, you're still in the right place as we’ve made the process beautifully simple. At MILK Books, our online Design Studio lets you craft a Wedding Photo Album that’s not only stunning, but also surprisingly fun to make.
With decades of design expertise and a passion for timeless craftsmanship, we help couples around the world turn their wedding memories into lasting keepsakes. Every wedding album is made with care and intention, celebrating your love story in a way that lasts for generations.
This checklist will walk you through each step of the process so when it's time to create your wedding album, you’ll feel confident, inspired, and ready to begin.
Our wedding album creator checklist
1. Select your wedding album orientation, style, and cover
2. Gather and curate your favorite photos
3. Upload and thoughtfully order your images
4. Pick the perfect layouts for each spread
5. Add meaningful captions, dates, quotes, and text
6. Preview and proofread your album carefully
7. Consider add-ons for finishing touches
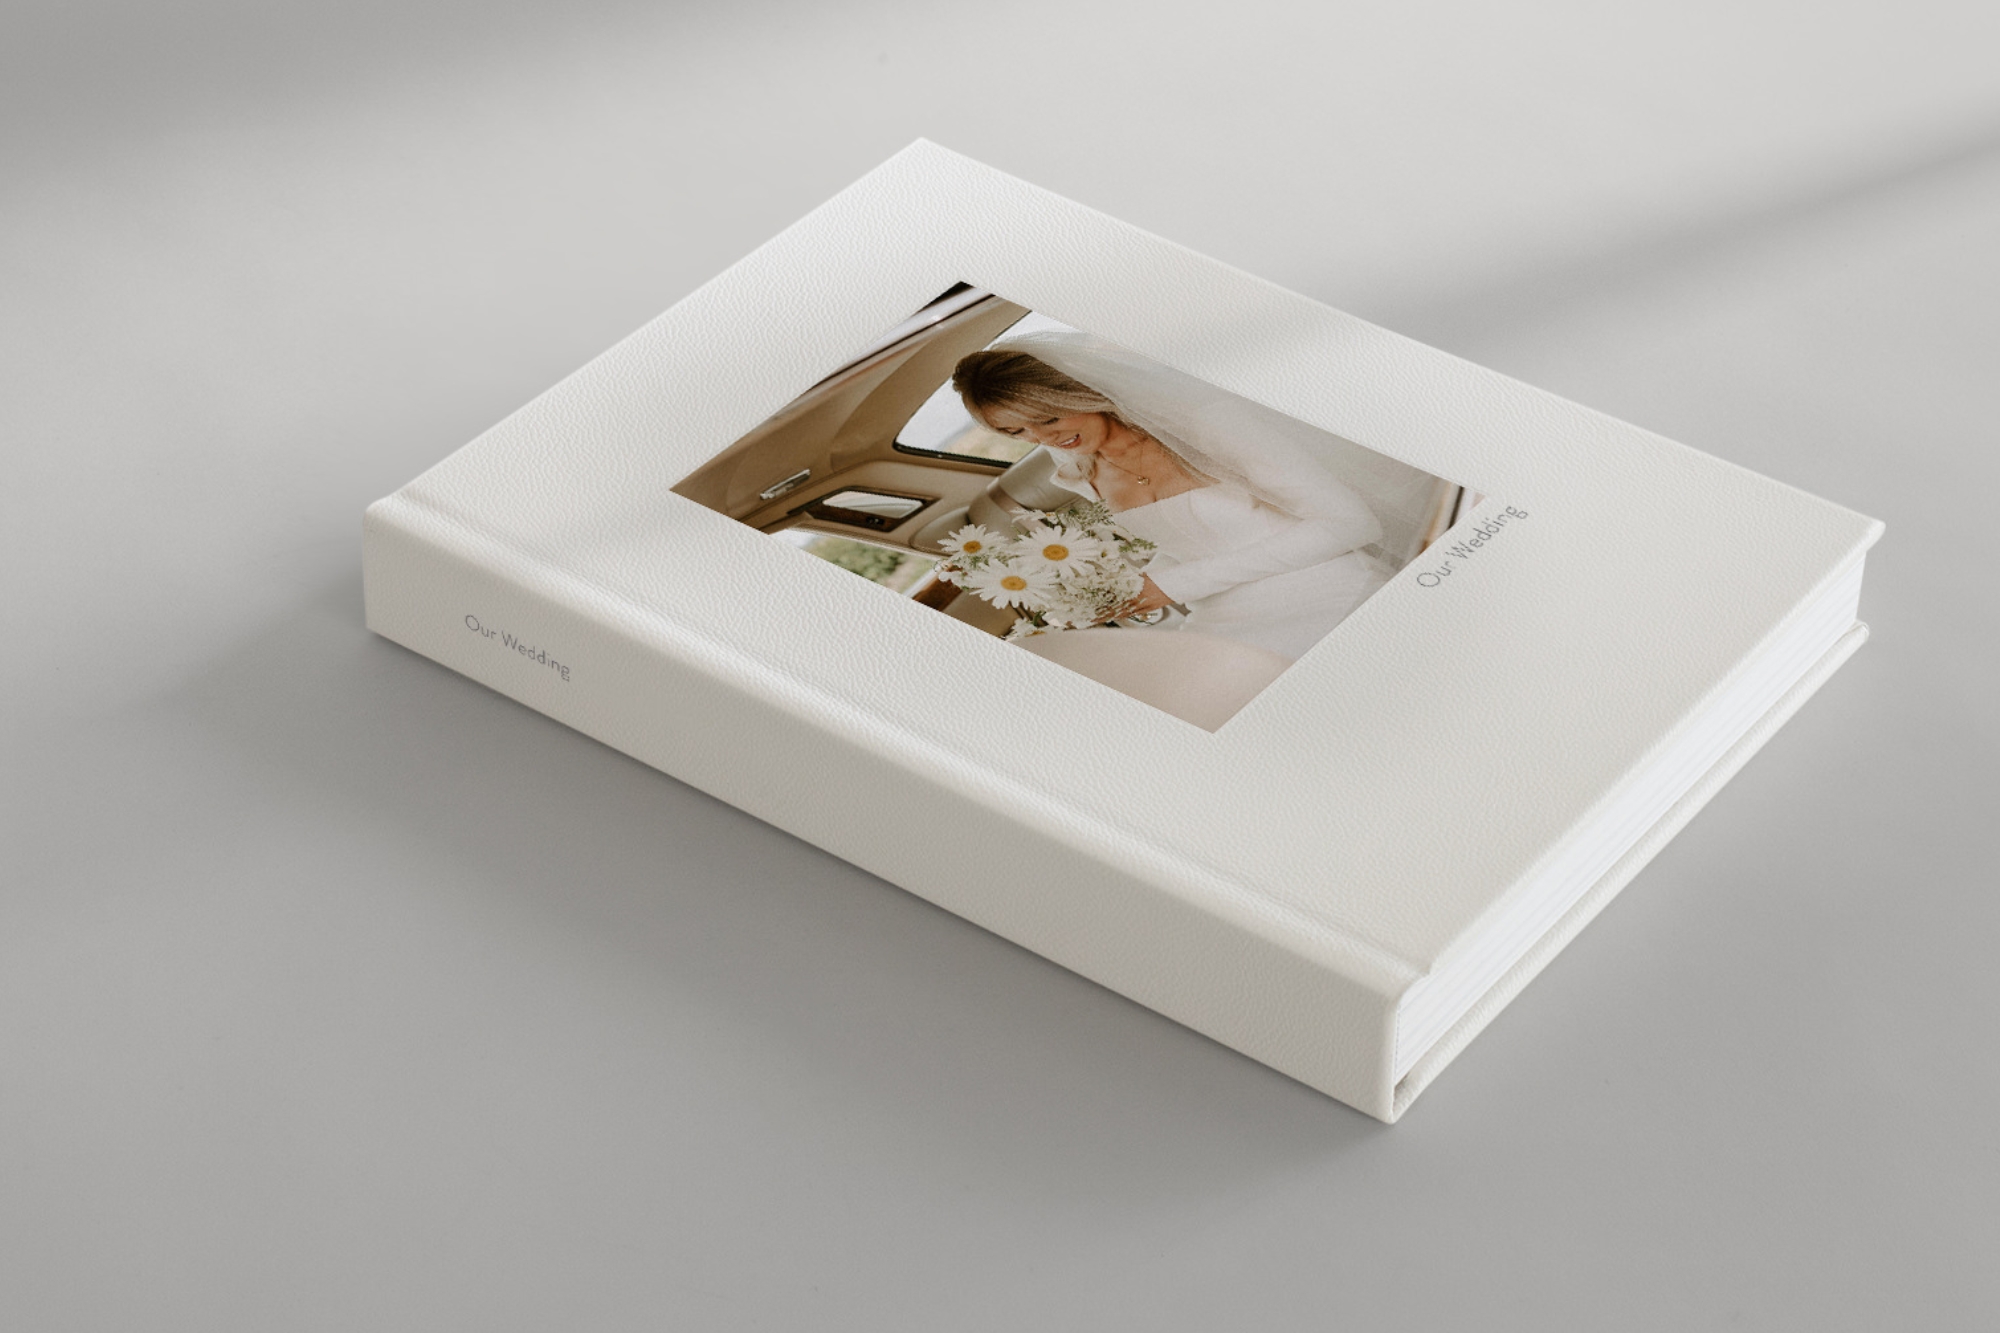
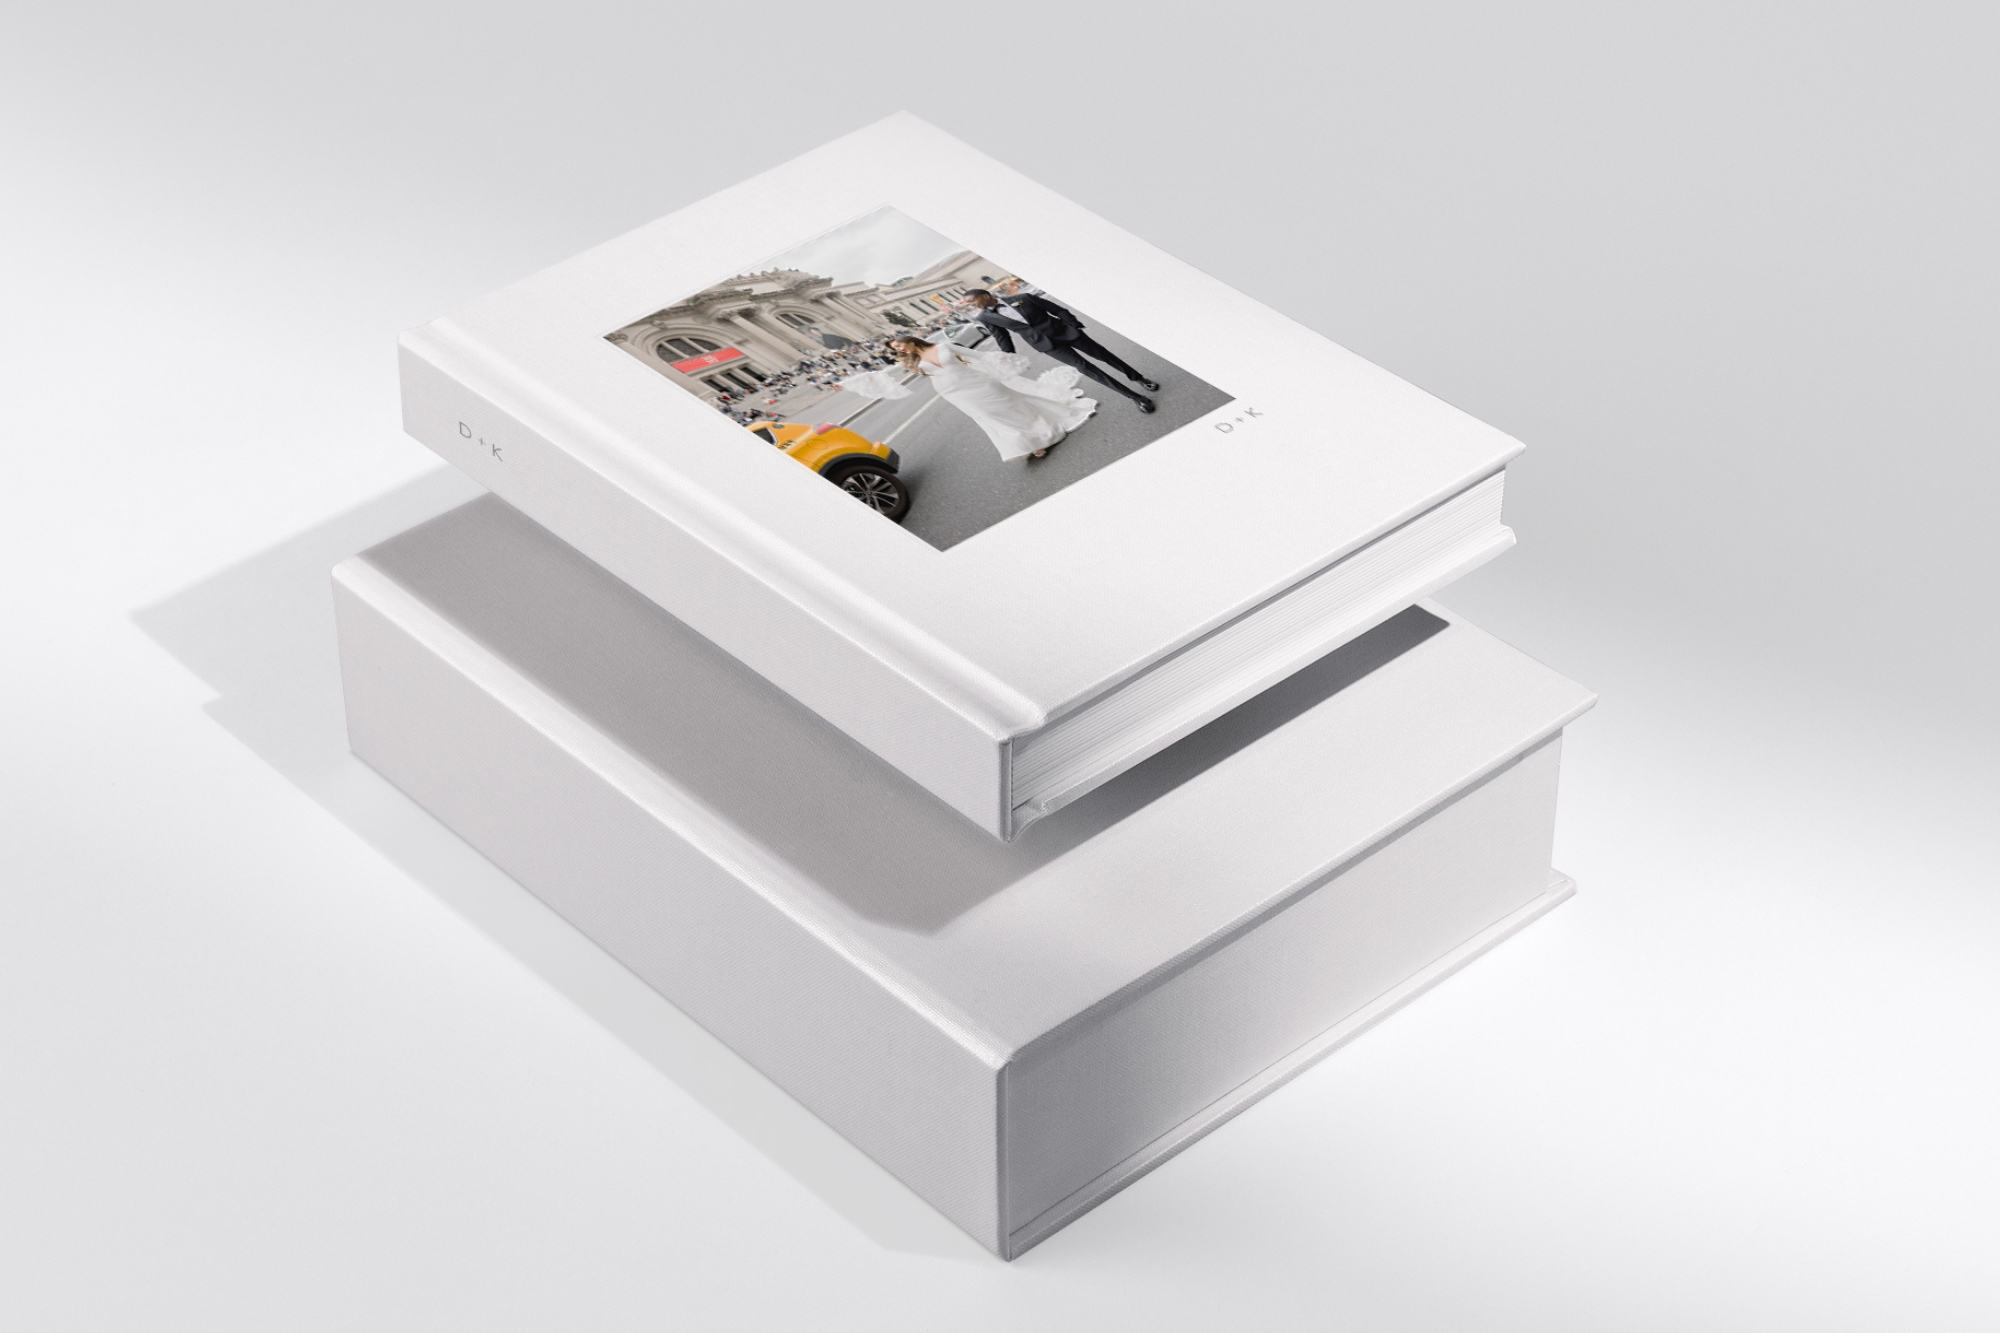
Start by choosing the photo album range that best suits your wedding style. At MILK Books, we offer three beautifully crafted options, including, Classic Albums, Premium Albums, and Premium Leather Albums. All three are available in medium and large sizes. For Premium and Leather, you can select from landscape, square, or portrait orientations, while the Classic range is available in a timeless landscape format only.
Each format comes with its own selection of stunning cover fabrics, including elegant linen, richly toned coated cotton, and luxurious leather. As you make your choice, consider not just the tone of your day but also how the color, texture, and finish will complement your photographs. That said, there's no need to stress about getting every detail perfect from the start. Orientation and format can easily be updated later. Often, the right choices become clearer once you've uploaded your images and had time to play around with your wedding album design. For a timeless and elegant look, I’d recommend the Premium Large Portrait Photo Album in ‘Ivory Linen’ or ‘White Leather’. It’s a trusted choice that provides a clean, classic foundation for your wedding album design to follow.
2. Gather and curate your favorite photos
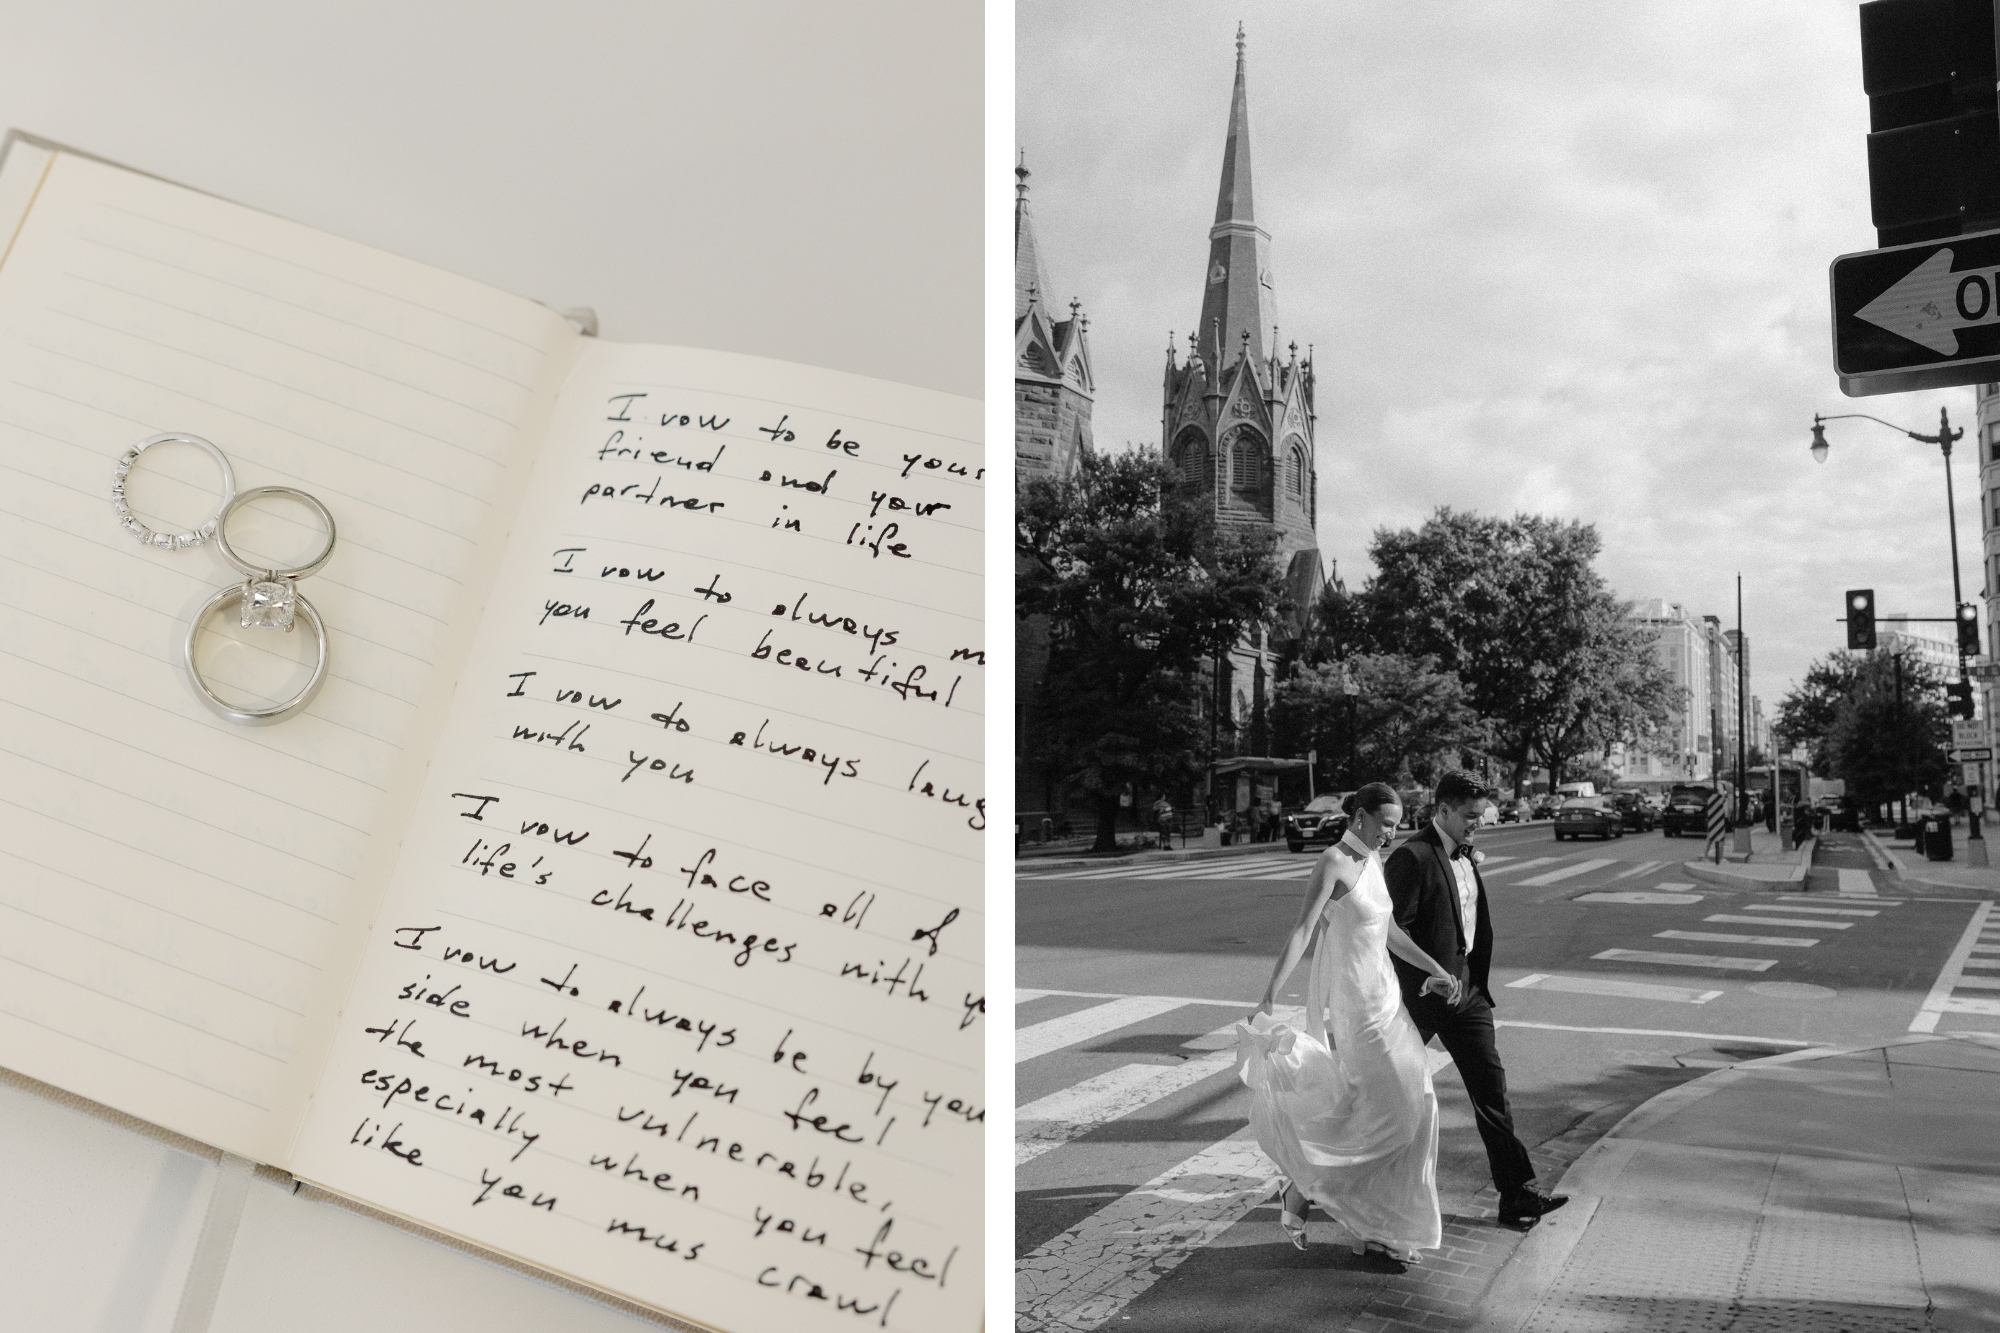
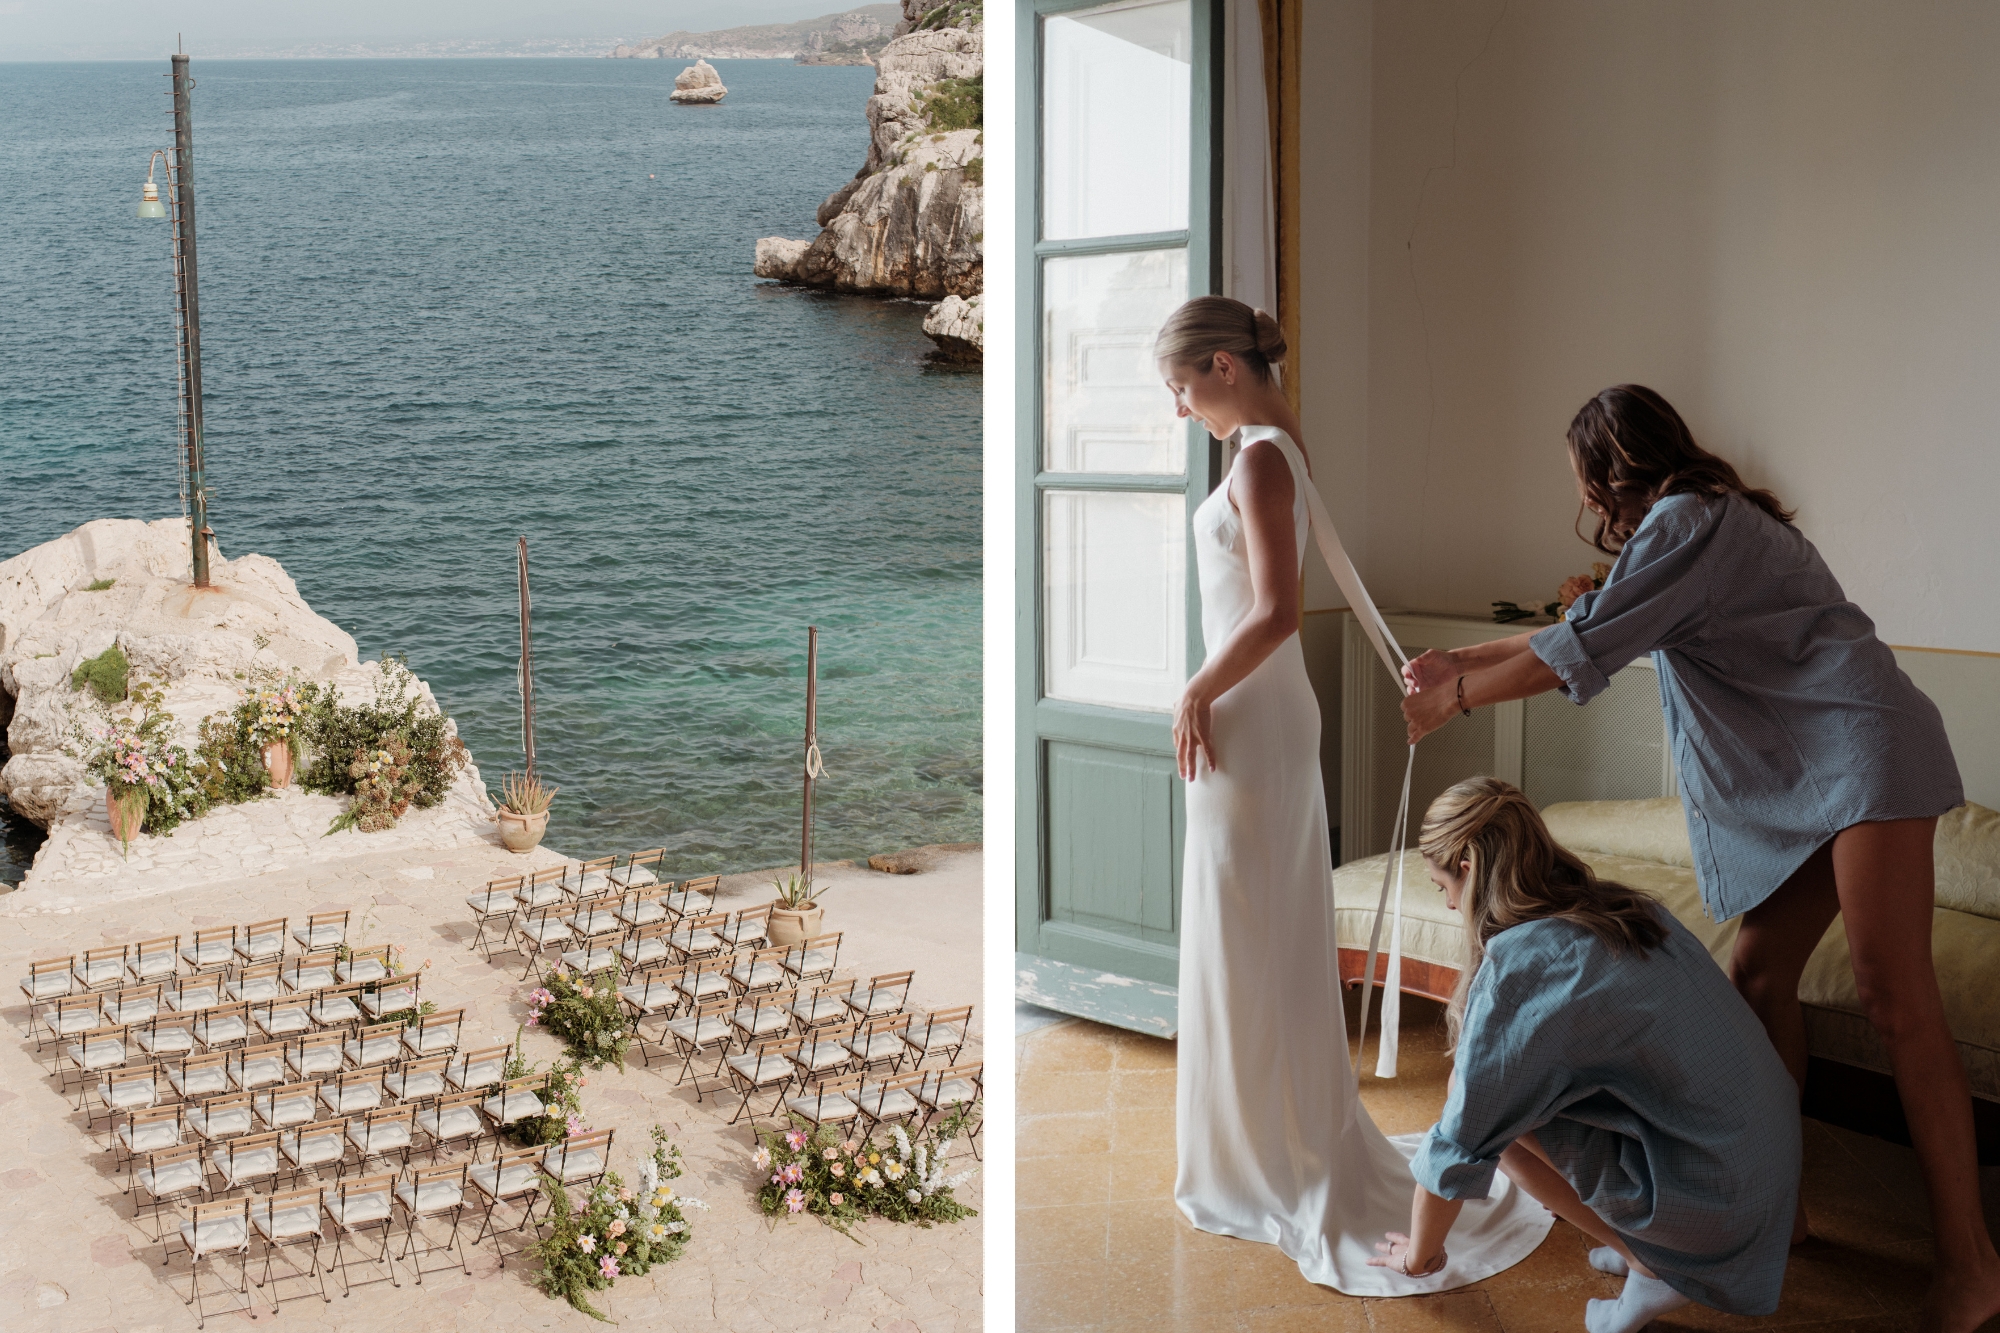
Before diving into the design process, take time to carefully gather and curate the photos that best tell the story of your wedding day. Start by collecting all your photos in one place, whether from your photographer, friends, or even disposable cameras. Then begin sorting through and selecting your favorites. Aim for a balance between wide shots, close-ups, and meaningful details like florals, dress details, or handwritten vows.
For reference, if you’re creating a 46-page wedding album, I’d recommend selecting around 80 to 120 images. This is usually enough to capture the full essence of your day without overcrowding each spread. Personally, I love using 1 to 3 images per page as it allows each moment room to breathe and keeps the design feeling calm and intentional.
That said, curating your selection can often be the hardest part. Most of us walk away from our wedding day with hundreds (if not thousands) of photos and narrowing it down can feel impossible but trust that your favorites will start to stand out! Visit our blog to explore more ideas on what to include in your wedding album.
Once you’ve curated your favourite photos, the next step is uploading them to our easy-to-use Design Studio. You can simply drag and drop your images from your computer or browse and select your files manually. I’d recommend uploading all your shortlisted photos in one go so that everything is ready and easily accessible when you start designing.
For the best wedding photo album print result, ensure you’re uploading high-resolution images. There’s nothing worse than falling in love with a layout only to realize the image isn’t sharp enough for print. For more tips on how to prepare your images, check out this blog for 6 tips for ensuring a great print result.
As your images appear in the Design Studio, start thinking about the order in which you want them to appear in your album. Your photos will automatically load into the “PHOTOS” panel at the bottom of the screen. You can drag and drop images within this panel to rearrange them before placing them into your layouts. Quick tip: Expand the photos panel to full screen by clicking the resize icon. This gives you more space to view and organise your images, making it easier to move them around and plan your story visually.
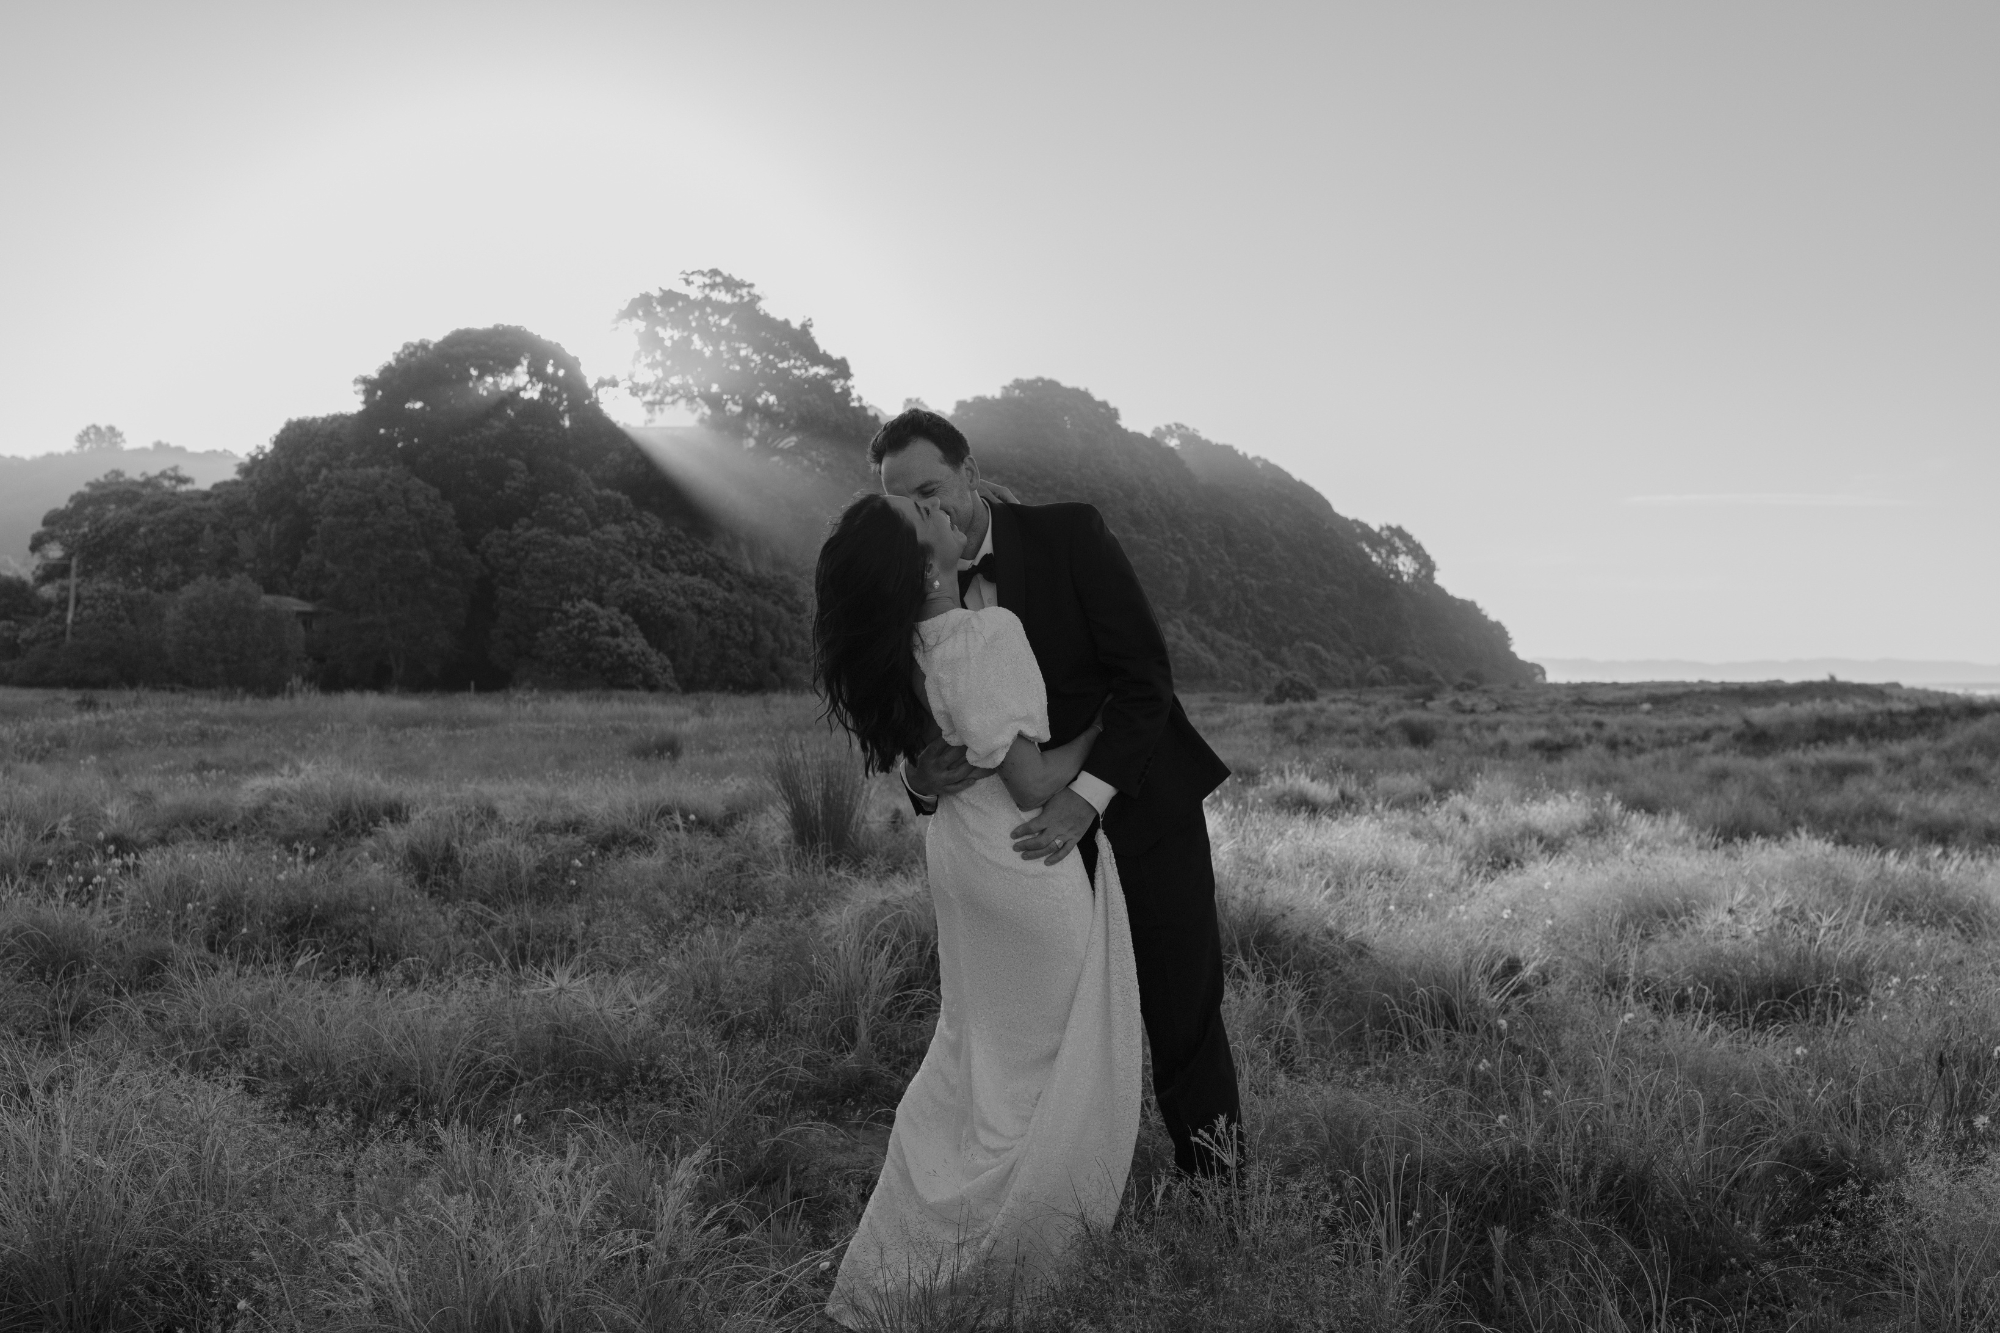
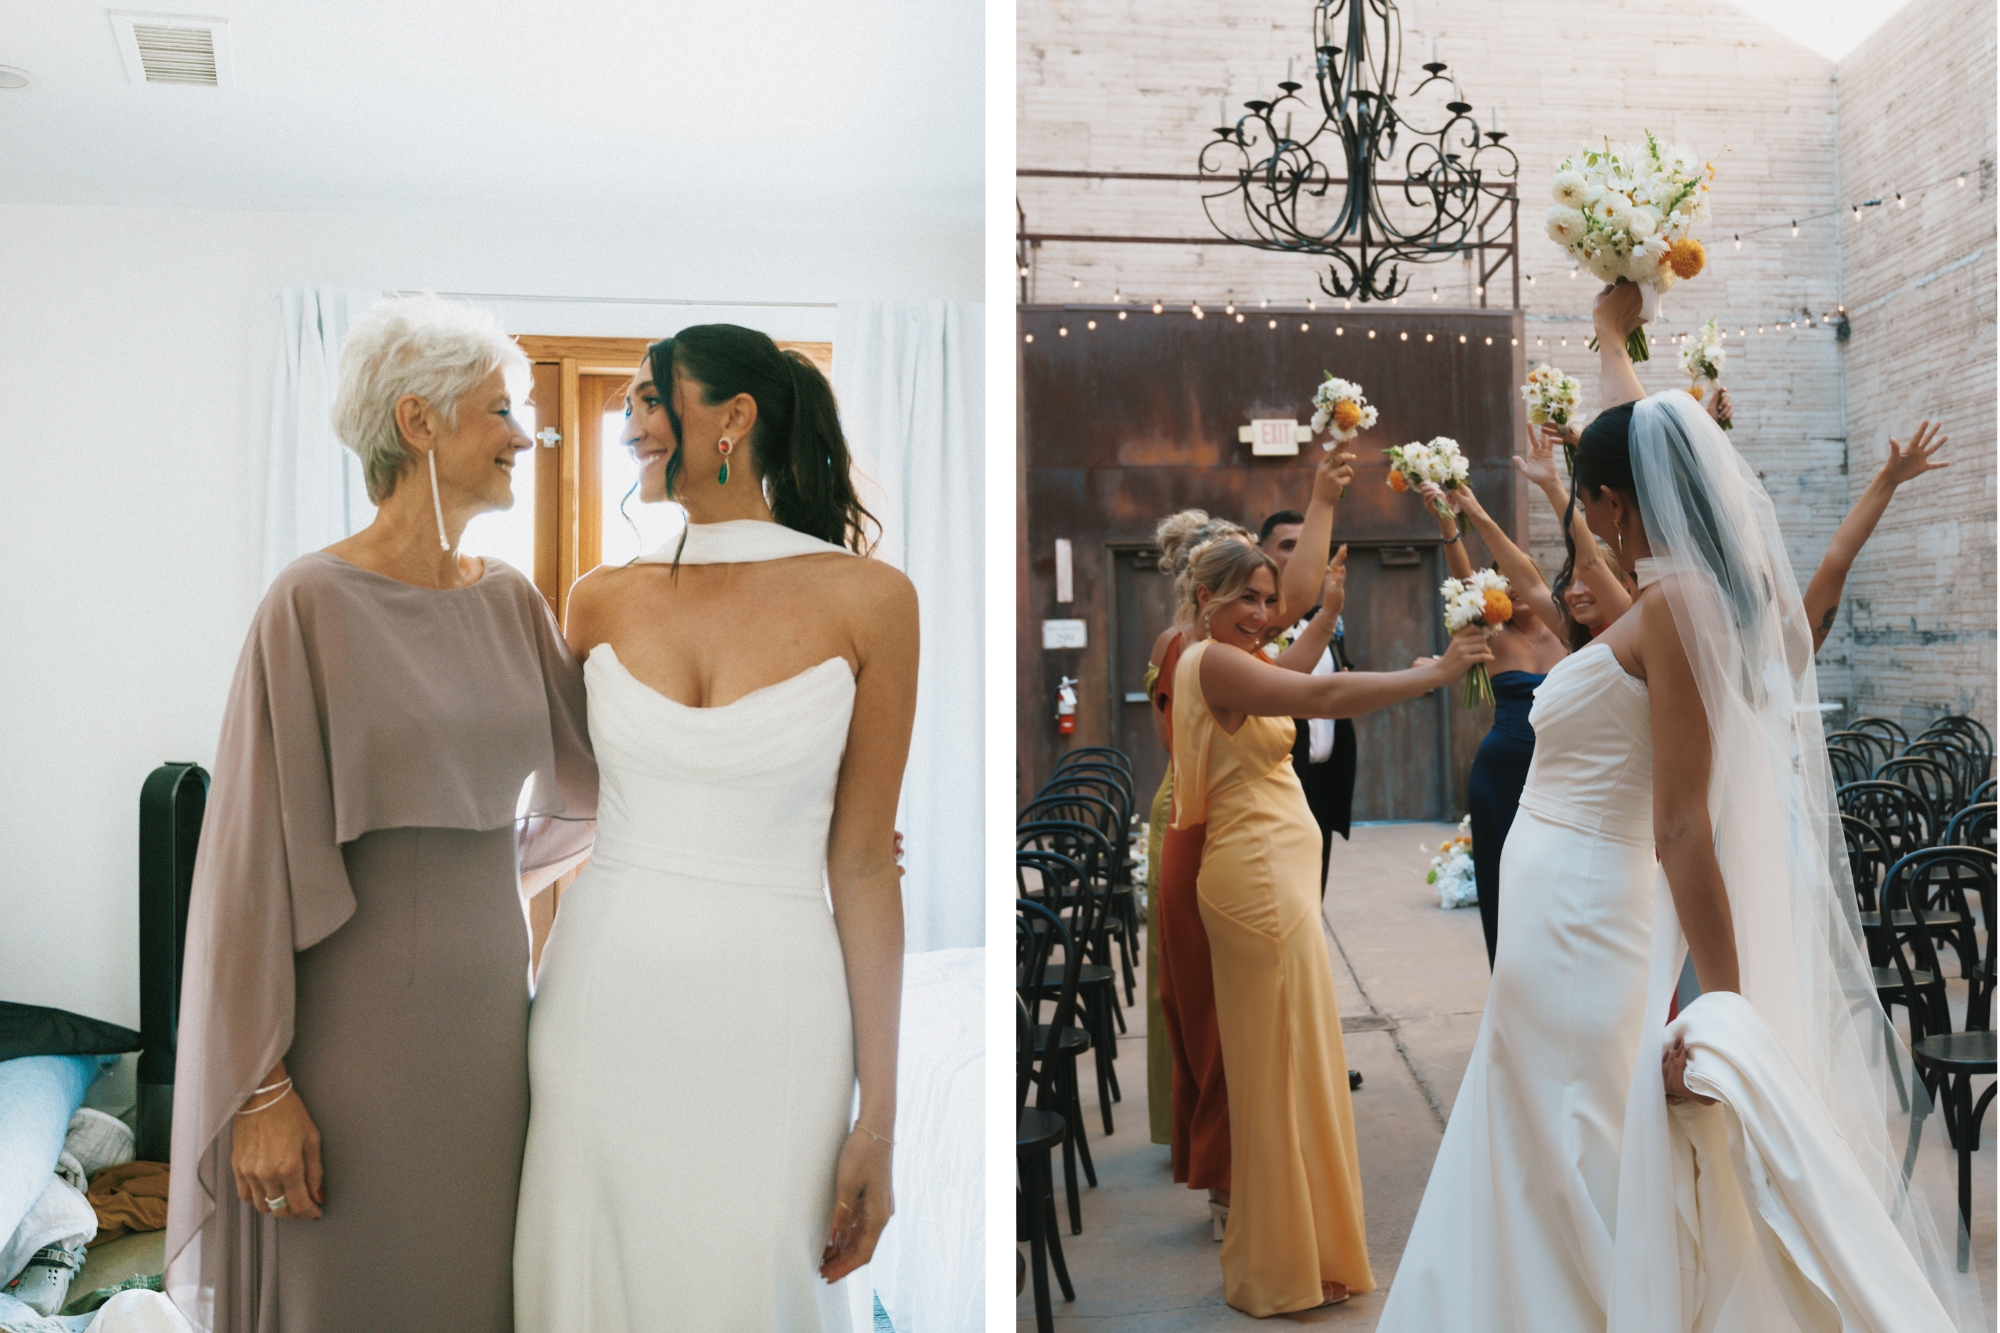
Your wedding album should unfold like a narrative beginning with the excitement of getting ready, moving through the ceremony, and ending with the joy of the celebration. The way your photos are ordered helps create flow, emotion, and a cohesive story from start to finish.
Now it’s time to start placing your images into layouts. Our Designer Templates offer a wide collection of clean and modern layouts from minimalist single-photo spreads to multi-image collages. Choose layouts that reflect the pace and emotion of each moment. A full-bleed layout is perfect for hero shots, while smaller grid styles work well for candid details or a series of reactions.
Our goal is to help you create a professional-quality wedding album with ease. For more inspiration and tips, explore our MILK Design Principles to learn how visual hierarchy, negative space and spacing can elevate your wedding album design even further.
5. Add meaningful captions, dates, quotes, and text
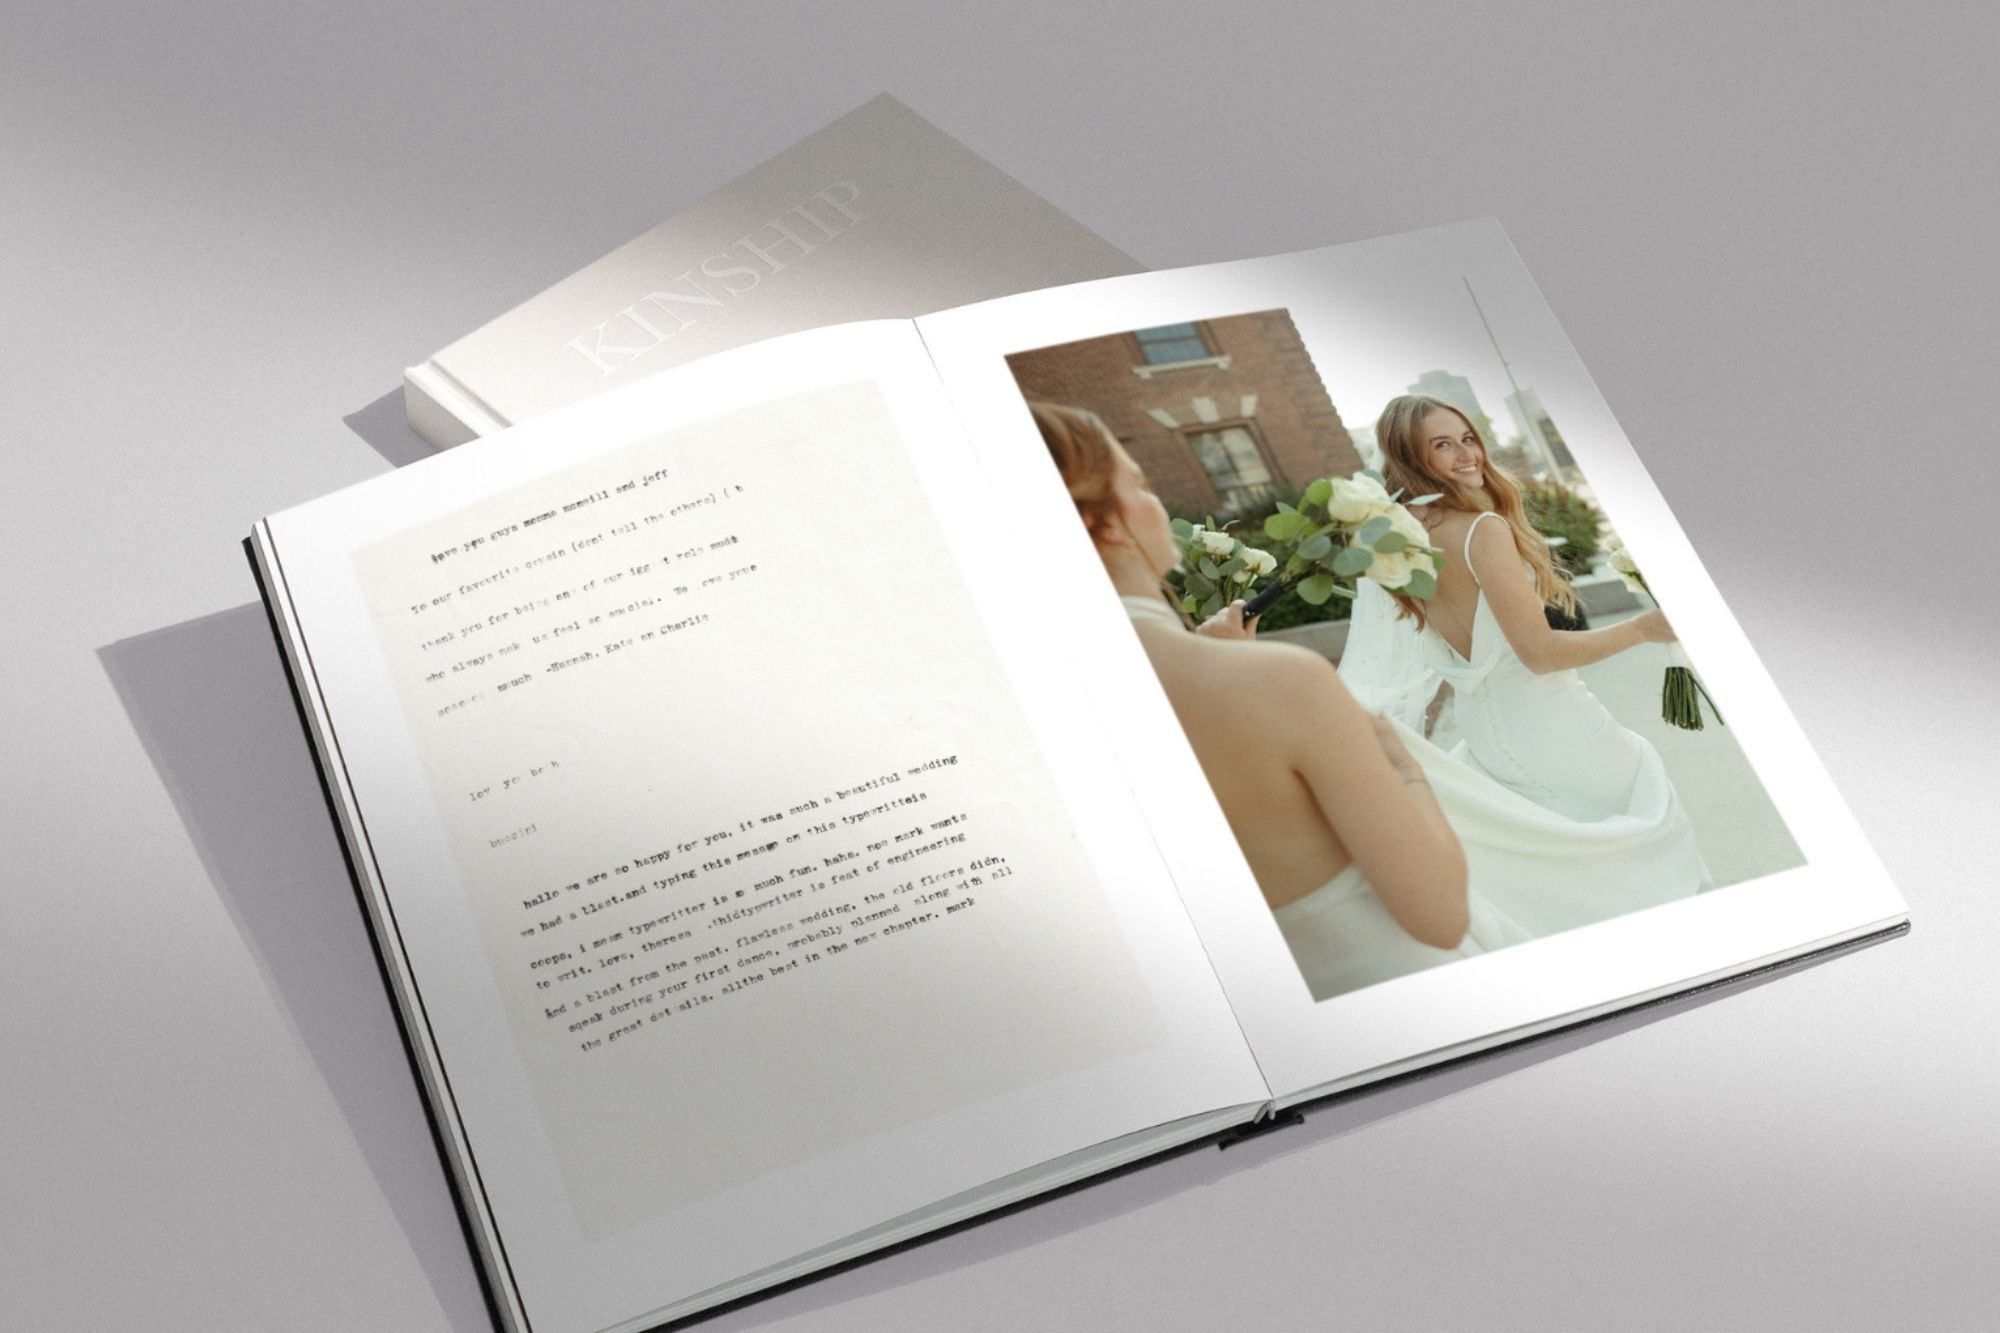
Text is optional, but when used thoughtfully, it adds a beautiful layer of storytelling to your wedding album. From simple details like the wedding location or venue to more personal touches such as how you felt in the moment, your vows, or a quote you both hold close, words can bring deeper meaning to your images. You might also include a short explanation of the day’s events or notes that highlight moments not immediately obvious from the photos alone. Together, these details help turn your wedding album into something truly personal and reflective of your story.
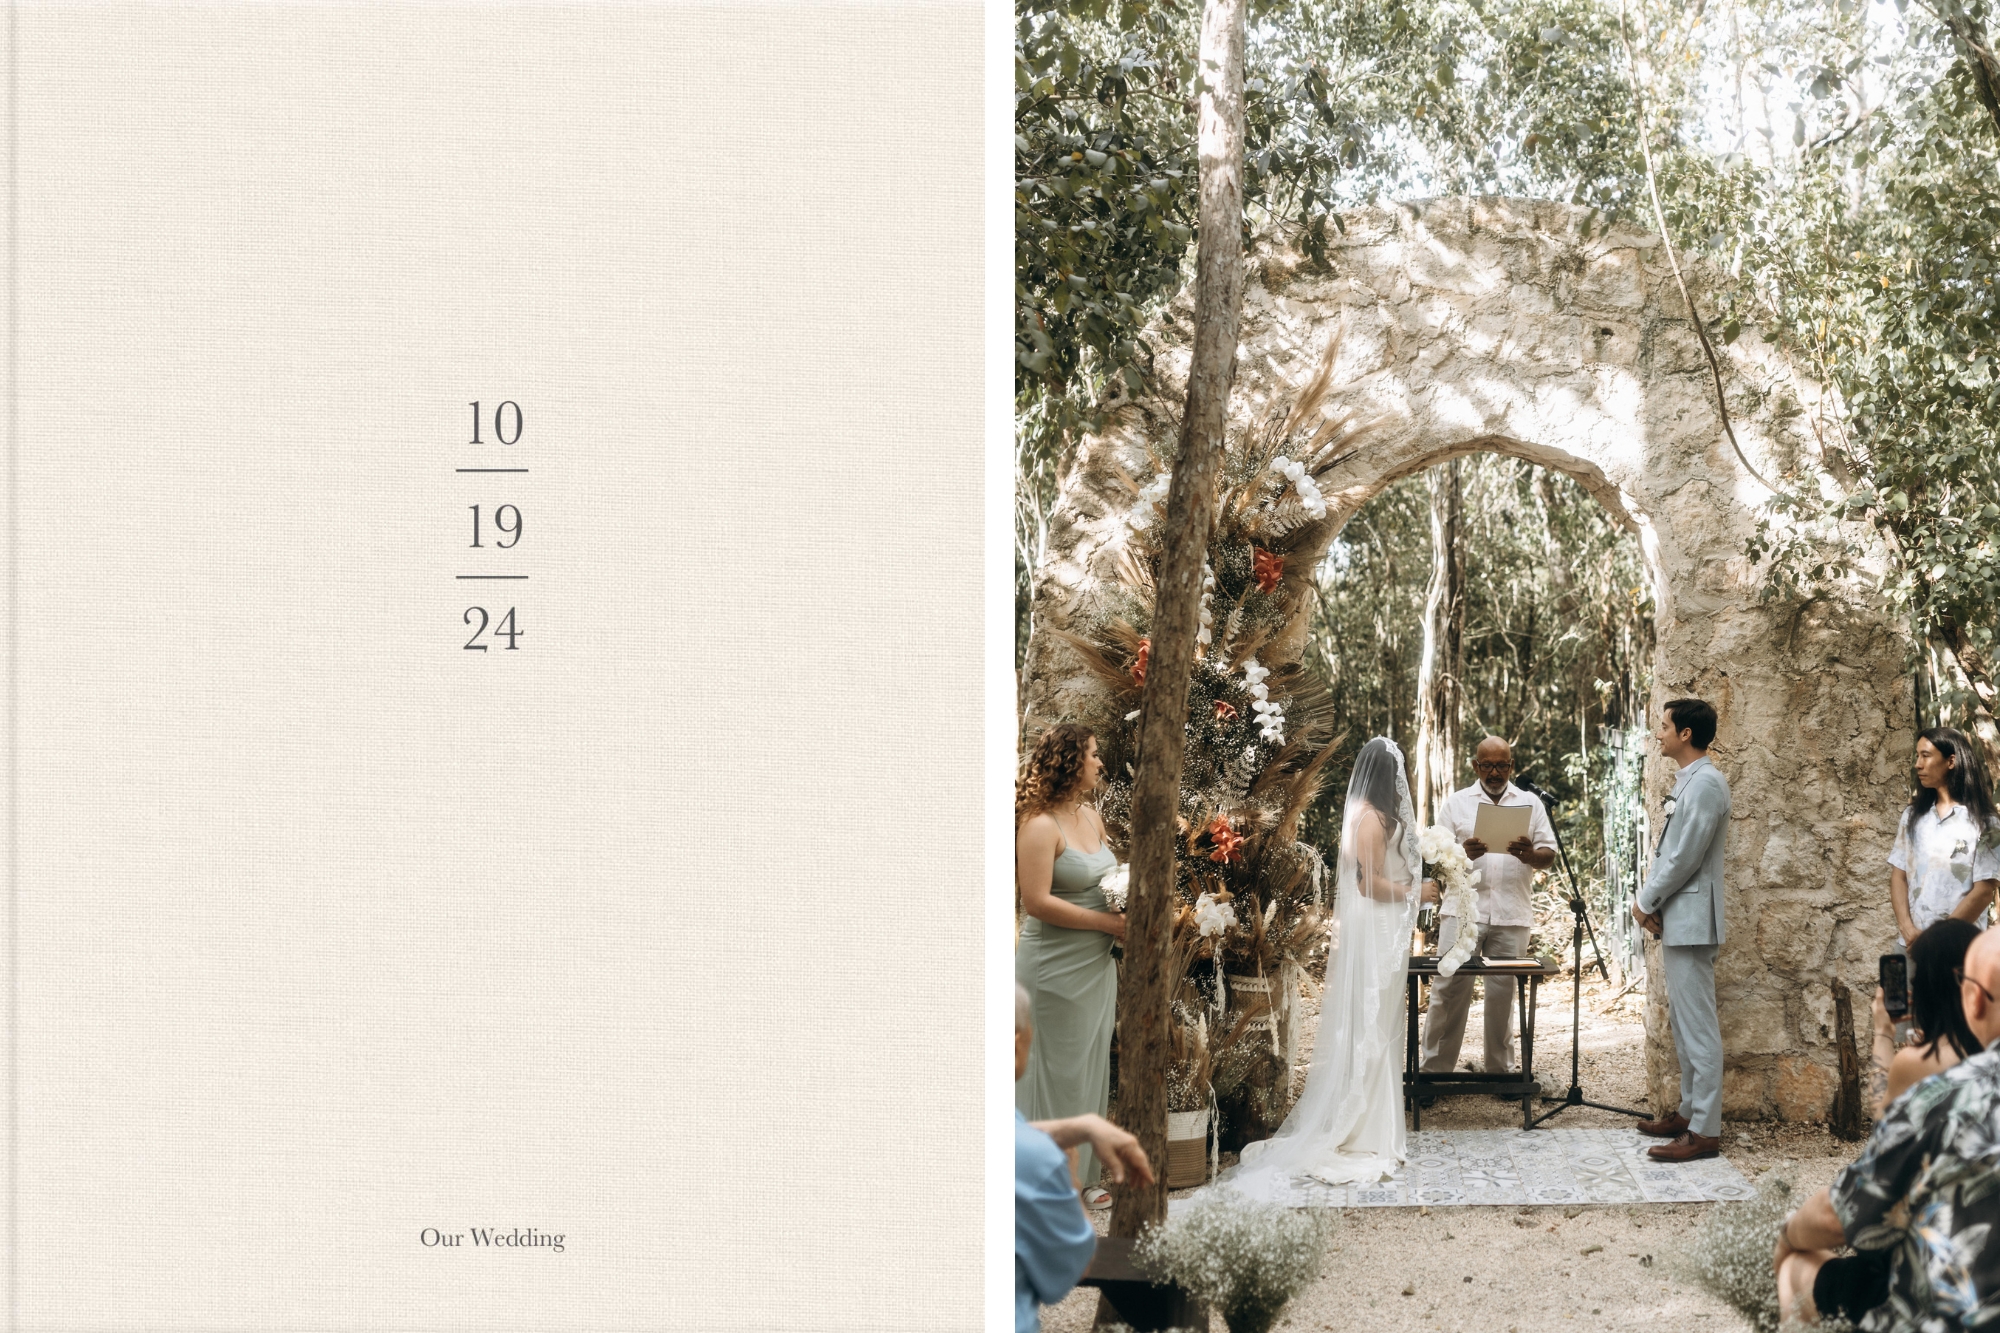
If you’re not sure where to add text, try placing it on quieter pages with fewer images or start with the cover. We offer a variety of Design Covers which can guide your decision. Many couples choose to include their names or initials, the wedding date, or a simple title like Our Wedding to set the tone from the very first page.
Once your wedding album is laid out, take time to review every page with fresh eyes. Use our Preview mode to flip through it as if it were already printed. Focus on the overall flow of the story, how each moment connects, and whether the design feels cohesive.
To check for any design issues, use our Checklist tool in our Design Studio. It will flag any errors you might’ve missed such as low-resolution images, risky image placement and empty text boxes.
You can also share a digital version of your album by selecting “Share Online Flipbook” from the My Books page. Click the forward icon above your book image to copy and share the link with friends and family for a second pair of eyes.
7. Consider add-ons for finishing touches
Before finalizing your order, explore our finishing touches such as our presentation boxes, personalized cards and gift boxes. These add-ons elevate the unboxing experience and help protect your wedding album for years to come. They're also a beautiful option for gifting copies to parents or loved ones. A well-crafted wedding album deserves a home that matches its importance. These extras offer both style and longevity, ensuring your keepsake is treasured for generations.
Designing your wedding album doesn’t have to feel overwhelming. With MILK Books' easy-to-use wedding album creator and this step-by-step checklist, you can feel confident creating something truly special. Whether you’re just getting started or putting the final touches in your design, the process should be simple and enjoyable. Celebrate this milestone and preserve it by creating your own wedding album today.