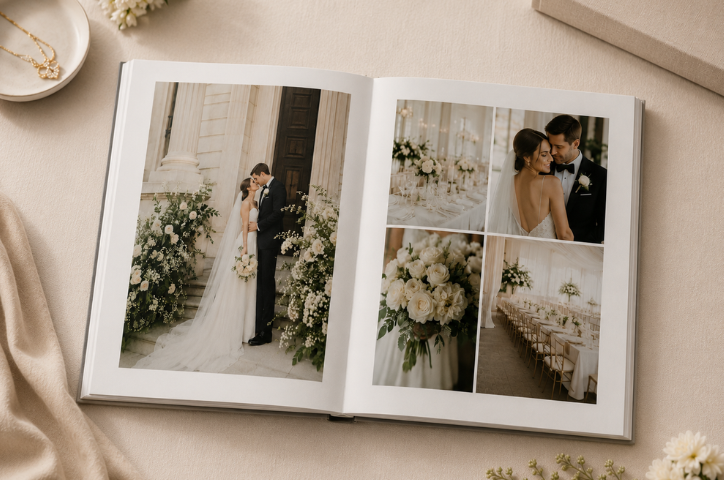
Your special day deserves a special album
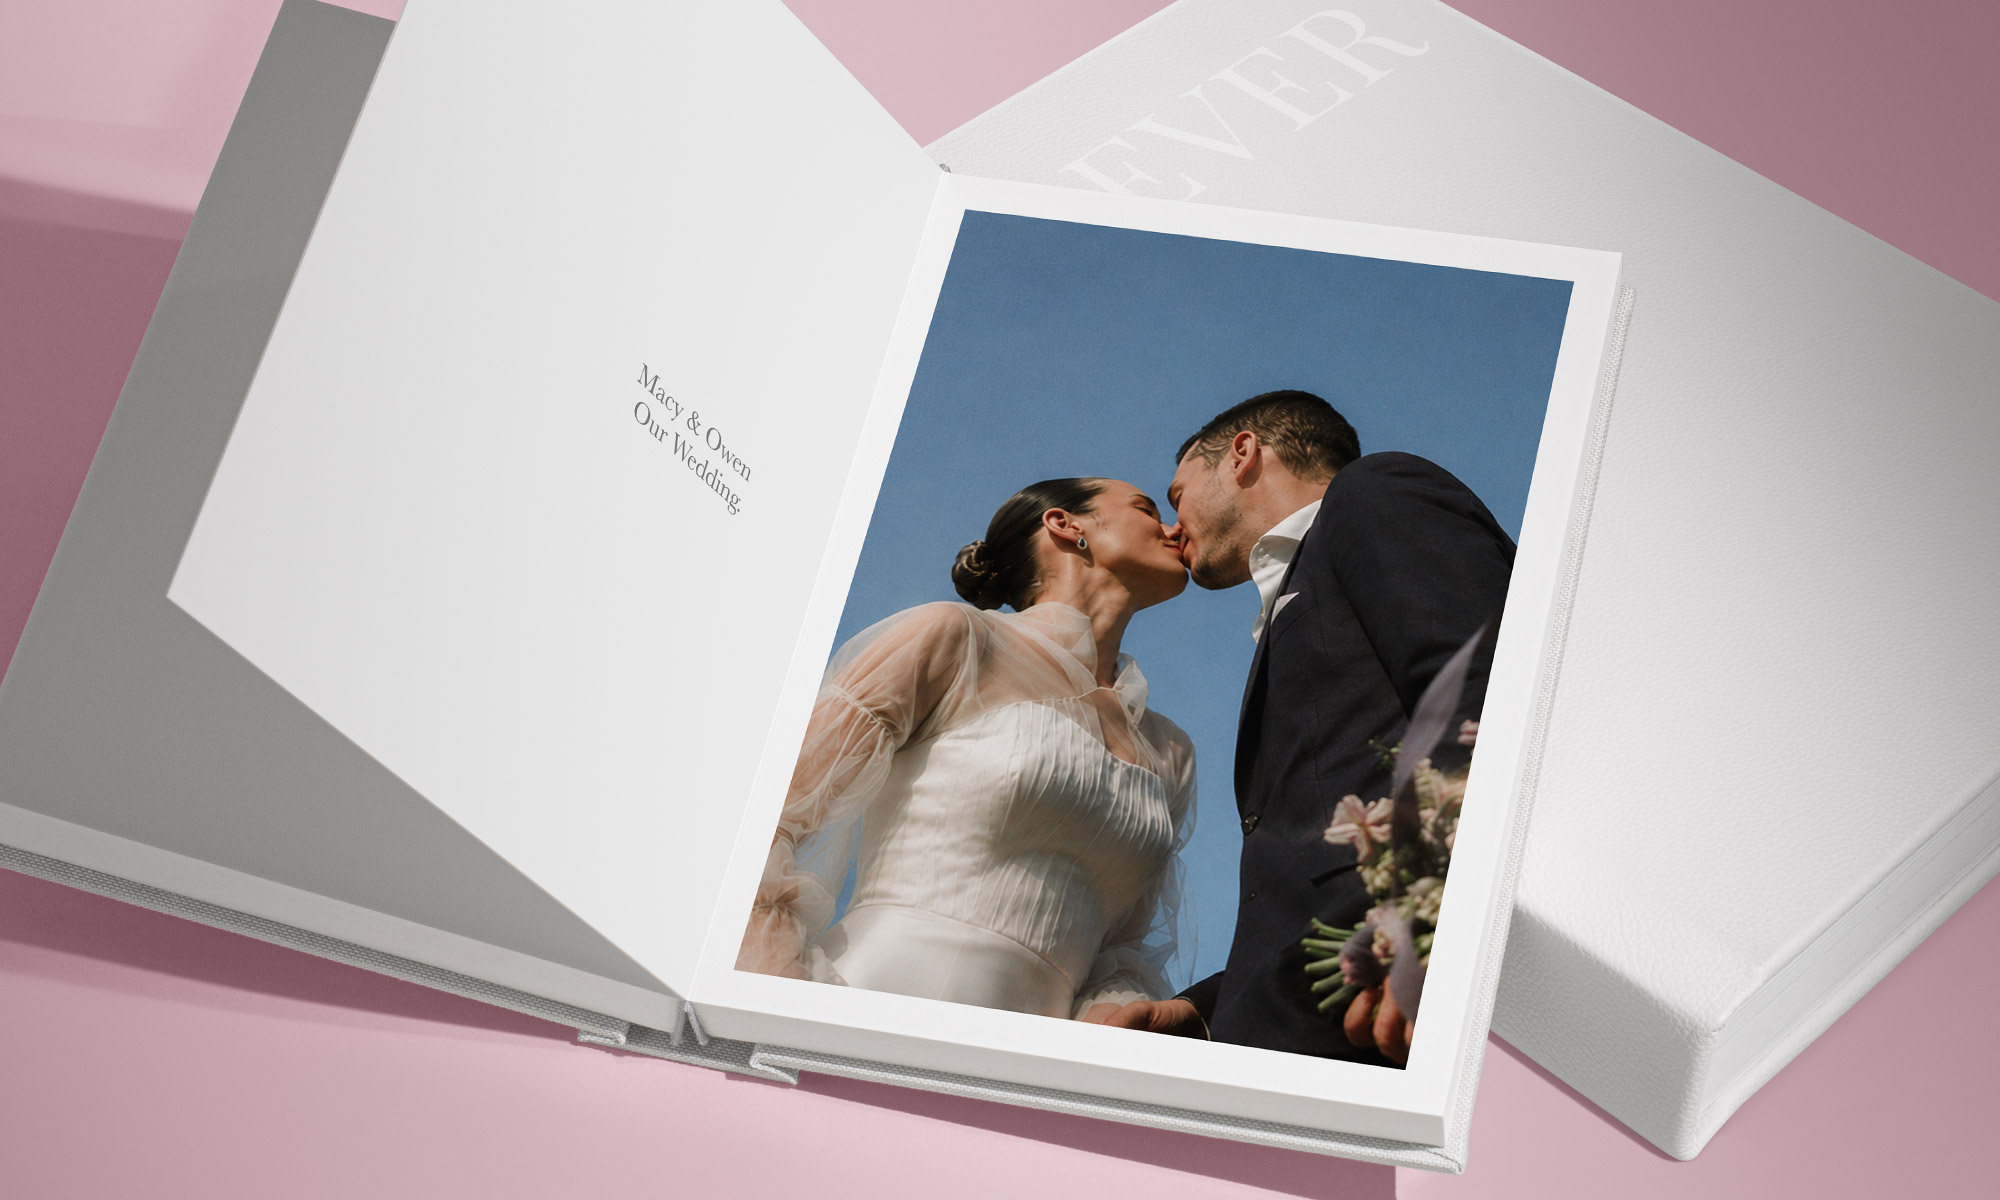
Your wedding photos deserve more than being hidden away on a hard drive or in the cloud. They deserve to be held, revisited and shared for generations to come. A thoughtfully made wedding photo album brings the story of your special day to life in print, preserving the quiet moments, the big moments, the details you chose with care and the feeling of the day as it unfolded.
For many couples, the hardest part is knowing where to begin. Your photographer may have supplied hundreds, or even thousands, of incredible photos: portraits, getting-ready shots, family photos and everything in between. We know the idea of turning that collection into a finished album can feel overwhelming, so we’ve made things simple with this easy guide.
Your wedding photo book or album is unique to you and something you will cherish forever. To inspire you, we’ve listed eight steps to guide you through selecting your photos, finding the right format, designing your keepsake and caring for it.
Whether you choose a handcrafted photo album, a beautifully designed photo book or a stylish wedding magazine, the result should feel personal, timeless and true to your celebration.
8 steps to help you create the perfect wedding album
1. Select and sort your wedding photos
2. Decide the story your album will tell
3. Find the format that fits your story
4. Find the right size and orientation
5. Designing your wedding layouts
6. Choose your paper and print finish
7. Create a cover that sets the tone
8. Protect and finish your keepsake
1. Select and sort your wedding photos
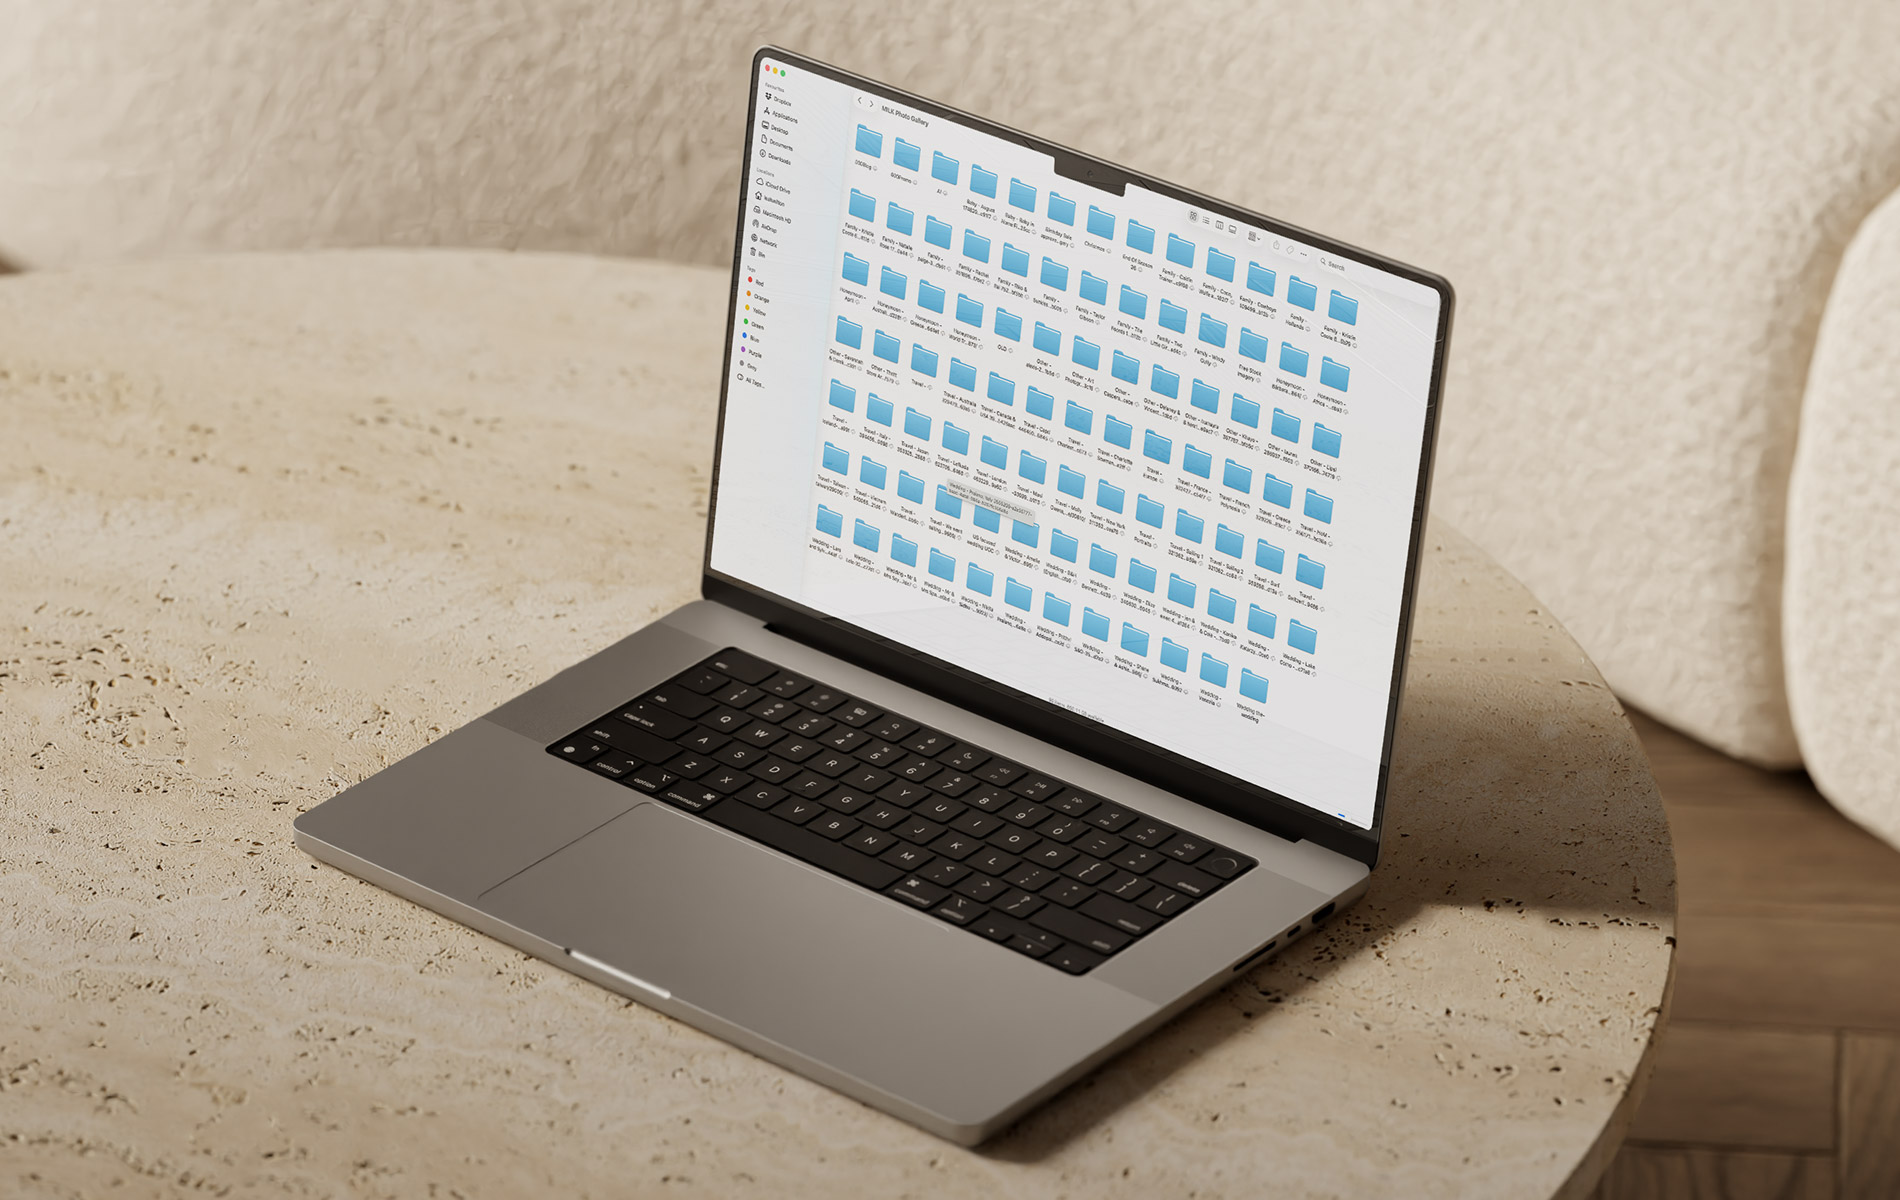
Selecting your photos is one of the most important and, for many couples, time-consuming parts of the creation process. Having a clear idea of how many photos you want to include, and the order you want them to appear in, means half the work is already done when you upload them to the Design Studio.
We recommend creating a folder (or folders) with your top selection of photos. If there are thousands to go through and it feels overwhelming, tackle it one moment at a time by dividing the day into sections. For example:
• Getting ready
• The ceremony
• Cocktail hour
• Group photos
• Newlywed portraits
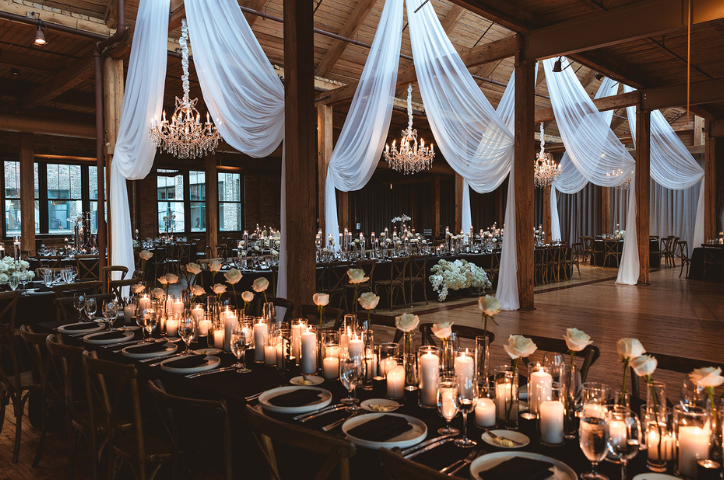
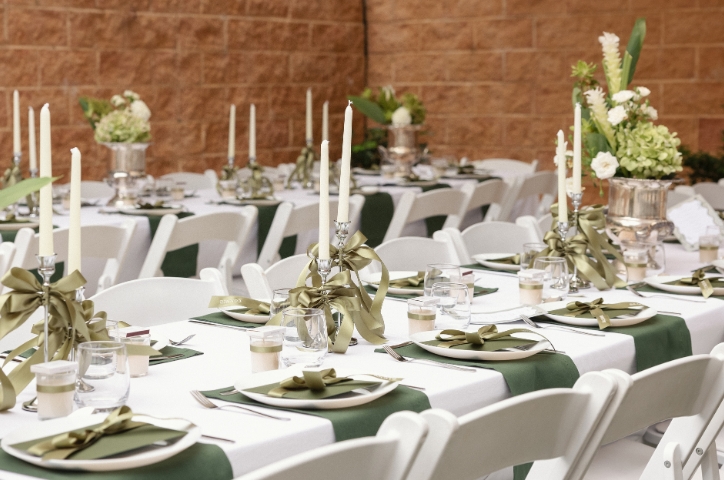
• Reception details
• Dancing and celebration
Once you’ve selected your most-loved images, go one step further and name the files starting from ‘1’ in the order you want them to appear in your project. This will save you time arranging them once you start creating.
MILK Tip: Remember, less is often more. A beautiful wedding album does not need to hold every photograph from the day if you don’t want it to. Fewer images give each one room to stand out and allow the highlights of your celebration to truly shine.
2. Decide the story your album will tell
Once you’ve selected your photos, take a moment to think about the story you want your wedding photo book or album to tell. Some albums follow the day exactly as it happened, from getting ready to the ceremony, reception and evening revelry. Others take a more editorial approach, choosing to preserve just their newlywed portraits.
There’s no right or wrong way. What matters is that the flow feels true to you and your day. You might want your album to feel romantic and intimate, full of soft details and quiet moments. Or you may want it to feel joyful and full of movement, with guest portraits and dance-floor moments.
3. Find the format that fits your story
4. Find the right size and orientation
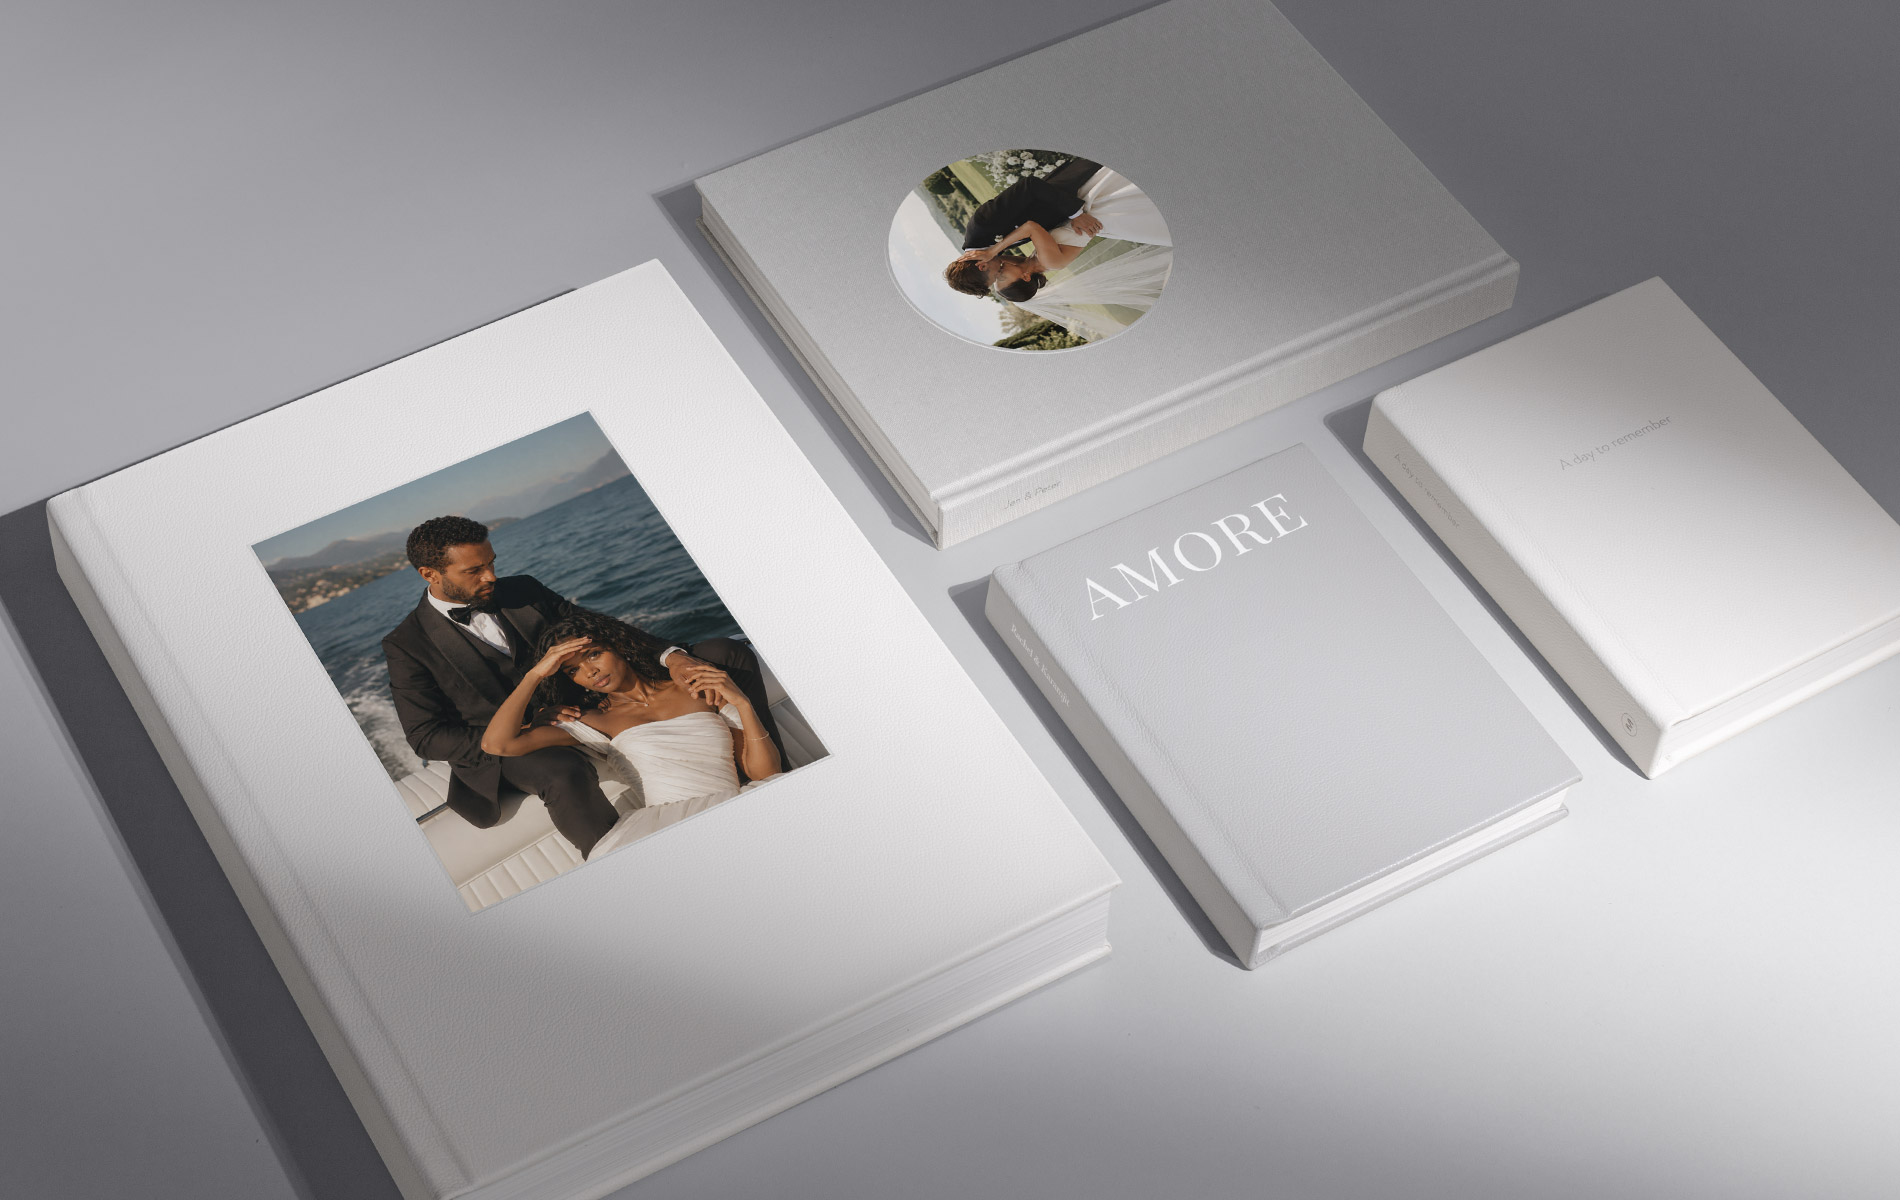
Once you’ve found the format that best suits your story, the next step is finding the size and orientation that will bring your photos to life. Think about the style of your wedding photography and the images you want to feature most prominently. Wide ceremony shots, sweeping venue scenes and long reception tables often look beautiful in a landscape format, while our portrait orientation is perfect for fashion-led imagery, vertical couple portraits and full-length bridal moments. A square format offers a timeless, balanced feel and works especially well when your gallery includes a mix of vertical and horizontal images.
A helpful way to decide is to review your most-loved images before you begin. If most are horizontal, landscape may be the strongest choice. If most are vertical, portrait could be the better fit. If you have an even mix, square is a wonderfully versatile option.
Size is also worth considering carefully, especially if you want your wedding album to feel like a true statement piece. A larger album or book gives your images more presence and allows the details to shine, creating a more immersive experience as you turn the pages. Smaller formats can still feel intimate and beautifully refined, but if you want your album to feel display-worthy, choosing a large size can make all the difference.
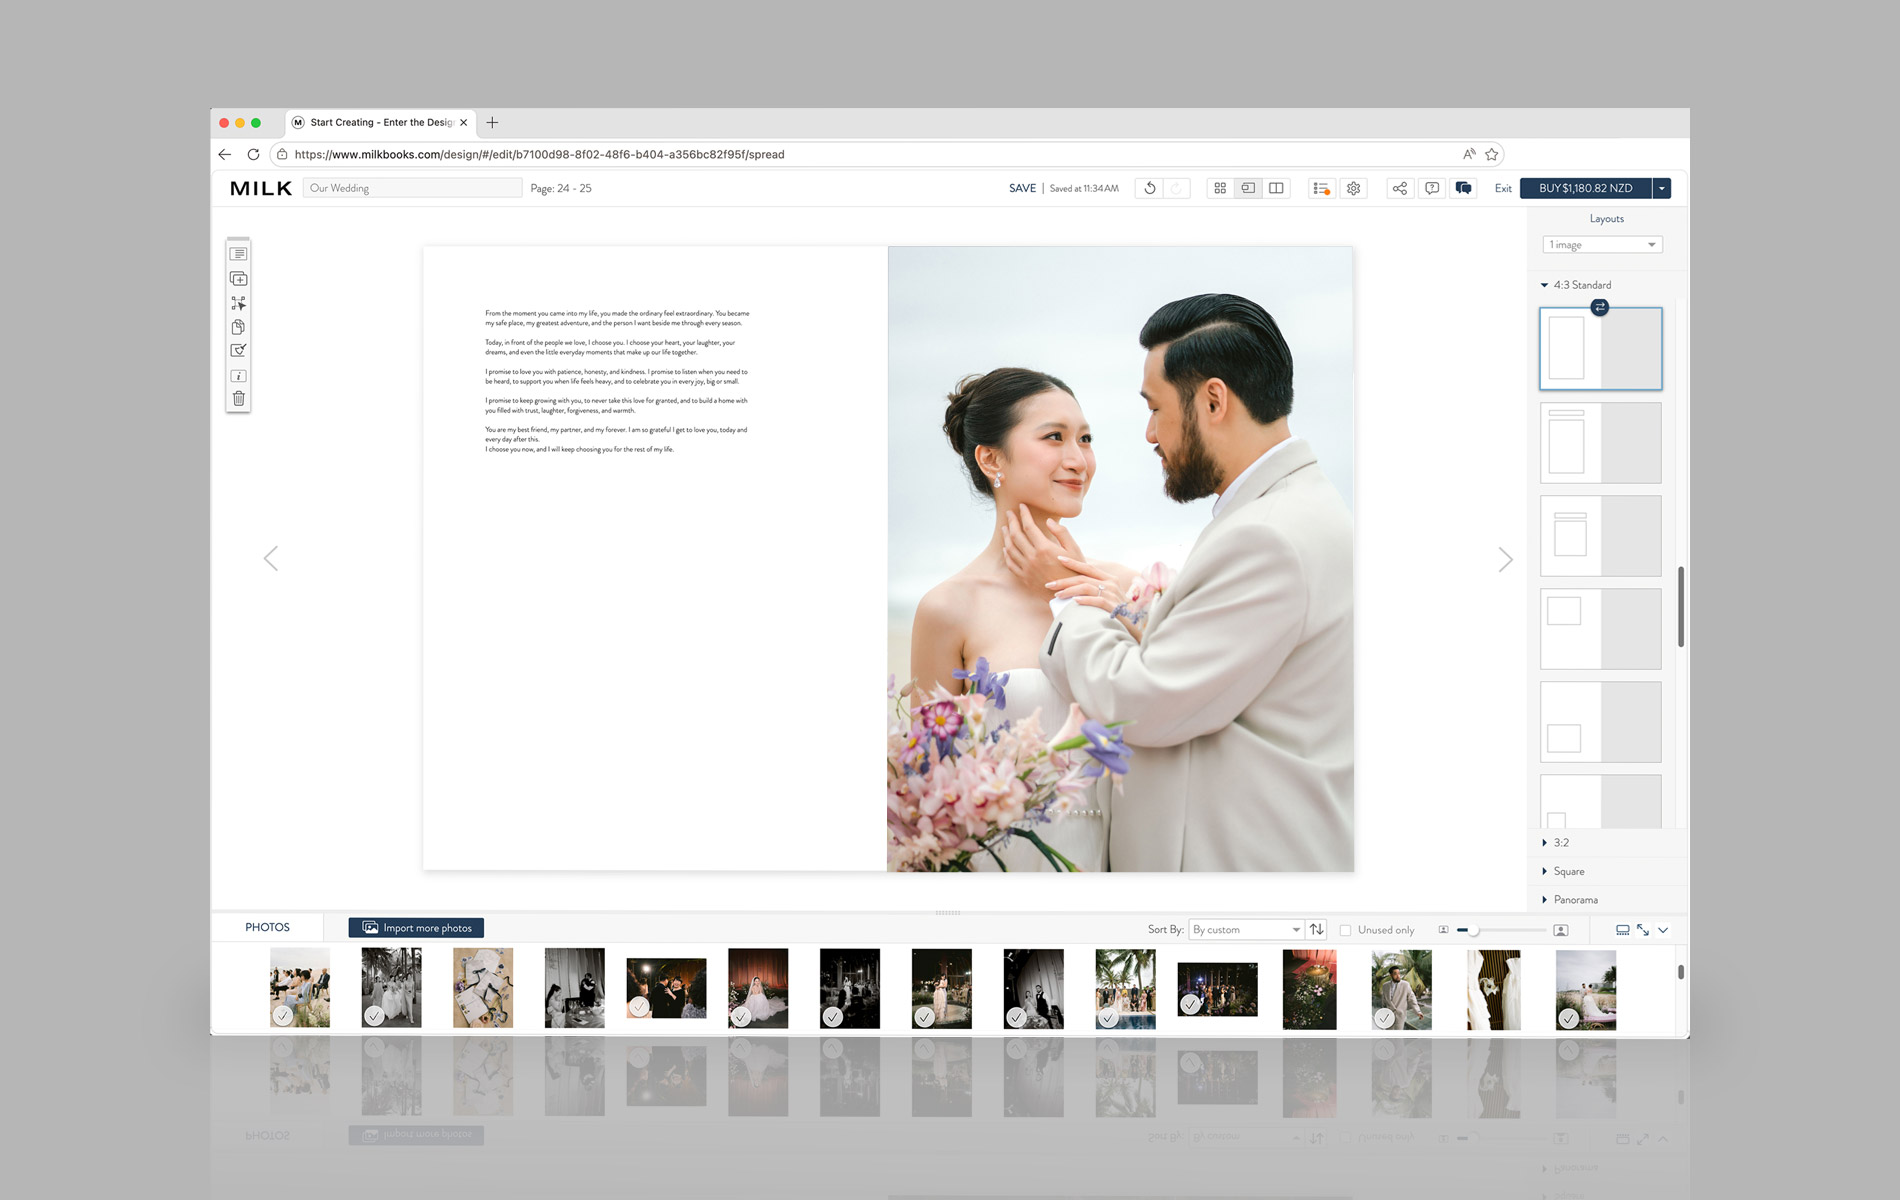
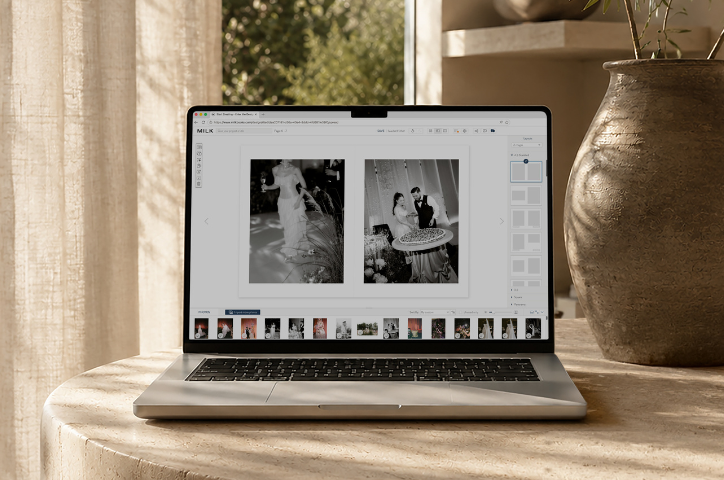
This is where your collection of images becomes a story. With our intuitive Design Studio and Designer Templates, we’ve made it as easy as possible for you to create an aesthetically pleasing keepsake.
Start with your strongest photographs, the ones that immediately take you back to the feeling of the day, and give them room to shine. A full-page or full-spread image can create a beautiful focal point, while smaller supporting images can be used to build rhythm and show the details of the day.
Think about the flow of your album as you design. Mix wide shots with close-up details, candid moments with posed portraits and emotional images with lighter moments of celebration.
White space is one of the simplest ways to make a wedding album feel timeless. Rather than filling every page, allow key images to ‘breathe’. You can also add text; vows, readings, song lyrics and speech excerpts are wonderful additions and give your album a more personal feel.
Layout ideas to try:
• Use an uninterrupted double-page spread for your most-loved portrait
• Try a two-image layout for a pairing of images, like your full look with a close-up detail
• Try a text-and-image storytelling spread for your vows
For more inspiration, explore our guide on top wedding album layouts for timeless storytelling.
6. Choose your paper and print finish
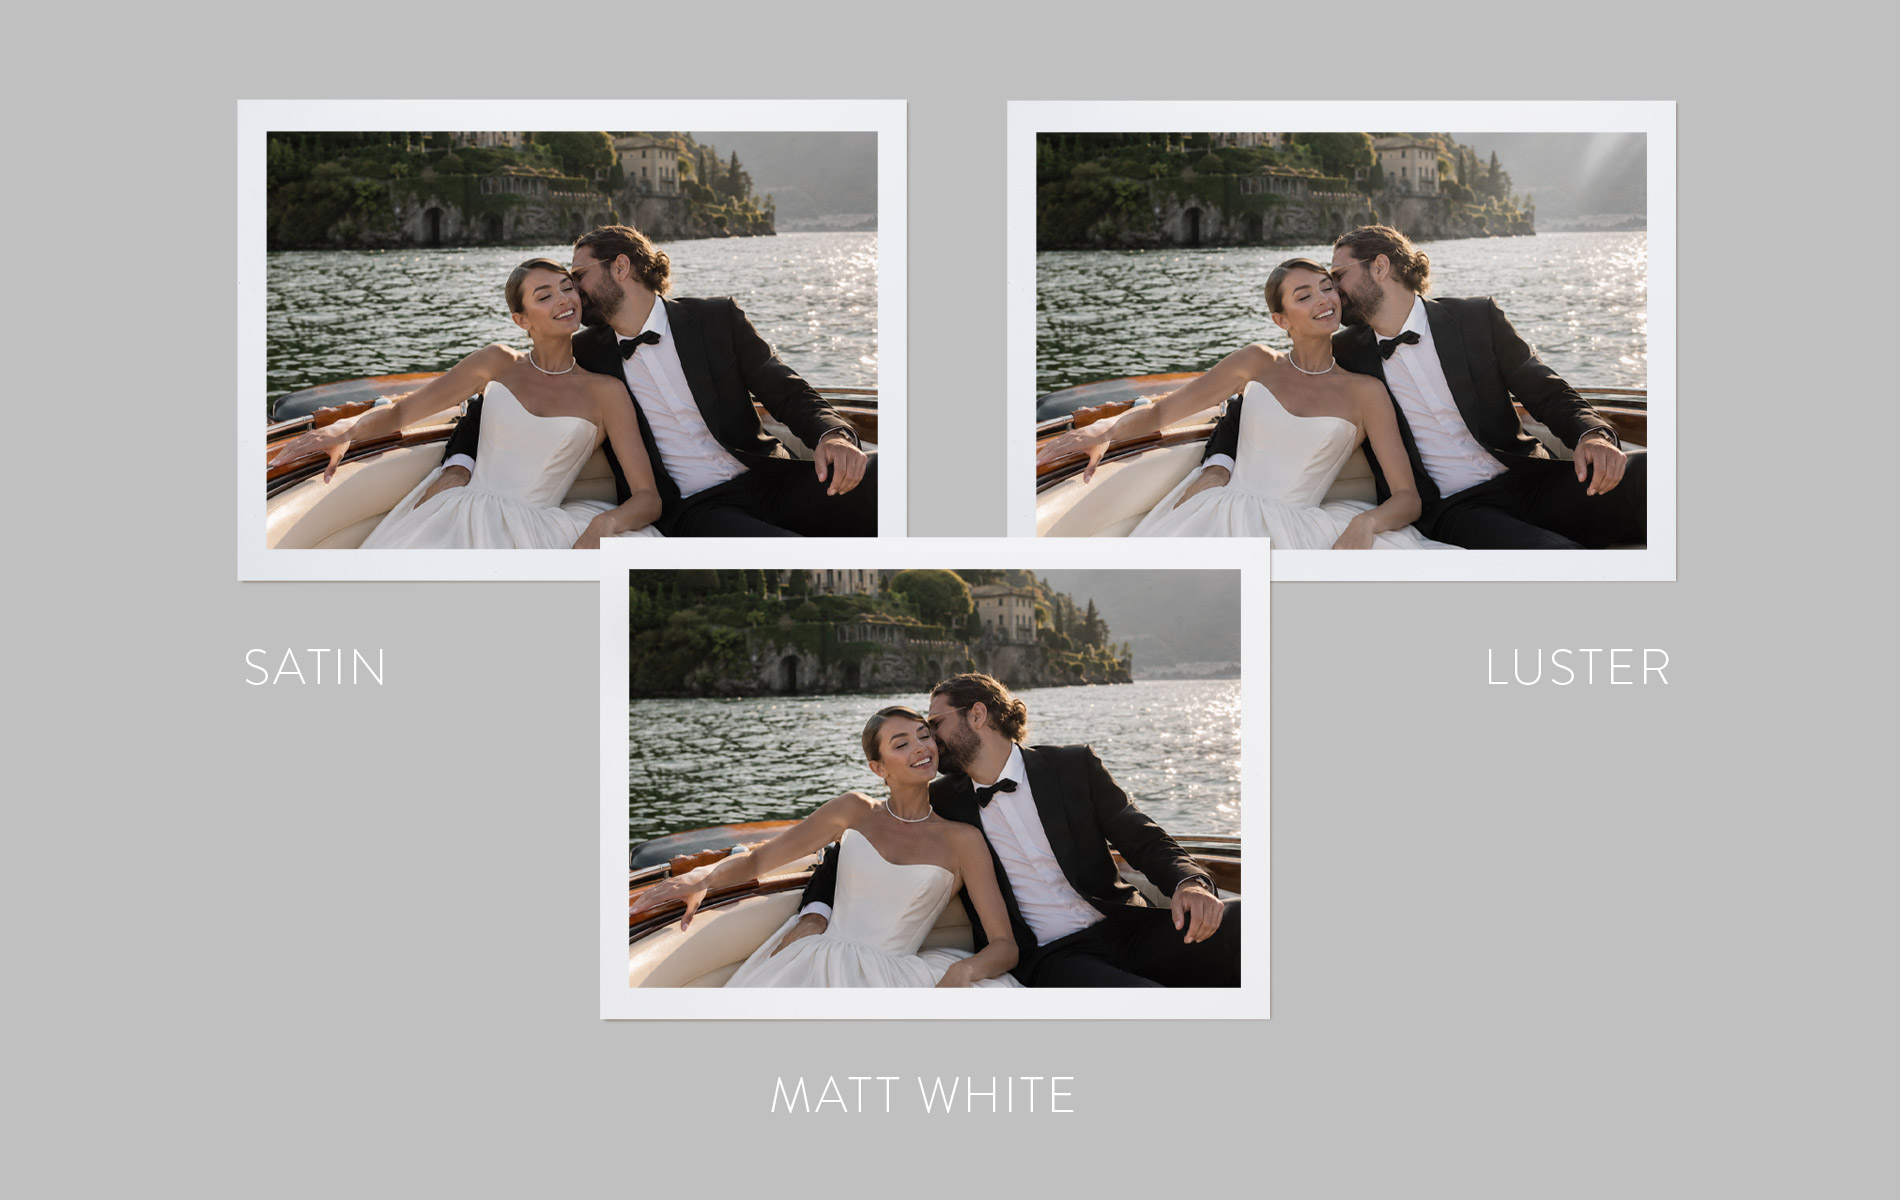
Paper plays a meaningful role in how your wedding photos look and feel in print. Beyond the look of each image, it also shapes the tactile experience of your keepsake. When choosing your paper, consider the style of your photography.
As a starting point:
• Photo Lustre – Our most popular photo album option. This thick, smooth paper has a lustrous finish, with the look and feel of traditional photo paper. It produces a clear, vibrant print result.
• Satin – Our most popular photo book option. This white coated stock has a light sheen that produces a vibrant, true-to-life print result.
• Matt White – Used for our wedding magazines, this is an uncoated paper stock that produces a slightly more muted print result. It’s well-suited to documentary-style wedding photography.
7. Create a cover that sets the tone
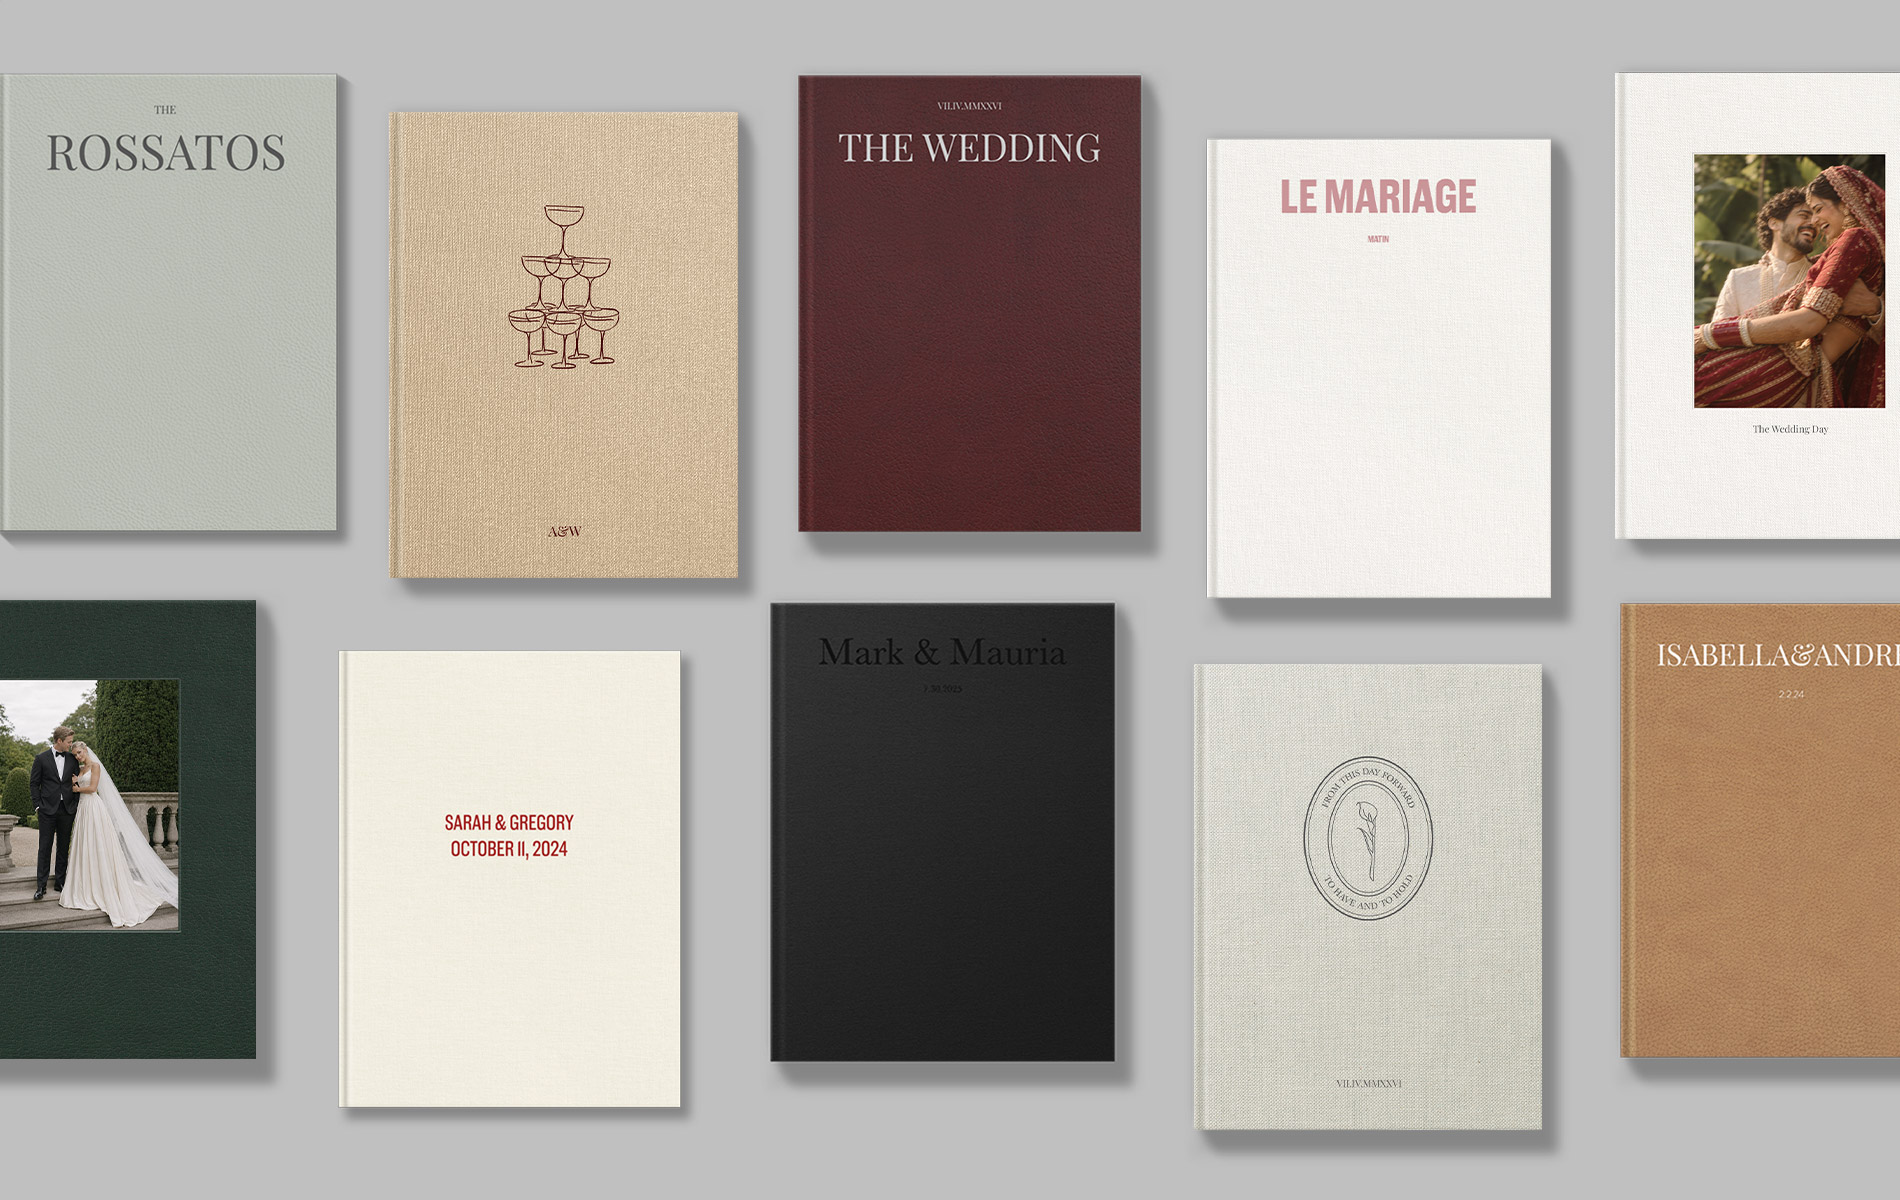
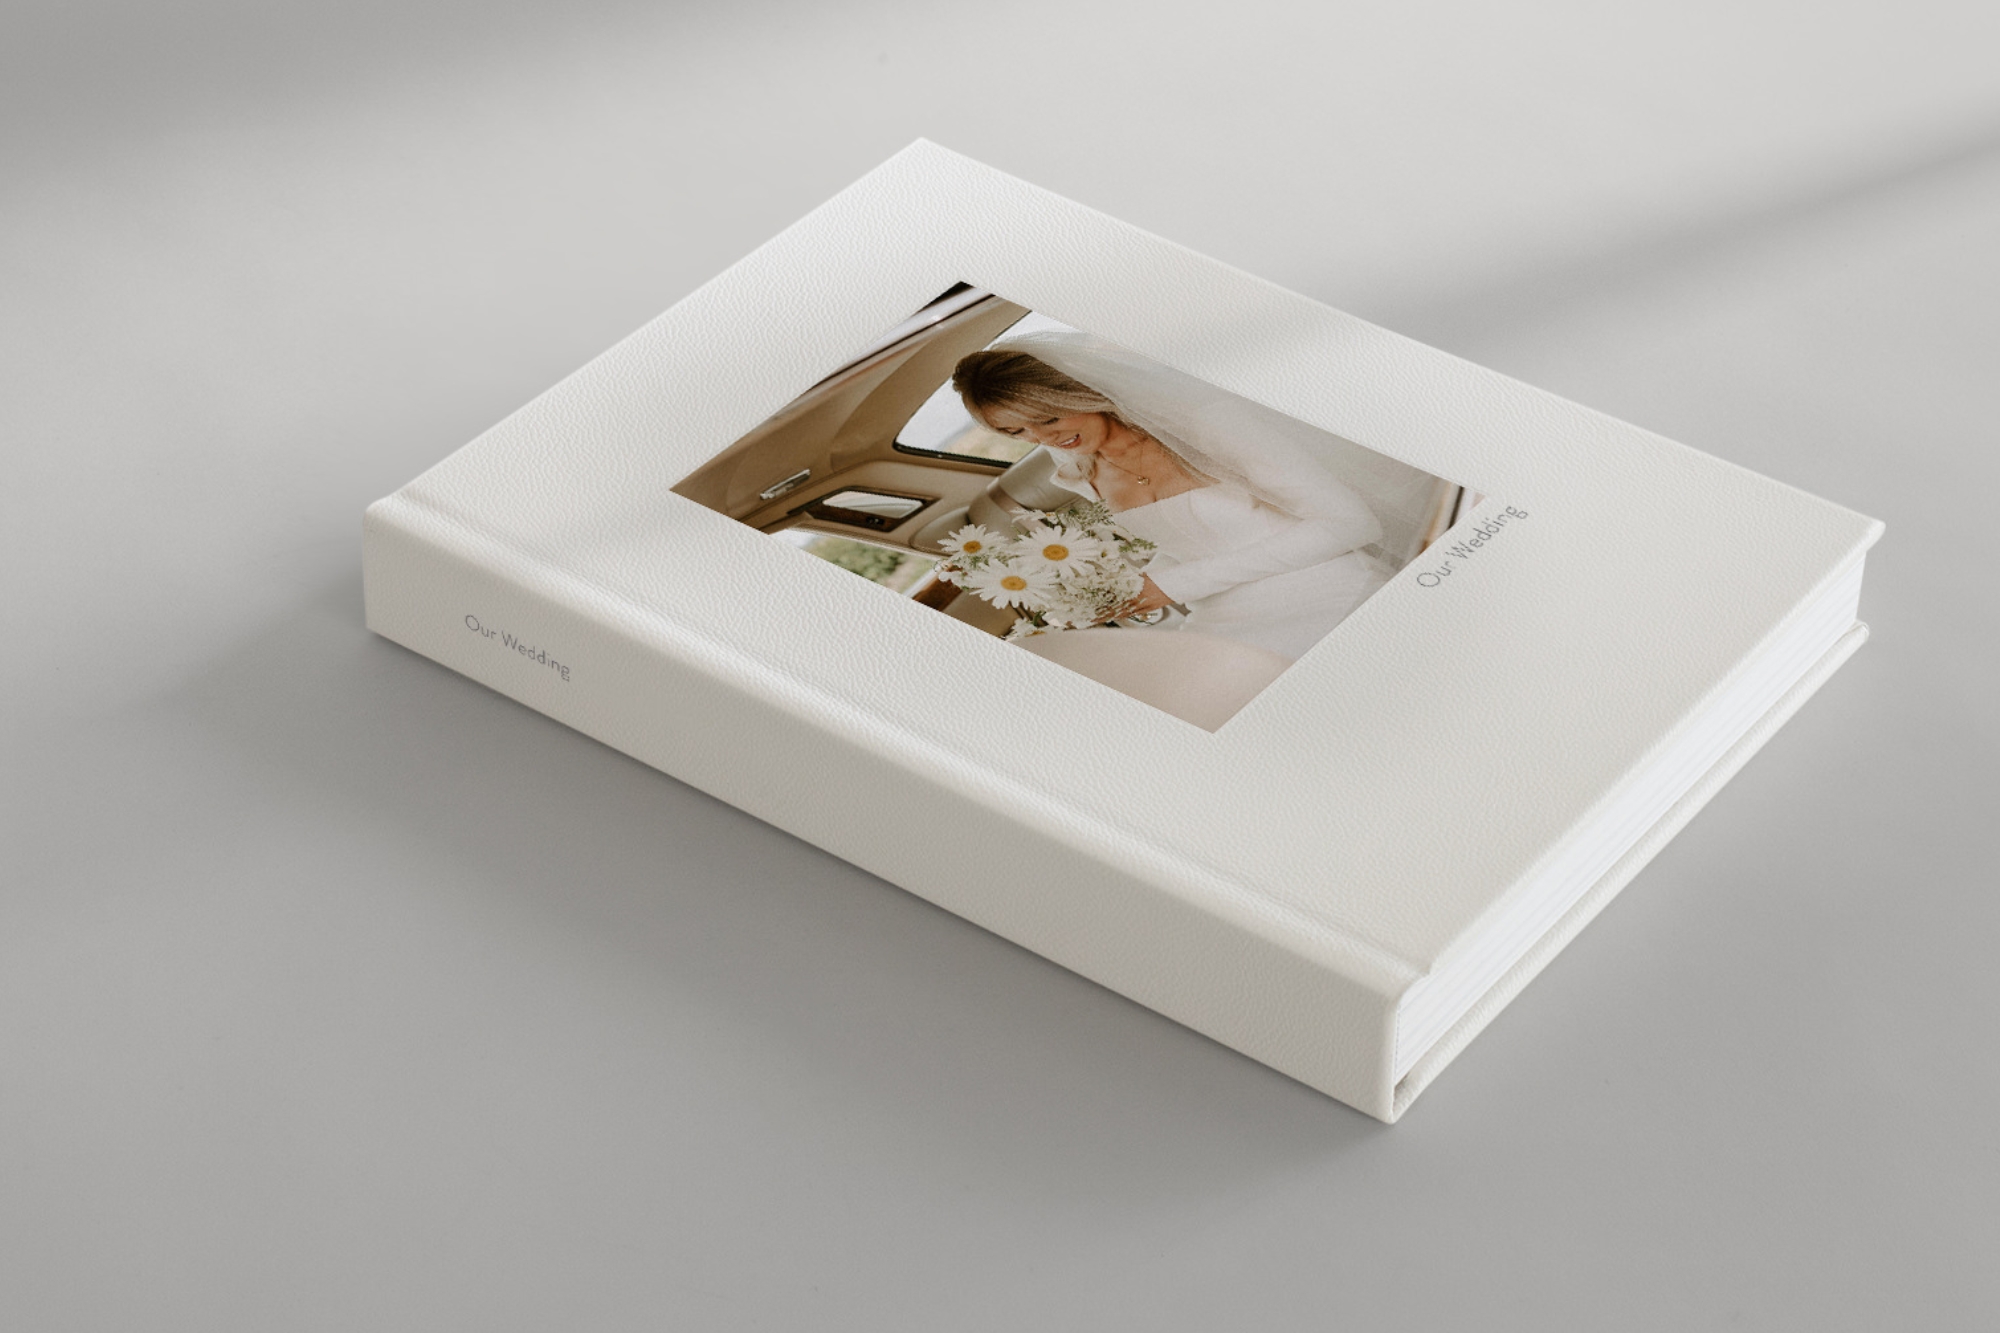
Your cover is the first part of your wedding album anyone will see, so it should feel like a thoughtful introduction to the story inside. While your photos carry the memory of the day, the cover frames it, setting the tone before the first page is turned.
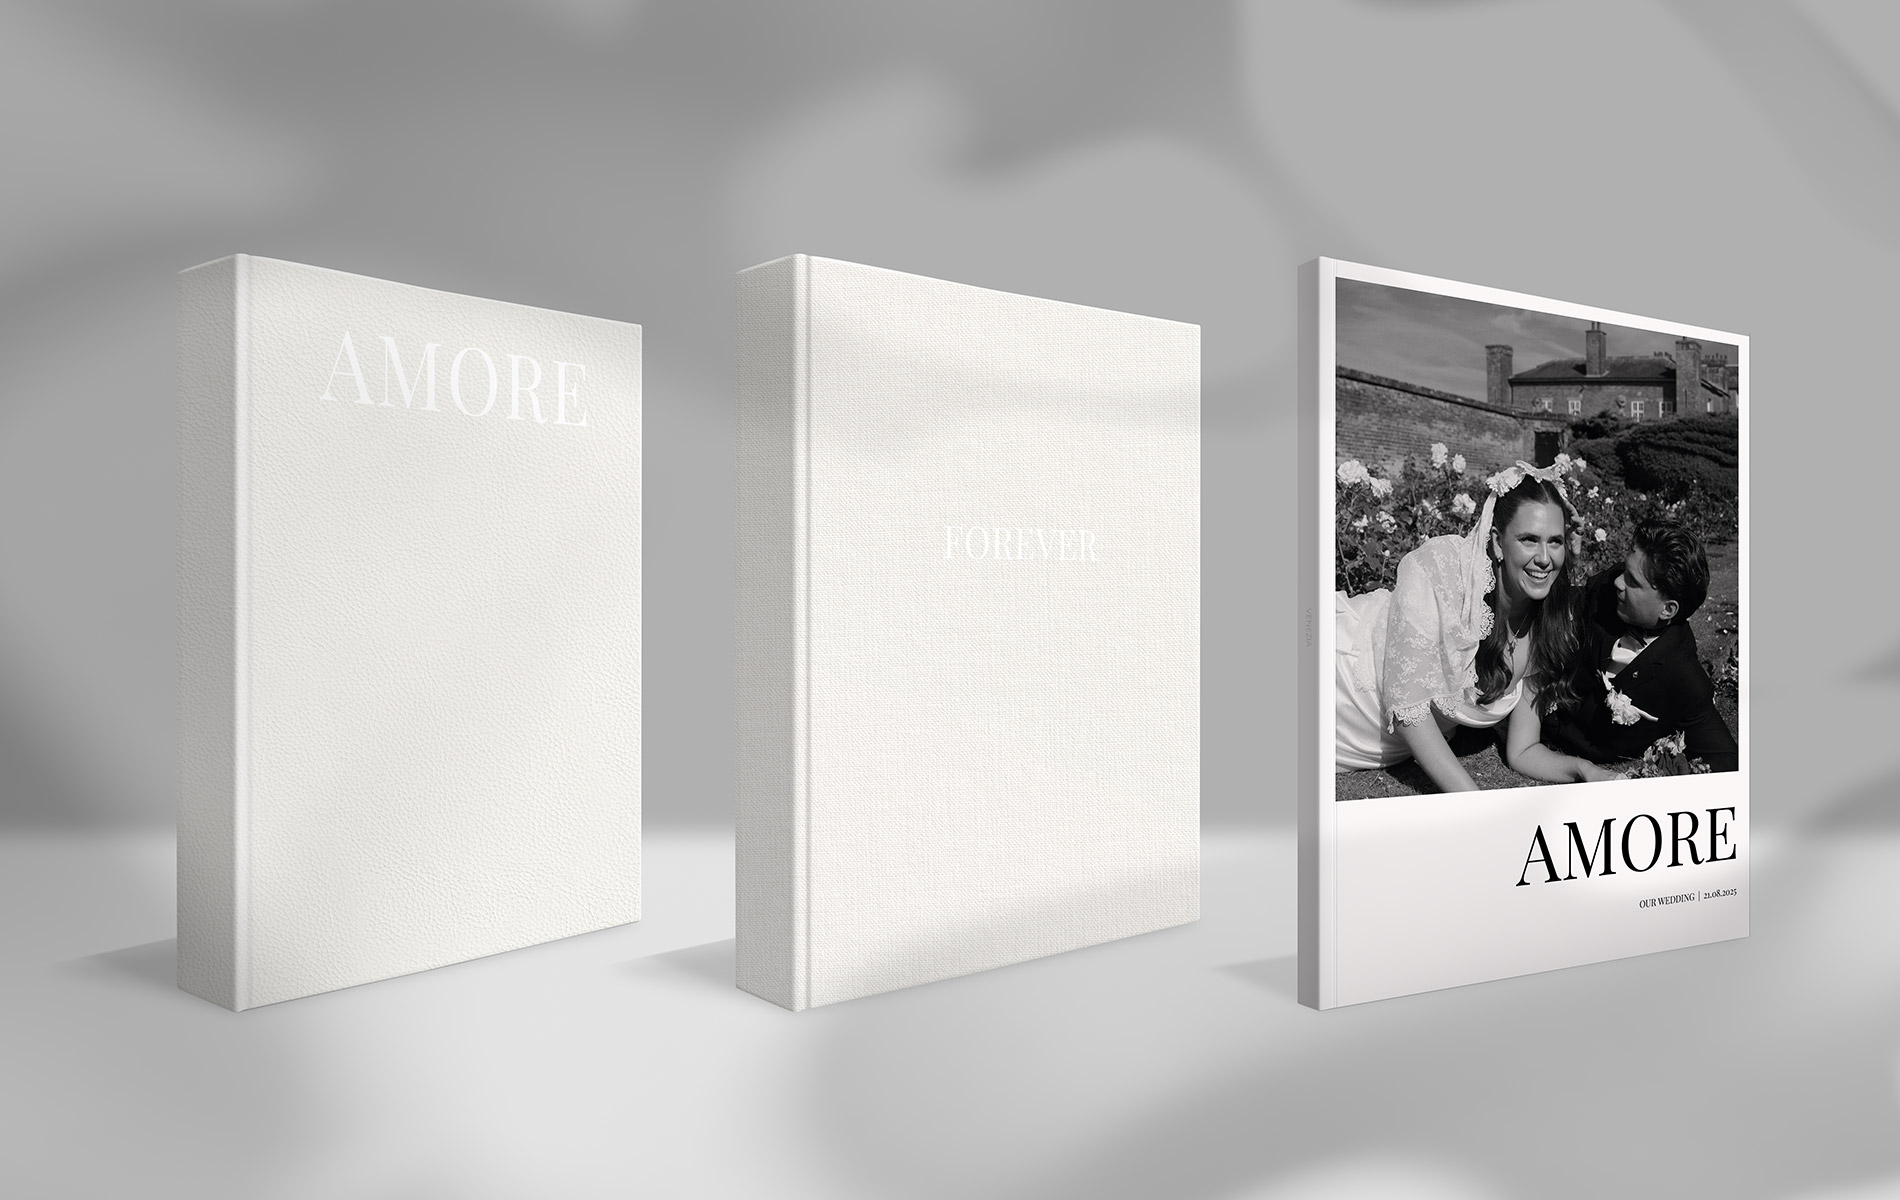
Start with the fabric or material you feel most drawn to, as this will guide the overall look and feel. Natural Linen has a textured, modern-classic appeal, while Colored Linen can tie back to your wedding palette. Coated Cloth offers a smooth gloss finish for something more polished and formal, while Premium Leather brings a rich, tactile quality and timeless finish. Vegan Leather is a beautiful alternative for couples wanting a refined, contemporary finish.
From there, consider the details that will make the cover feel more personal: your names, wedding date, a meaningful title, your most-loved photo or a Designer Cover that reflects the mood of the day. You might choose something minimal and timeless, or create a more expressive cover through font, shade and scale. The key is to make sure each detail feels intentional.
The Design Studio makes it easy to preview different combinations and refine your cover until it feels right. Explore our cover fabrics to find a finish that suits you, or browse the cover designs we love or MILK Gallery for inspiration from real customer projects. Please note, cover fabrics and design options may vary depending on the format you select.
8. Protect and finish your keepsake
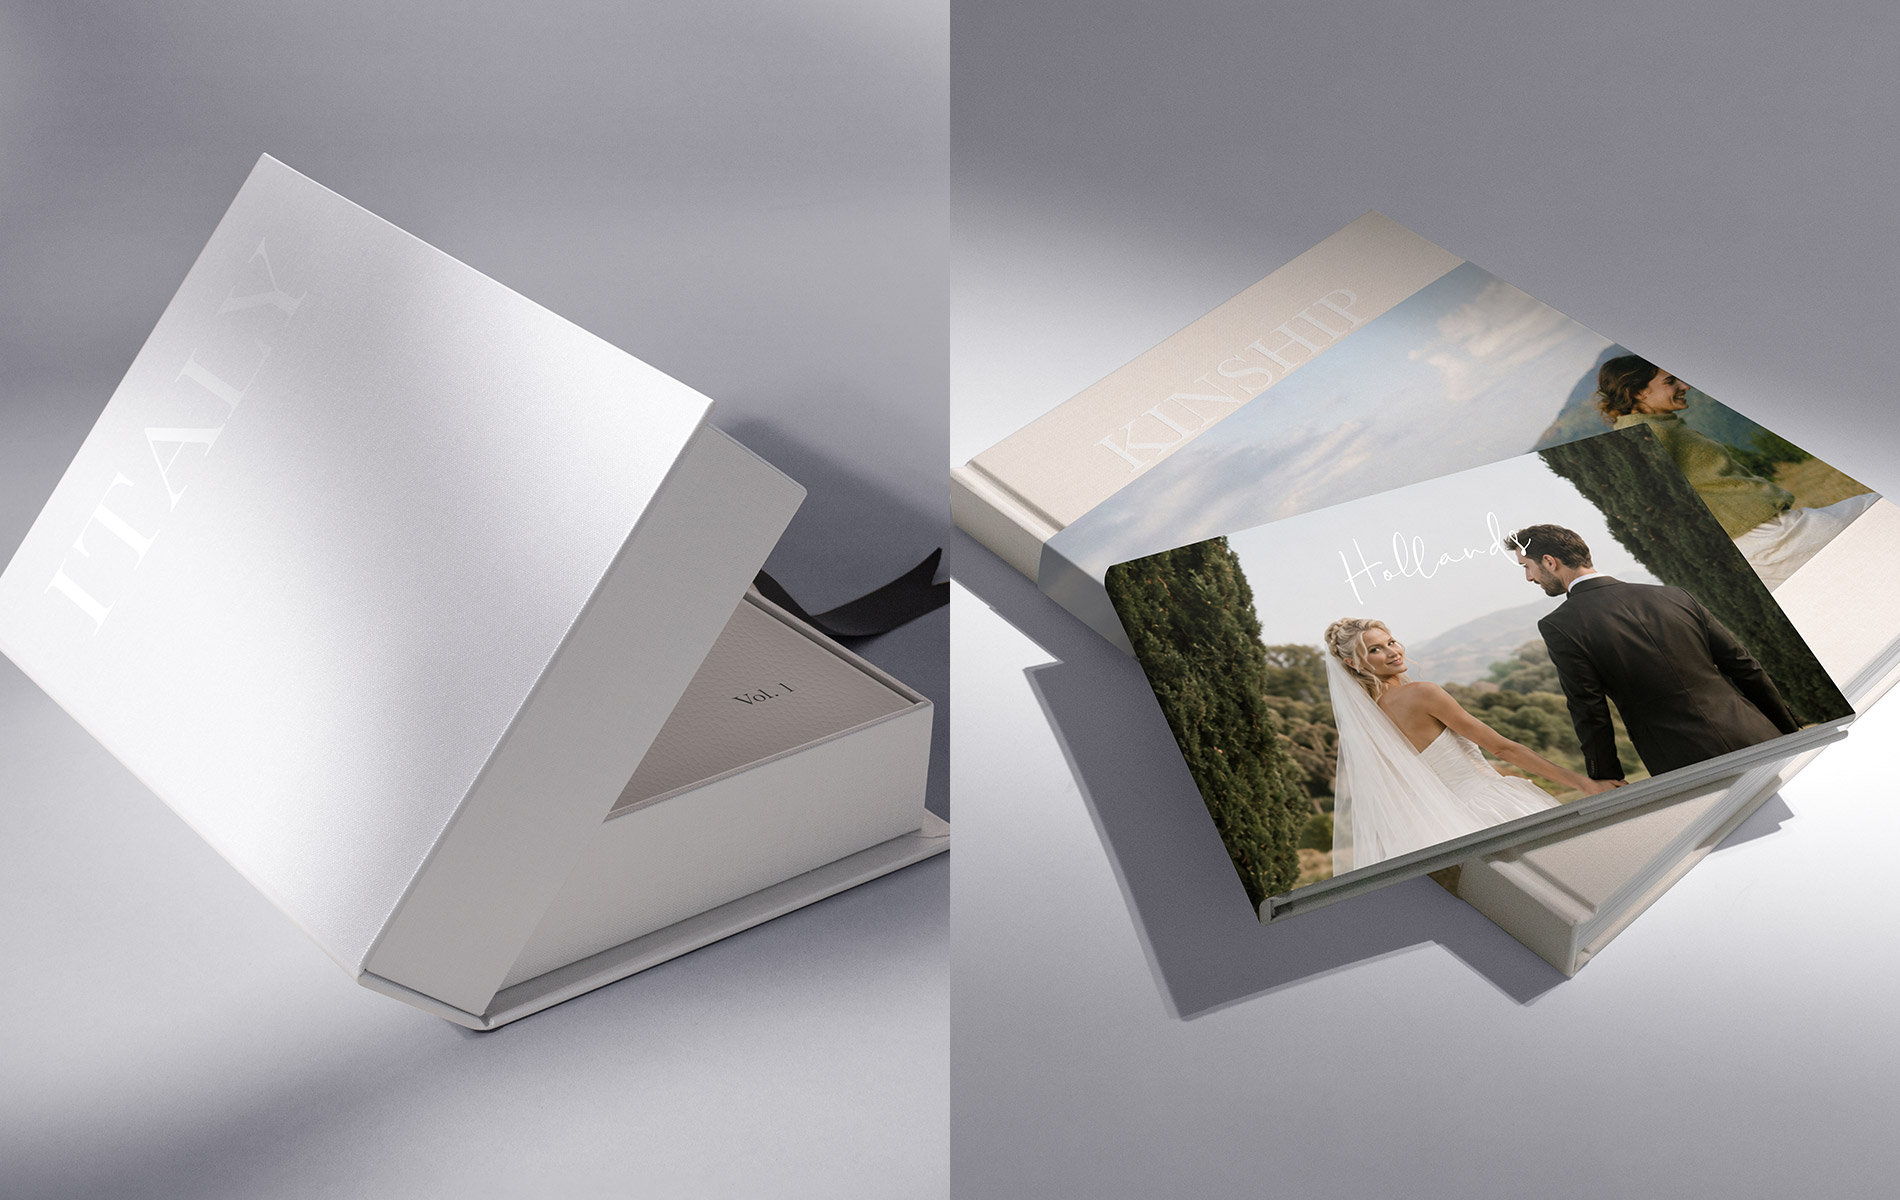
Once your wedding album or book is complete, consider how you would like to protect and present it. A beautiful keepsake is designed to be opened, shared and returned to over time, but the right finishing touch can preserve it for years to come.
A Presentation Box is a timeless way to store your wedding keepsake, helping protect it from dust, light and everyday wear while giving the finished piece a more complete, display-worthy feel.
For Premium Photo Books, a full or partial jacket offers another elegant finishing option. More than a protective layer, it adds an editorial quality to your book and creates another opportunity to introduce the story inside through a well-loved image, title or simple design detail. For the best care of your photo book or album, please refer to our care guide.
Your wedding day is one of life's most special milestones. Full of love, laughter and celebration, there is nothing better than reliving the memories time and time again. We hope this comprehensive guide has given you all the inspiration you need to start bringing your dream wedding album to life.